
It’s Week 6 of the Needlework Challenge! Time flies when you’re stitching! You know what’s getting closer and closer? Christmas! And what better way to get into the holiday spirit than by making your very own Christmas stocking!
Christmas stockings hold a special place in our hearts as beloved holiday traditions. As children, we eagerly hung our stockings by the fireplace, hoping that Santa would fill them with delightful surprises while we slept. The tradition continues to bring warmth and excitement to our homes.
I’ve made my Christmas stockings the same way for years using a method that is kind of like a puzzle to me, at least to explain. I’m going to give it my best shot 🙂 Here’s a photo of my very old notebook opened to my stocking making page.
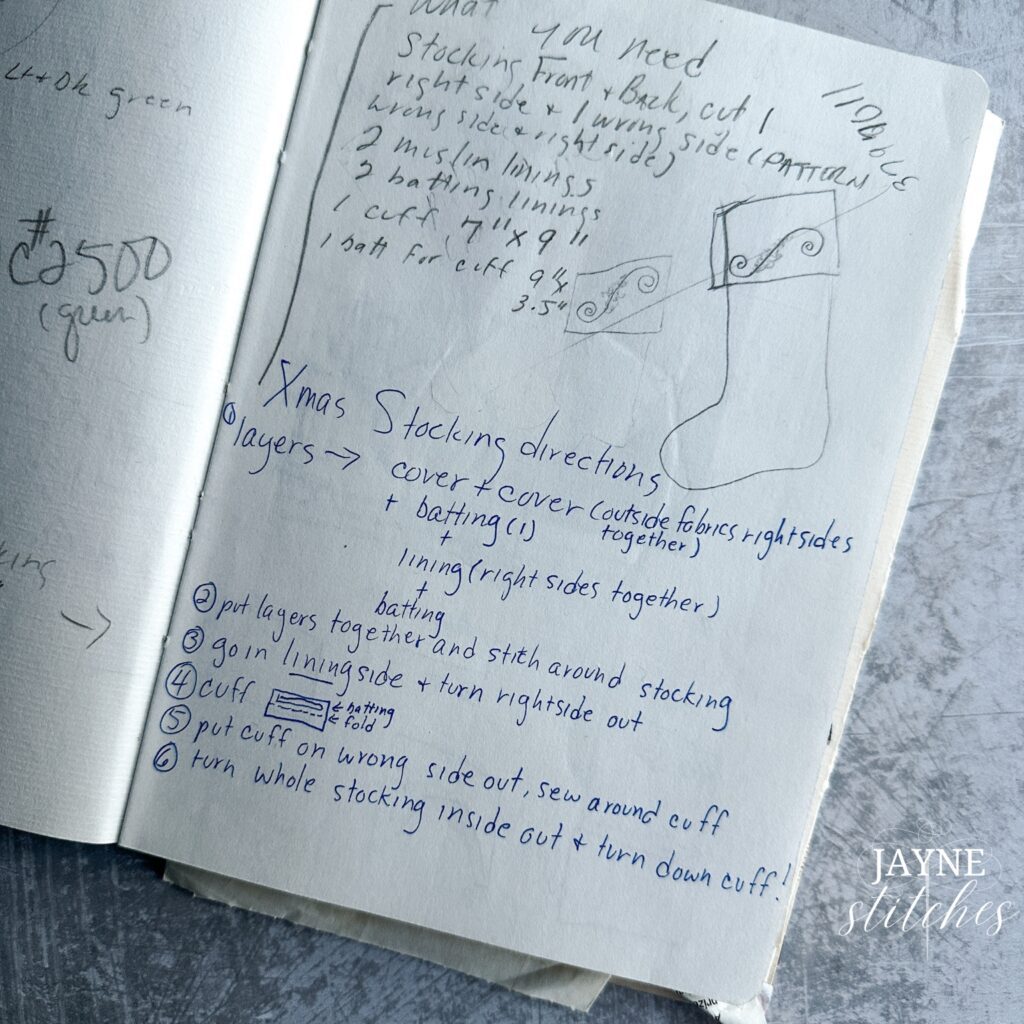
This method makes a fully lined stocking with a nice wide cuff. There is also a layer of batting to give it some body which is great when you want to fill the stocking with little gifts.
As an alternative to batting you can use cotton iron on interfacing.
The interfacing works really well when you’re sizing down and making a small stocking as the batting can get quite bulky in smaller stockings.

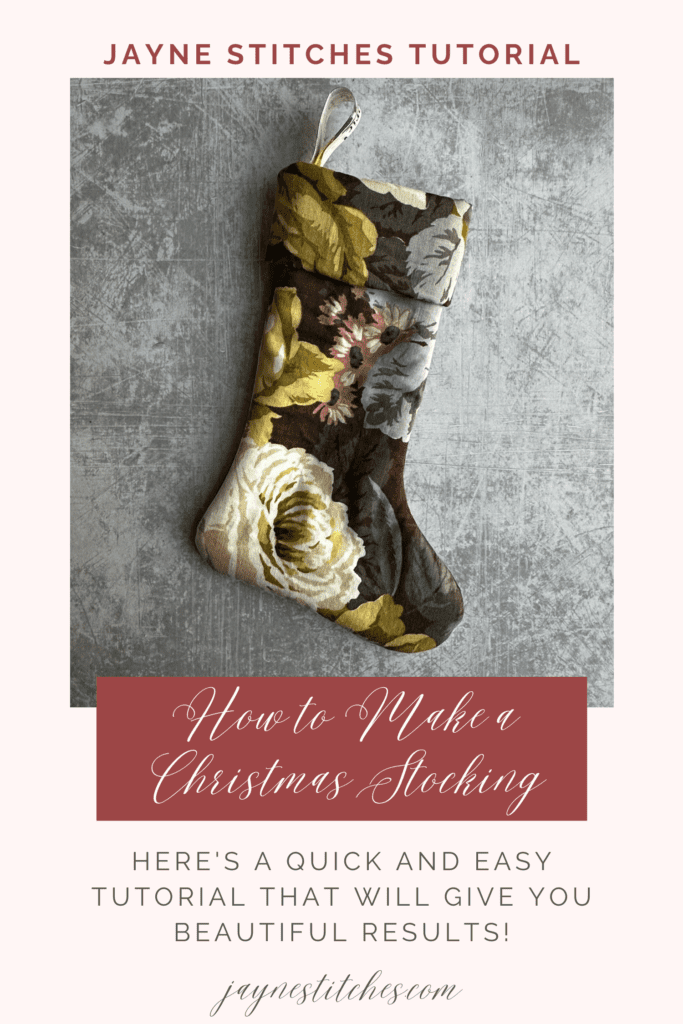
The stocking pictured above is made with a vintage cotton sateen, a cotton solid lining, 100% cotton batting and I used a bit of the selvage for the hanging loop.
I encourage you to use the best materials you can, these are made to last, heirlooms.
What you’ll need:
Step 1) Cut out stocking front and back.
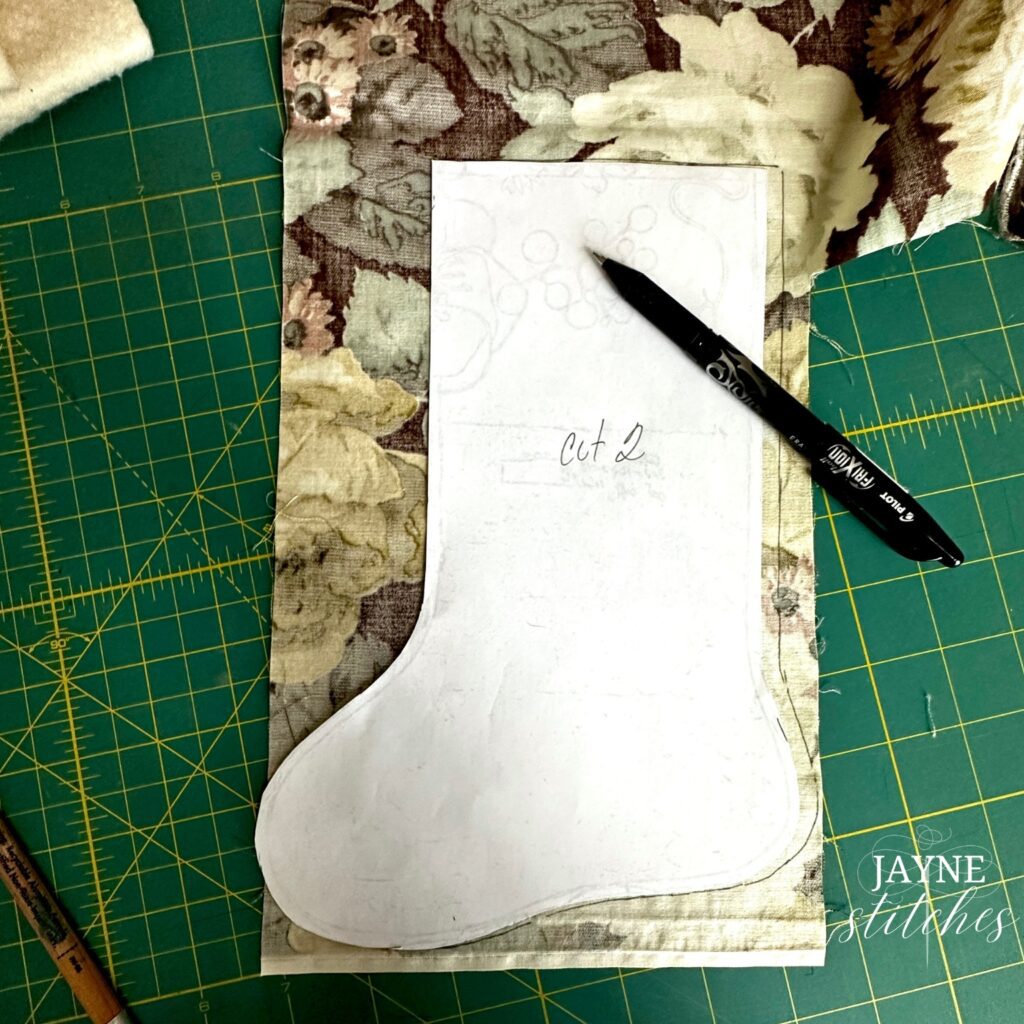

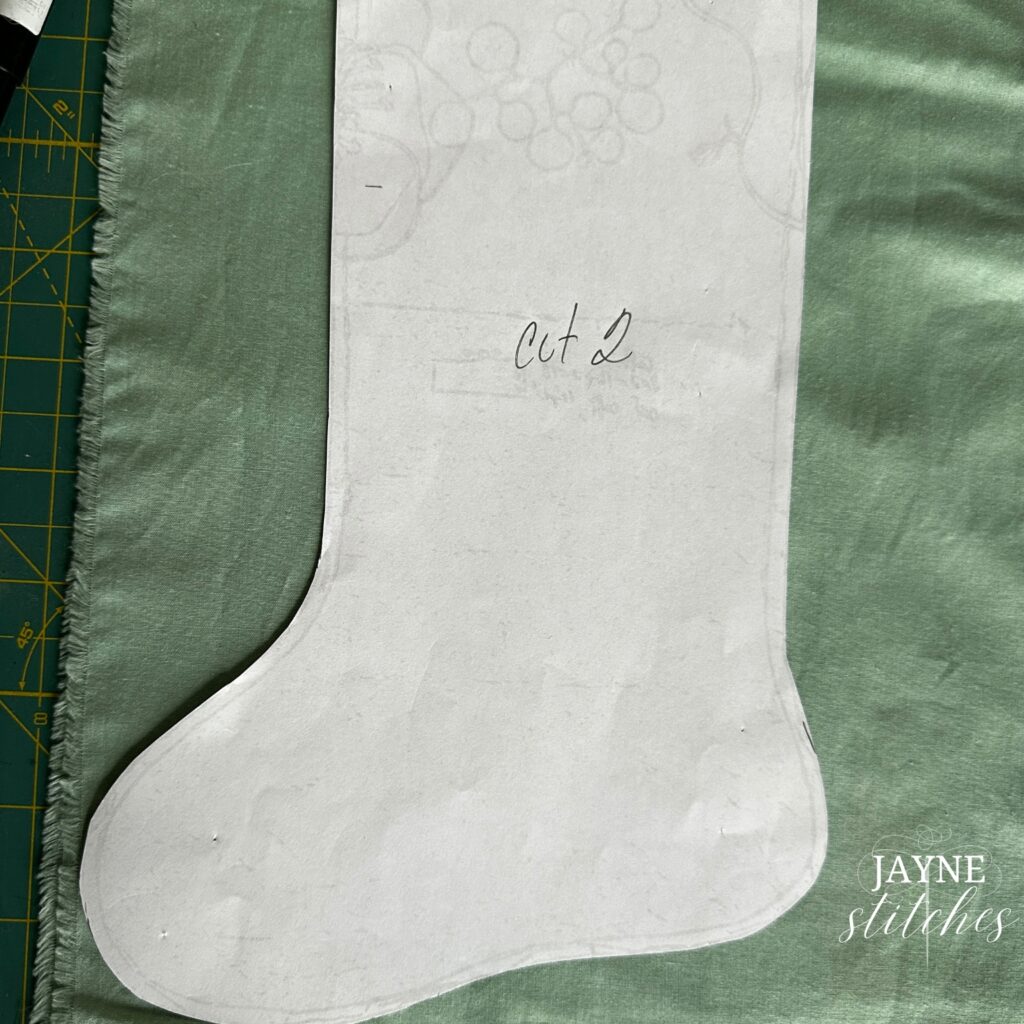
Step 2) Cut out 2 stocking lining.
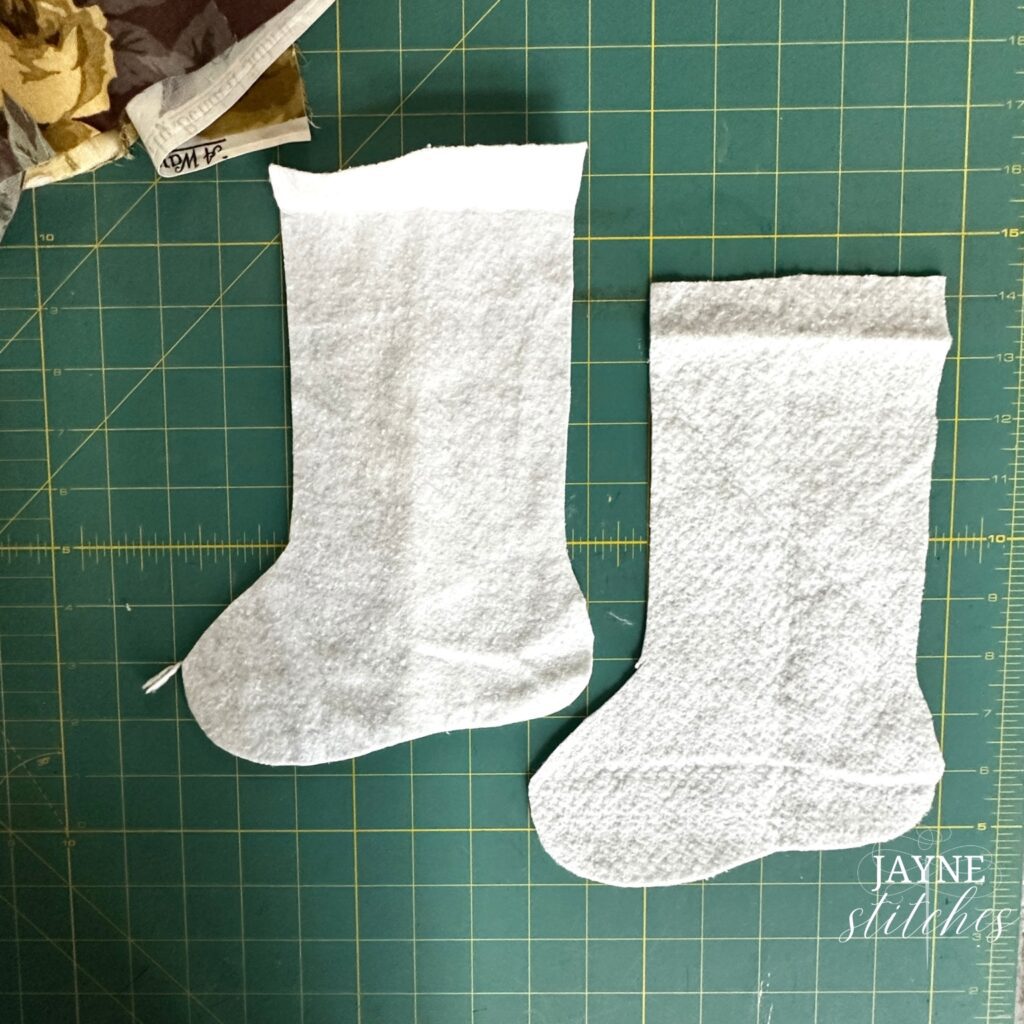
Step 3) Cut out 2 cotton batting pieces.
Step 4) Cut out cuff and cut a piece of batting HALF the size lengthwise to fit inside of the cuff. For the stocking pattern I’ve provided I cut the cuff piece 10″ x 5″ and the batting piece 10″ x 2.5″.
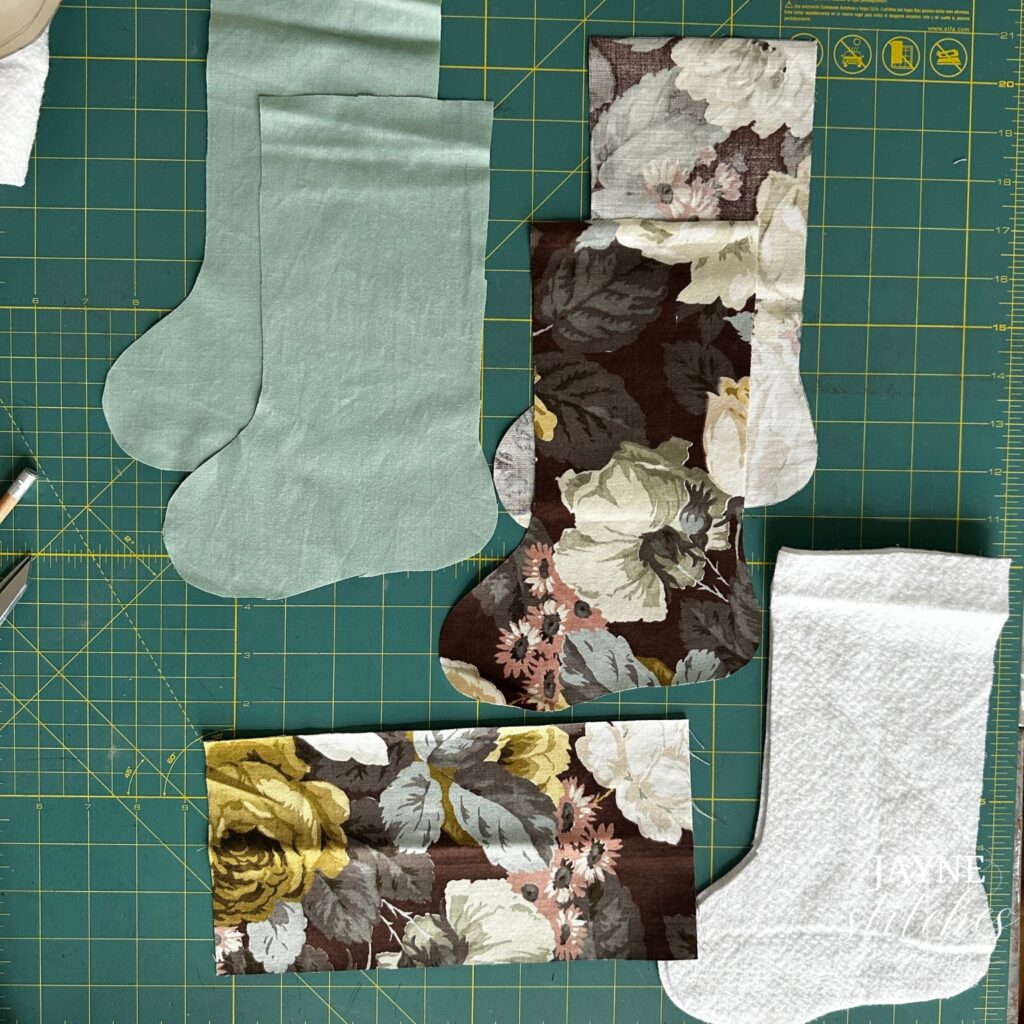
Now to stack these in the correct order, this has to be done exactly this way or it won’t work!
1) First layer is the stocking front and back right sides together.
2) On top of those put one batting piece.
3) On top of the batting piece put the two lining pieces (right sides together).
4) To finish place the last batting piece on top.
Pin all around to prevent shifting while sewing.

Next go over to your fabulous sewing machine and stitch all the way around, and of course leave the top of your stocking open 🙂
Because I’m a quilter I use my 1/4″ foot for just about everything but for this project I use the normal (5/8″?) foot to be sure to get all the layers sewn together. I do check the seams when I’m done sewing to make sure I didn’t miss any of the layers due to shifting.
When you’re done sewing you need to cut out little notches all around the curves in the seam allowance to remove bulk, I made it easy on myself and used my pinking shears.
Please avoid cutting through your stitches!
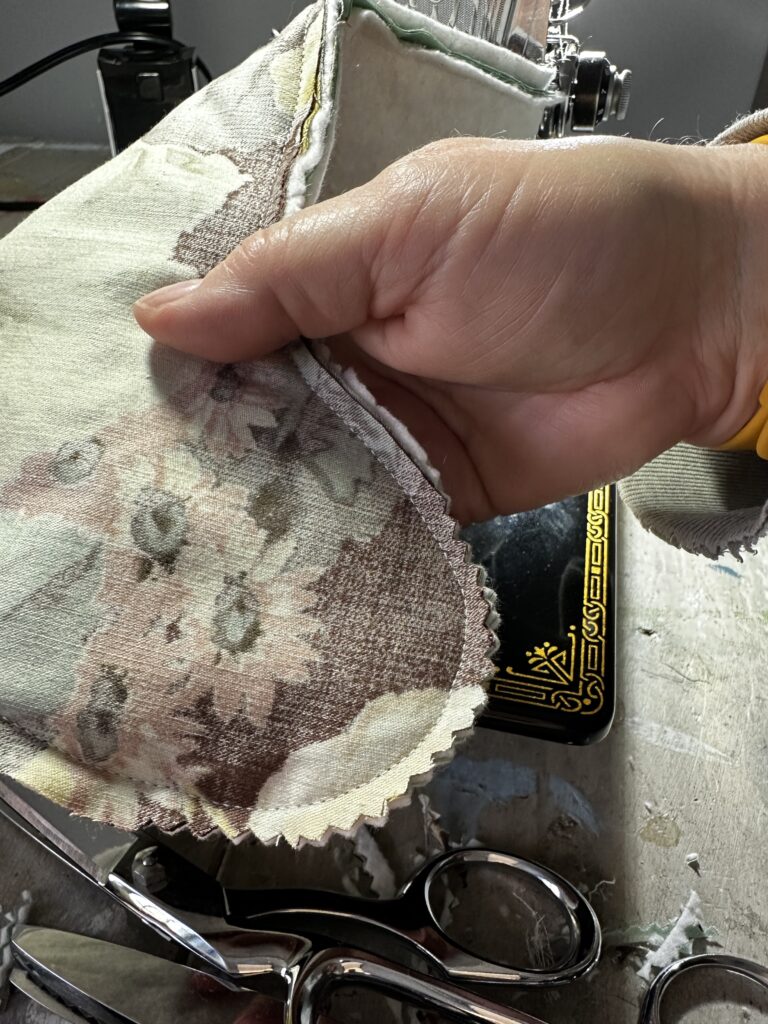
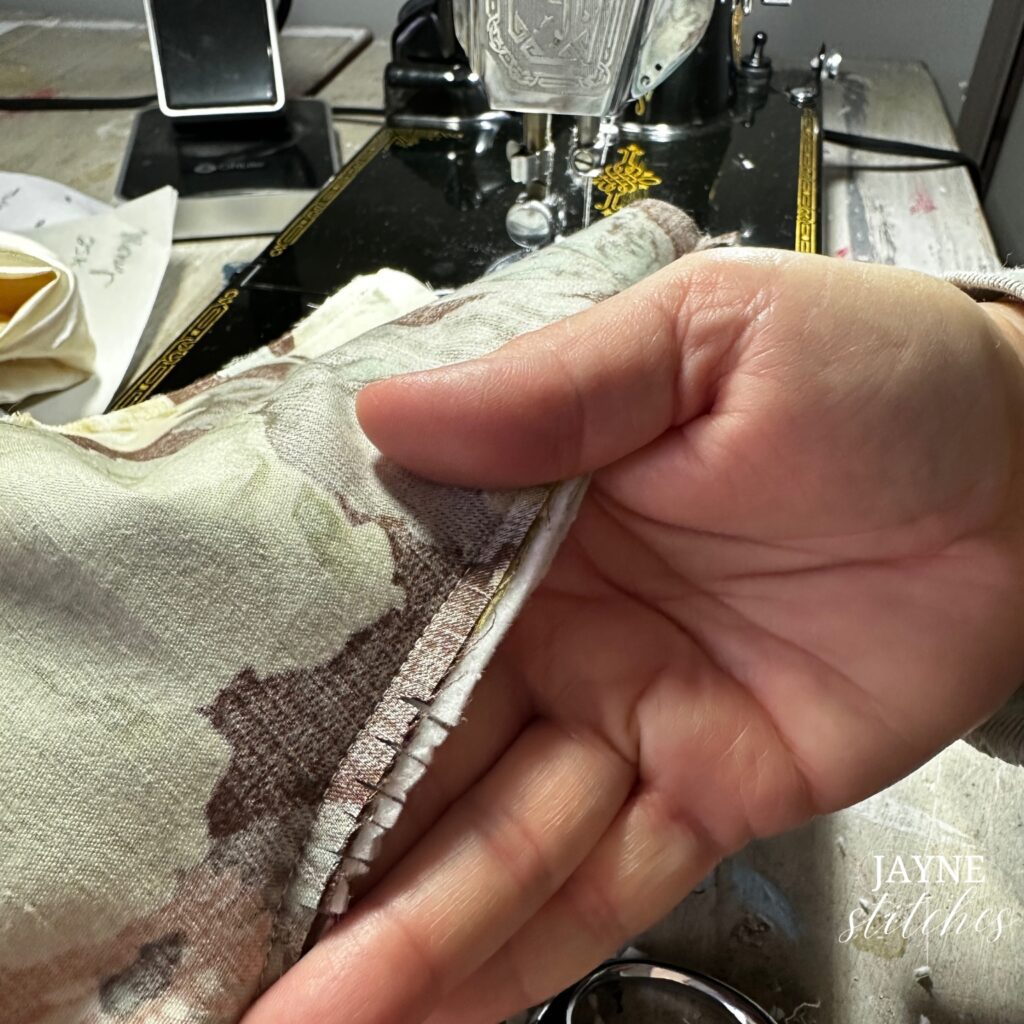
Next step, with your hand go into the lining pieces ( place your hand between the lining pieces) and turn inside out. So now there should be lining on the outside, like the photo below.
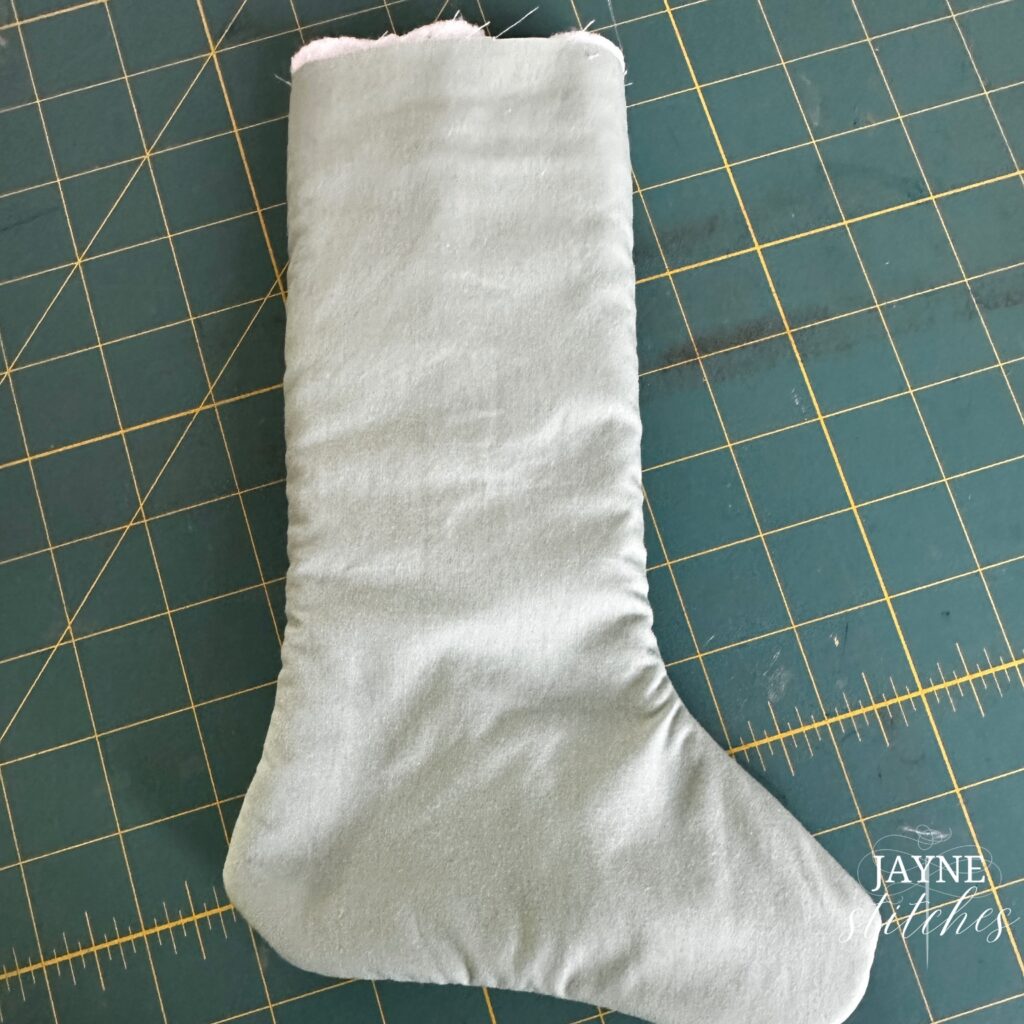
Now to cut out your cuff. I cut a piece of fabric 10″ x 5″.
Fold this horizontally with WRONG sides together (right side out) and place a piece of batting (cut batting piece 10″ x 2.5″)inside of the folded cuff.
Pin the cuff around the stocking matching up the raw edges of the stocking (which is still lining side out) and the raw edges of the cuff. Be sure when you are pinning that the inside of your stocking on both sides is the front and back pieces of the stocking fabric.
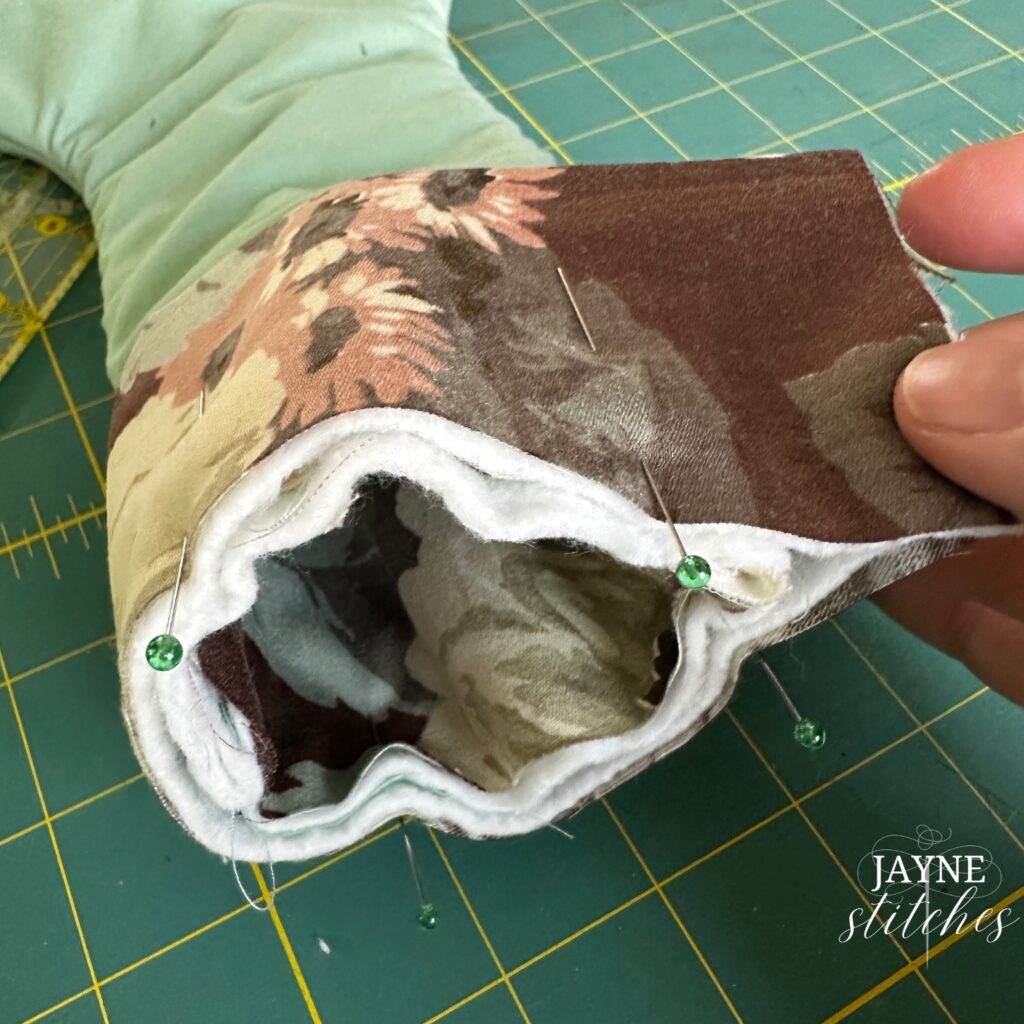
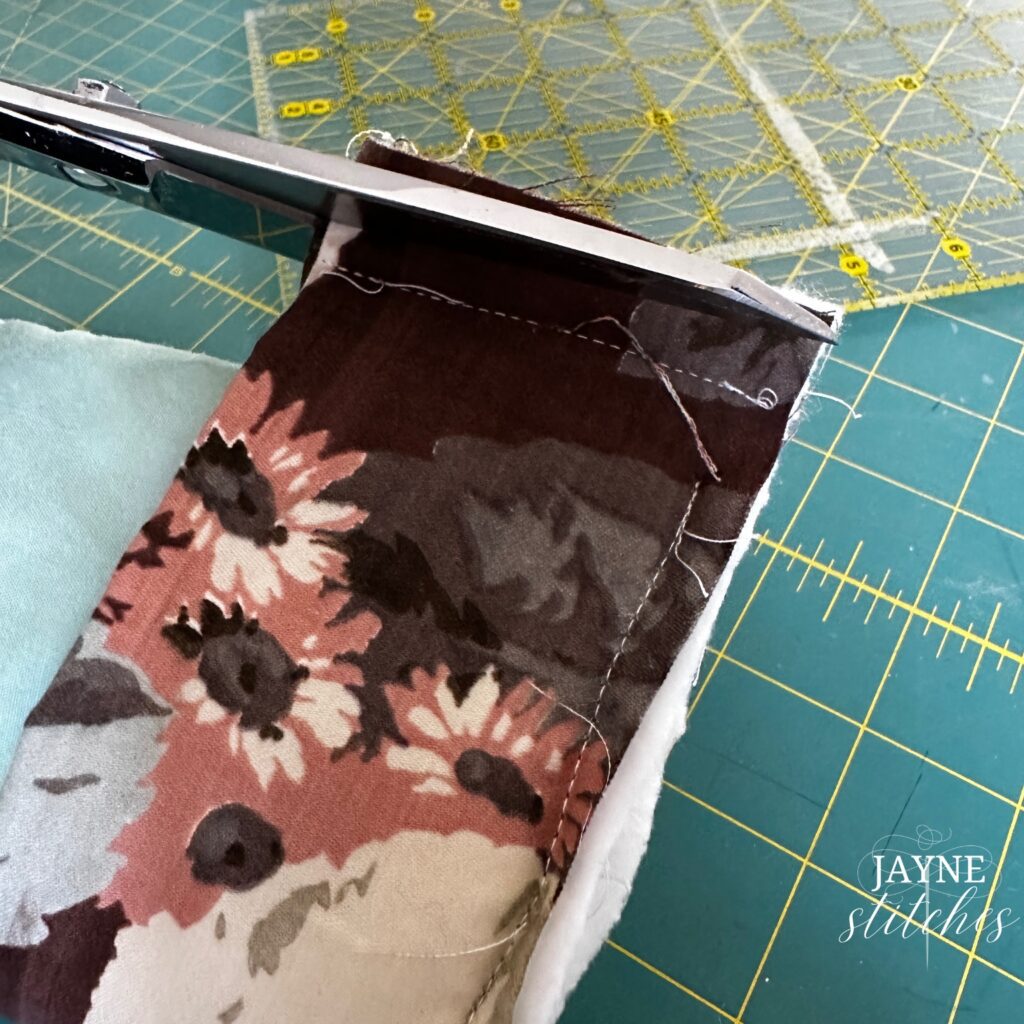
As you see in the photos above, sew around the top of the stocking to attach cuff and then sew up the side seam to close the back of the cuff. Now you can trim away excess fabric from the cuff seam.
Now the moment of truth! Turn the whole stocking inside out and the outside should be your chosen fabric.
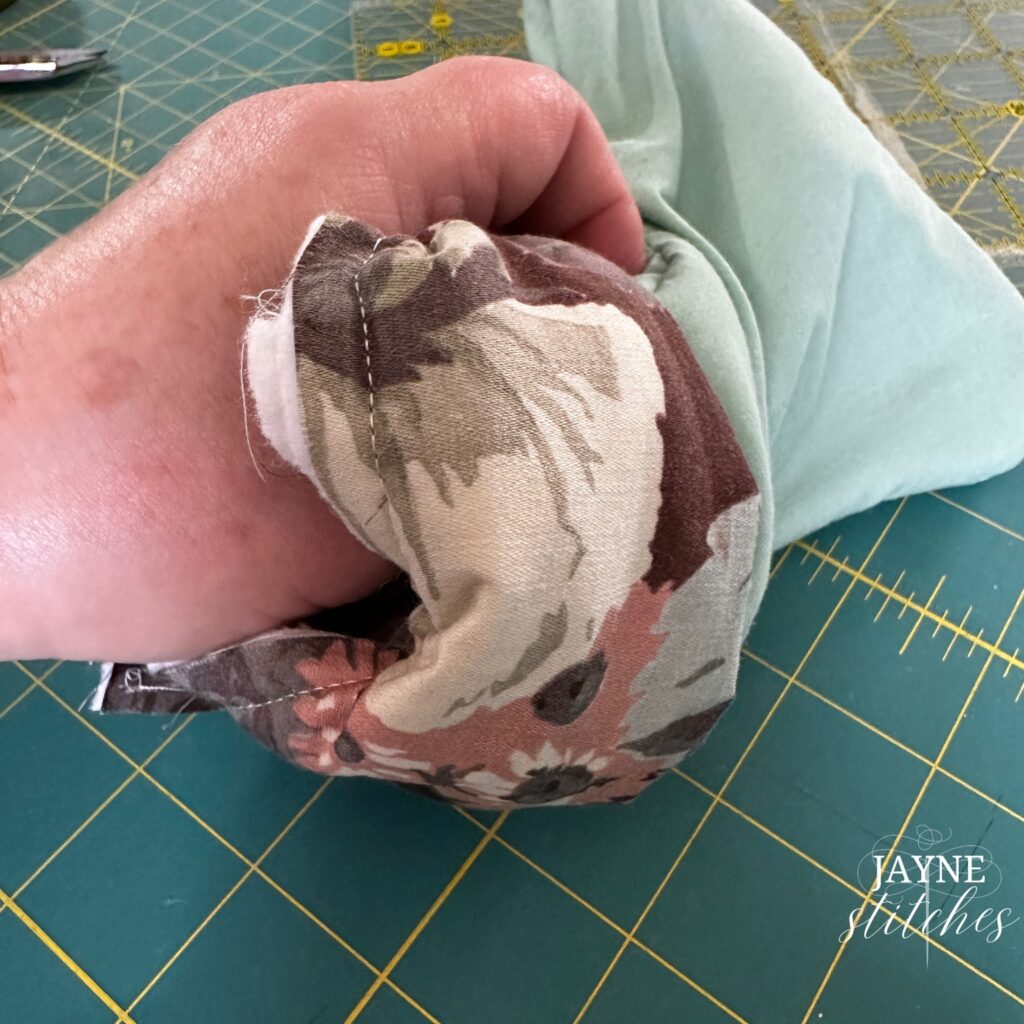
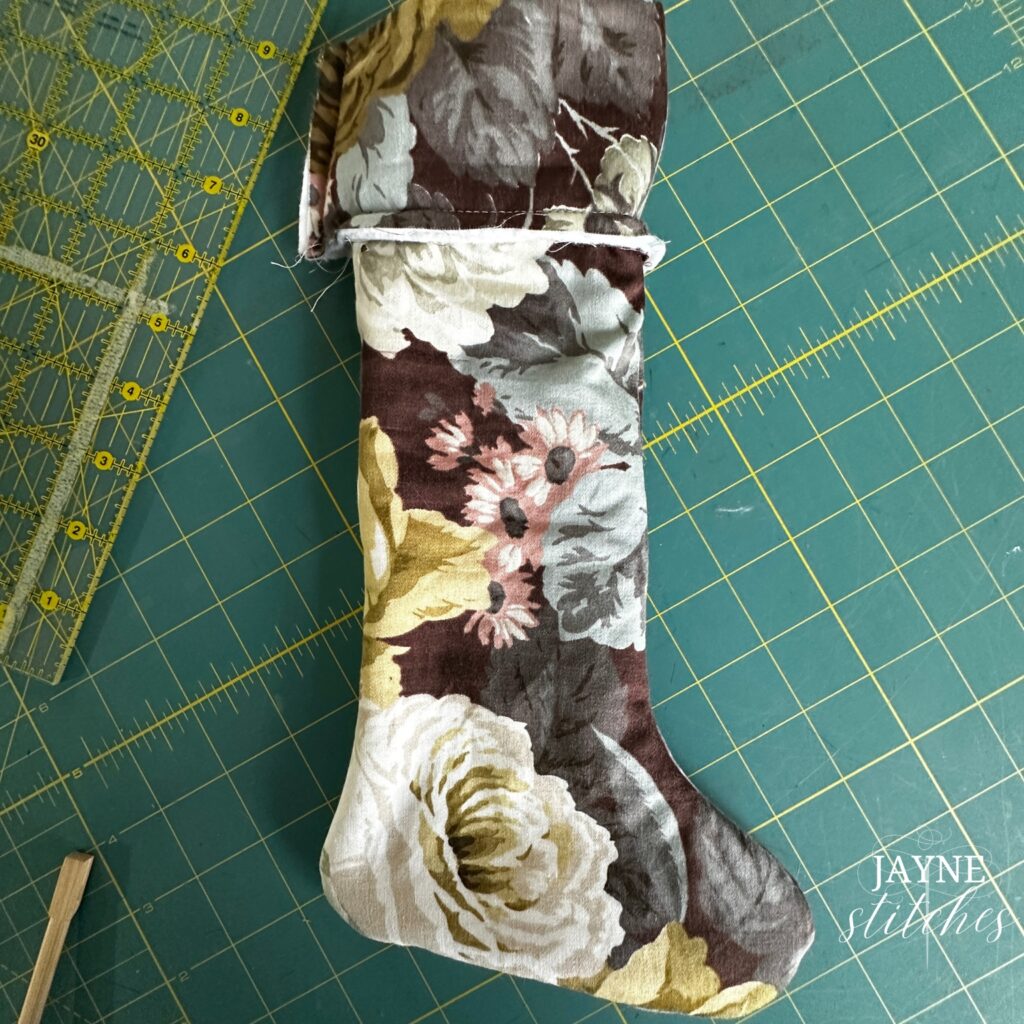
I press the stocking at this point and then attach my loop for hanging with a few hand stitches. For this stocking I used 4″ of the fabric selvage.

I hope this was understandable, I just love making stockings this way and follow this method to make them in different sizes, you can too, just enlarge or shrink the pattern to your hearts content. If there is anything you don’t understand please let me know and I will try my best to explain!
It’s time to gather your supplies and start stitching! Join our needlework challenge community and share your progress with us on Instagram using #52weekNeedleworkChallenge. Let’s make this holiday season extra special by creating beautiful Christmas stockings together!
Happy stitching,


I help creatives achieve beautiful, heirloom needlework projects when they haven’t gotten great results in the past so they can stop worrying that they’re going to ruin a piece and start stitching and being proud of what they create.