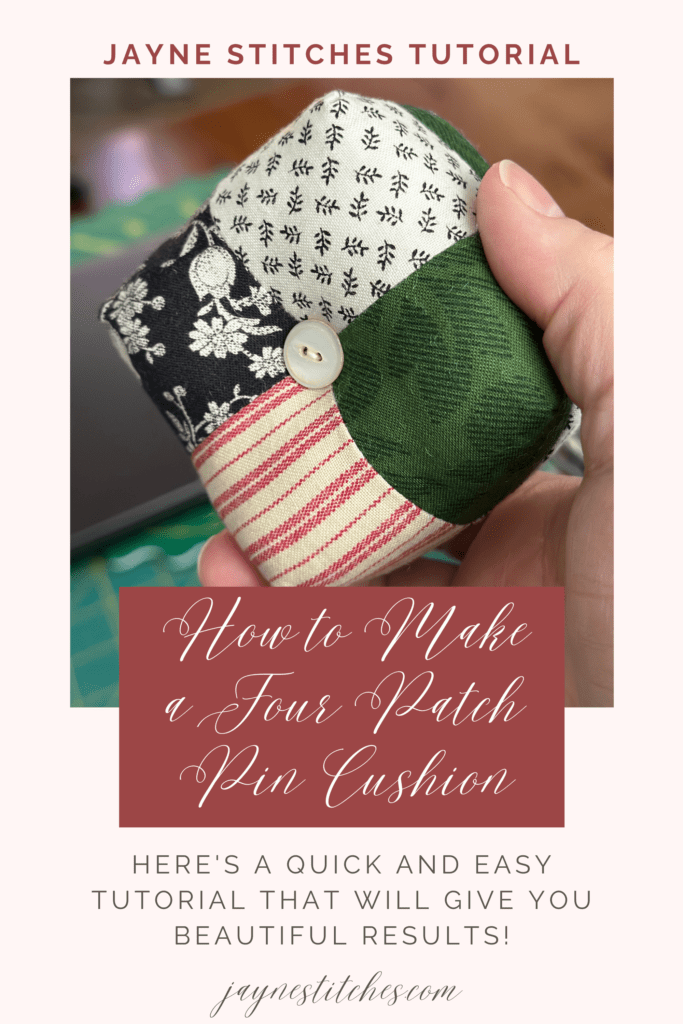
Welcome back to our 52-week needlework challenge. We’re already on week 4, and I’m super excited about this project because we’ll be making a four patch pin cushion.
Pin cushions are not only practical but also a great way to showcase your creativity. Plus, they make adorable gifts for fellow stitchers! So, let’s dive right in and learn how to make your very own four patch pin cushion.

Materials Needed:
Step 1) Cut out 8, 2.5″ squares. Let your imagination run wild, this is just a pin cushion so have fun with your fabric pics.

Step 2) Sew 2 Four Patch blocks. I use a 1/4″ seam allowance for entire project.


Step 3) Cut out 3/4″ square “notches” at each corner of both Four Patch blocks.


Step 4) Pin and sew each “notch” to give pin cushion its square dimension. Back stitch at beginning and end.


Step 5) With right sides together fit one half of pin cushion into the other. Take time to match the seams and pin. Sew around being sure to leave a 1.5″ opening to turn, also, make sure to back stitch at beginning and end.


Step 6) Turn right side out and carefully fill with stuffing. I use a chop stick to push stuffing into all the corners.

Step 7) Using the Ladder Stitch close the opening.

Step 8) Using a long doll needle threaded with embroidery floss run needle through top button into the center of the pin cushion and out the bottom of the pin cushion.


Thread bottom button onto needle and then go through the bottom (right next to where the needle came out) of the pin cushion through the top (right next to where the needle and floss went in) and then through the button.

Trim the floss leaving a good length to know. Pull the floss tight to create indent/dimple in pin cushion and tie a square knot. Do a final trim of the floss and you’re done!


Remember, practice makes perfect, so don’t worry if your first attempt isn’t flawless. The most important thing is to have fun and enjoy the process of creating something beautiful with your own hands.
I hope you found this week’s challenge exciting and inspiring.
If you haven’t joined the 52 Week Needlework Challenge yet, click here! Catch up and see Week 1 here , Week 2 here and Week 3 here!
Happy stitching!


I help creatives achieve beautiful, heirloom needlework projects when they haven’t gotten great results in the past so they can stop worrying that they’re going to ruin a piece and start stitching and being proud of what they create.