
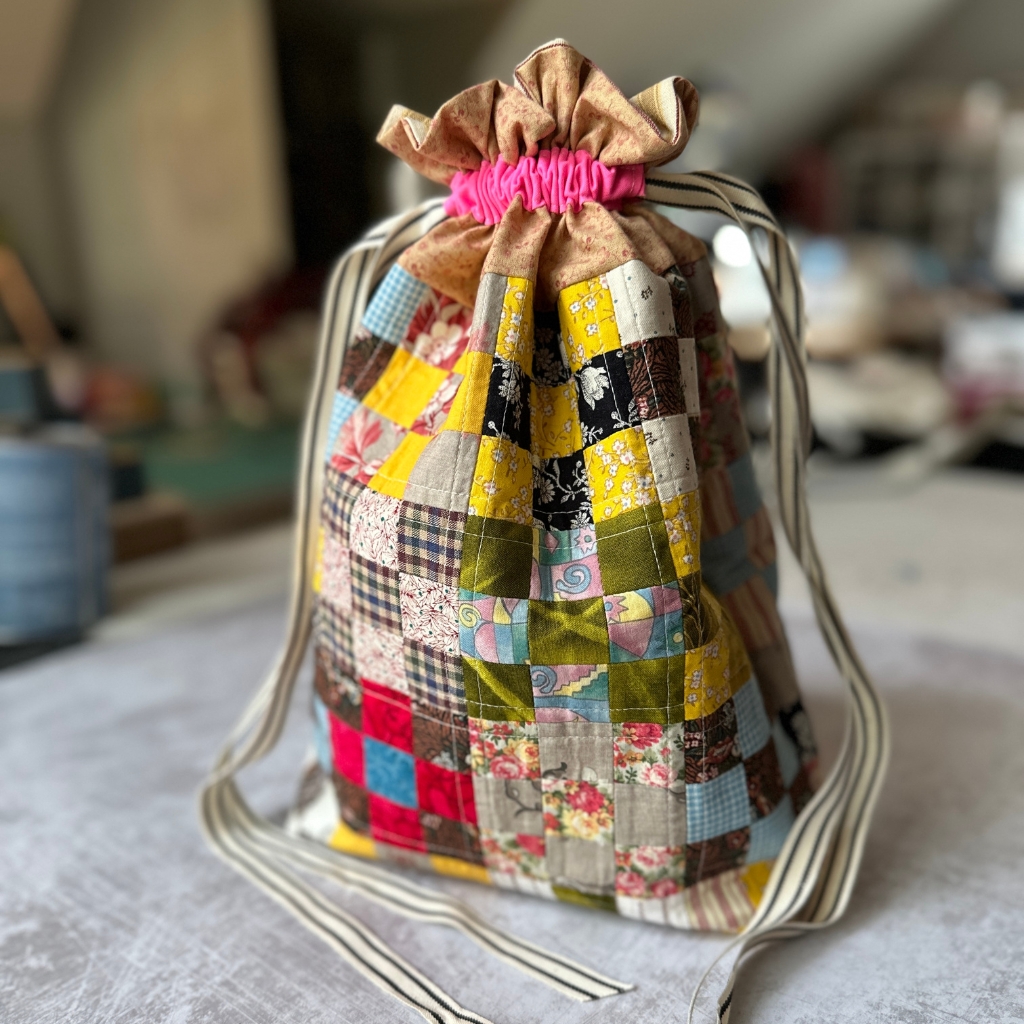
I thought sewing a lined drawstring bag was going to be a quick project, it would have been if I didn’t decide to make a nine patch exterior for my bag.
Having said that it was still a pretty fast project and took me about 4 days (working on it a couple of solid hours per day) to complete and that’s including time to figure out the pattern!
This little bag is scrap friendly, I really want to use up my small pieces of fabric and nothings better than a nine patch for that.
You can use a bag like this for gift giving, pretty storage, to carry projects in, there’s so many uses!
Let’s get started!
Some of these links may be affiliate links. I will earn a commission at no additional cost to you.
Supplies Used:
Step 1) Choose your fabrics, have fun with this and use this bag project as a way to match colors and patterns that you may normally shy away from! The largest pieces you”ll need are the two 18″ x 12.5″ lining pieces.
Step 2) Sew your nine patches, you’ll need 16 for each side, for a total of 32. I used 1.5″ squares to make up my nine patches. You can cut these out using a ruler or if you have an Accuquilt Go like me you can use that.
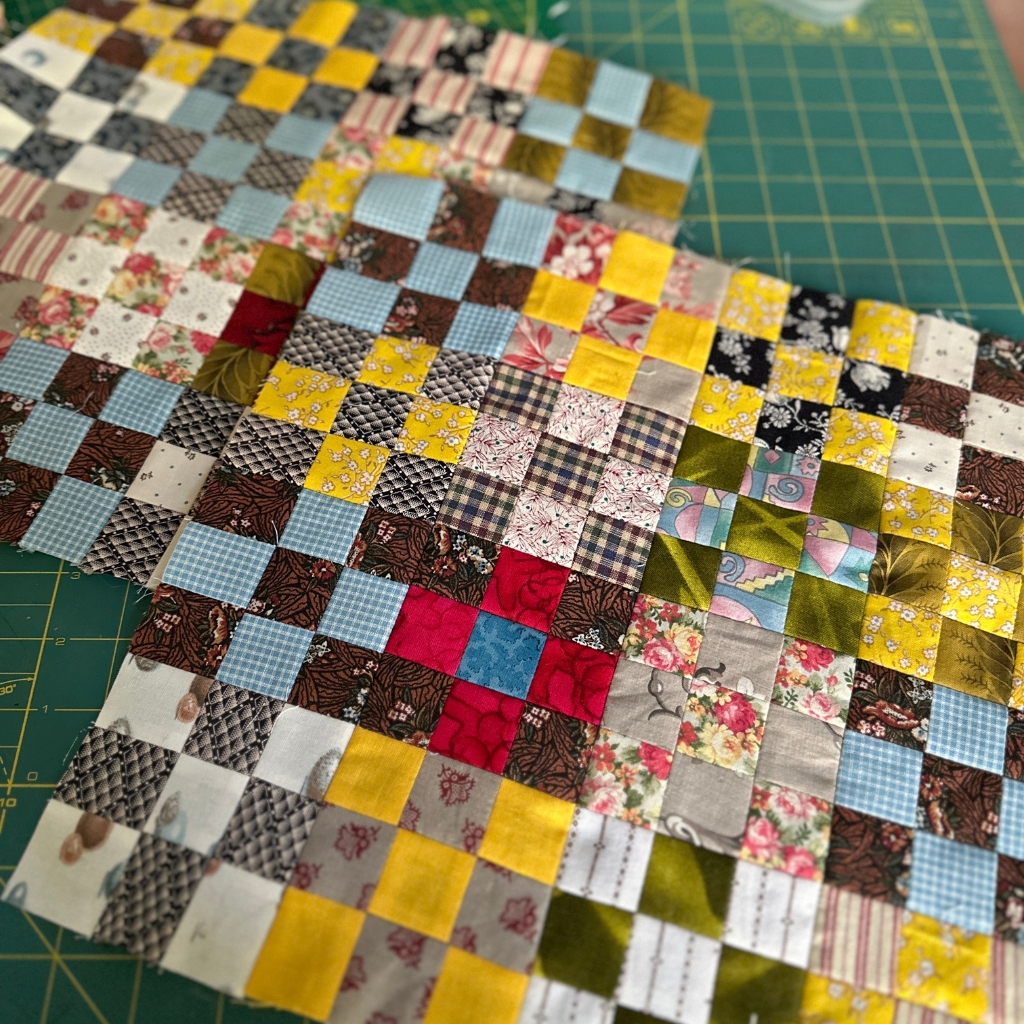
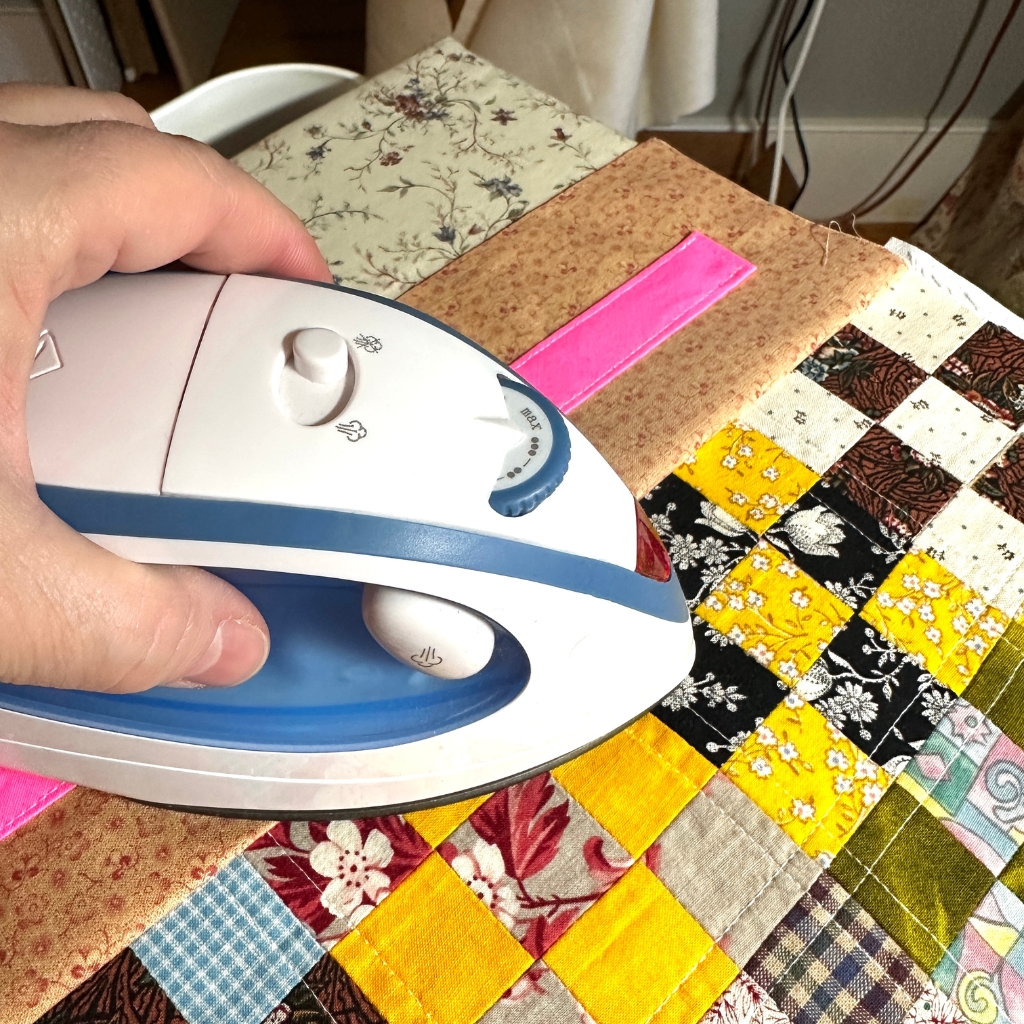
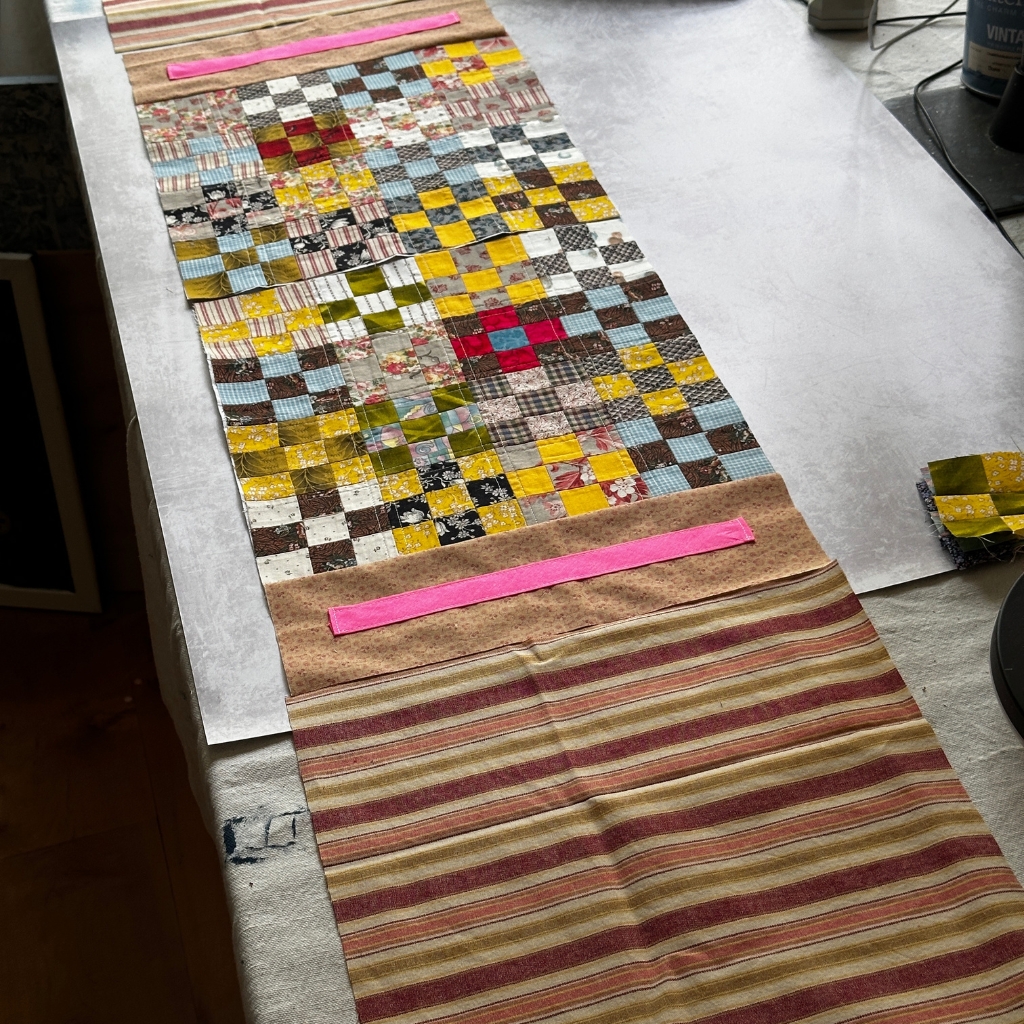
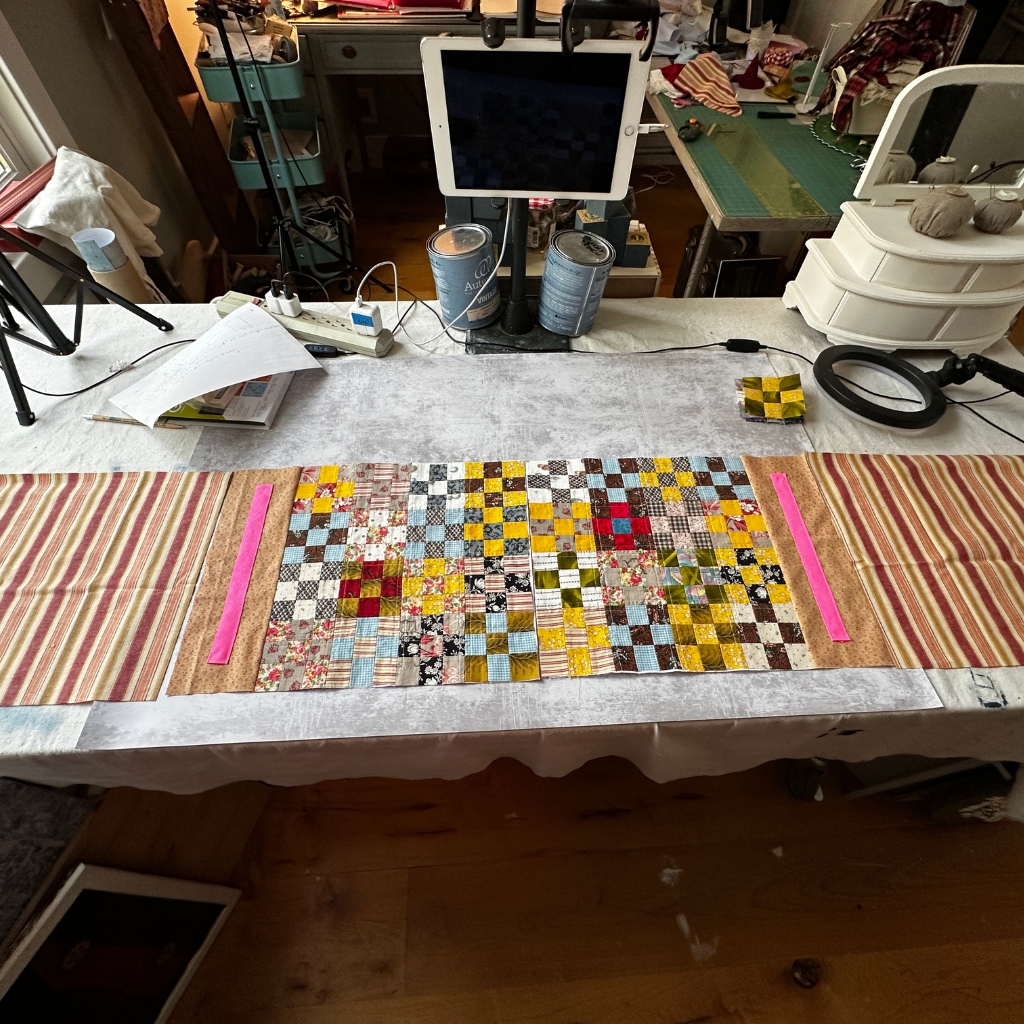
Step 3) Sew your nine patches together to make two blocks of four by four. Press well. When all your nine patches are sewn together using a 1/4″ seam allowance your have two 12.5″ blocks.
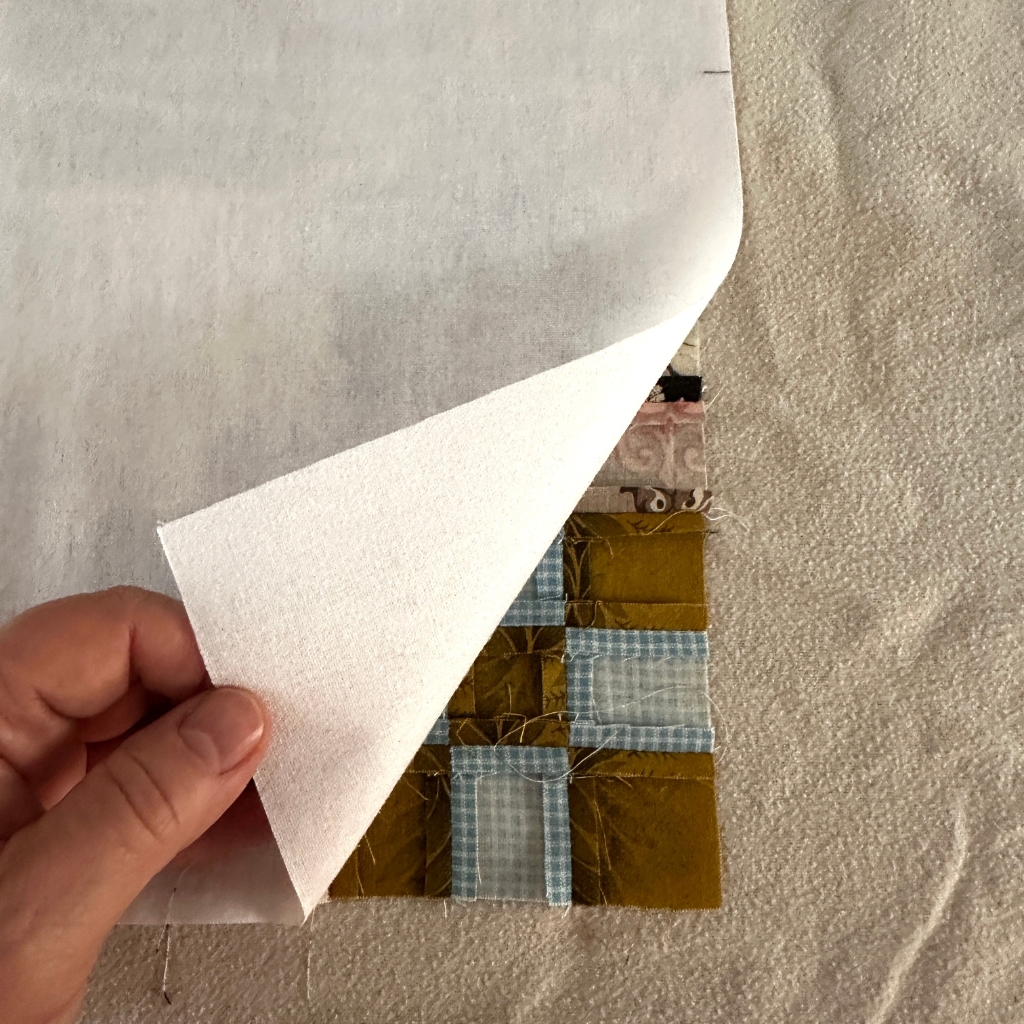
Step 4) Following the manufacturers instructions line each nine patch side with fusible interfacing. This will give your bag some body and keep it from collapsing.
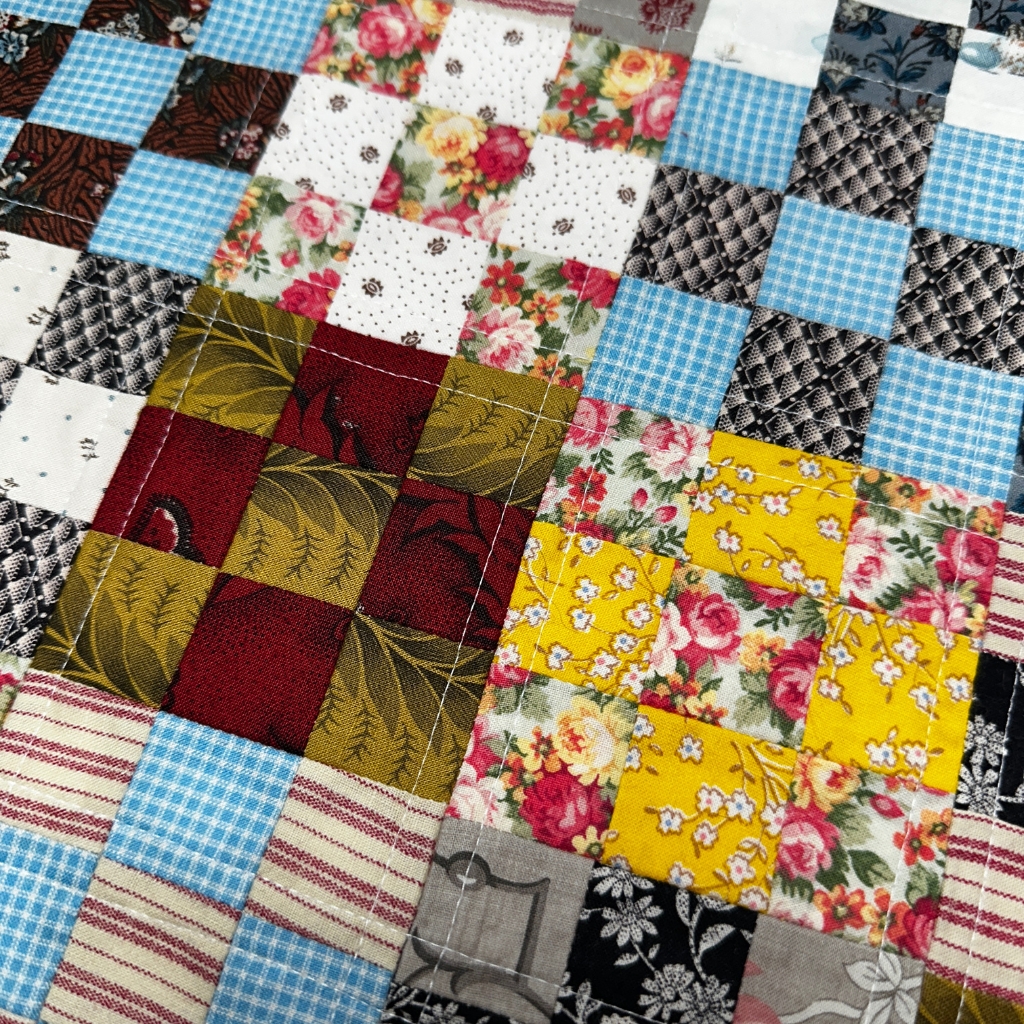
Step 5) If you’d like you can machine quilt your nine patch front and back panels.
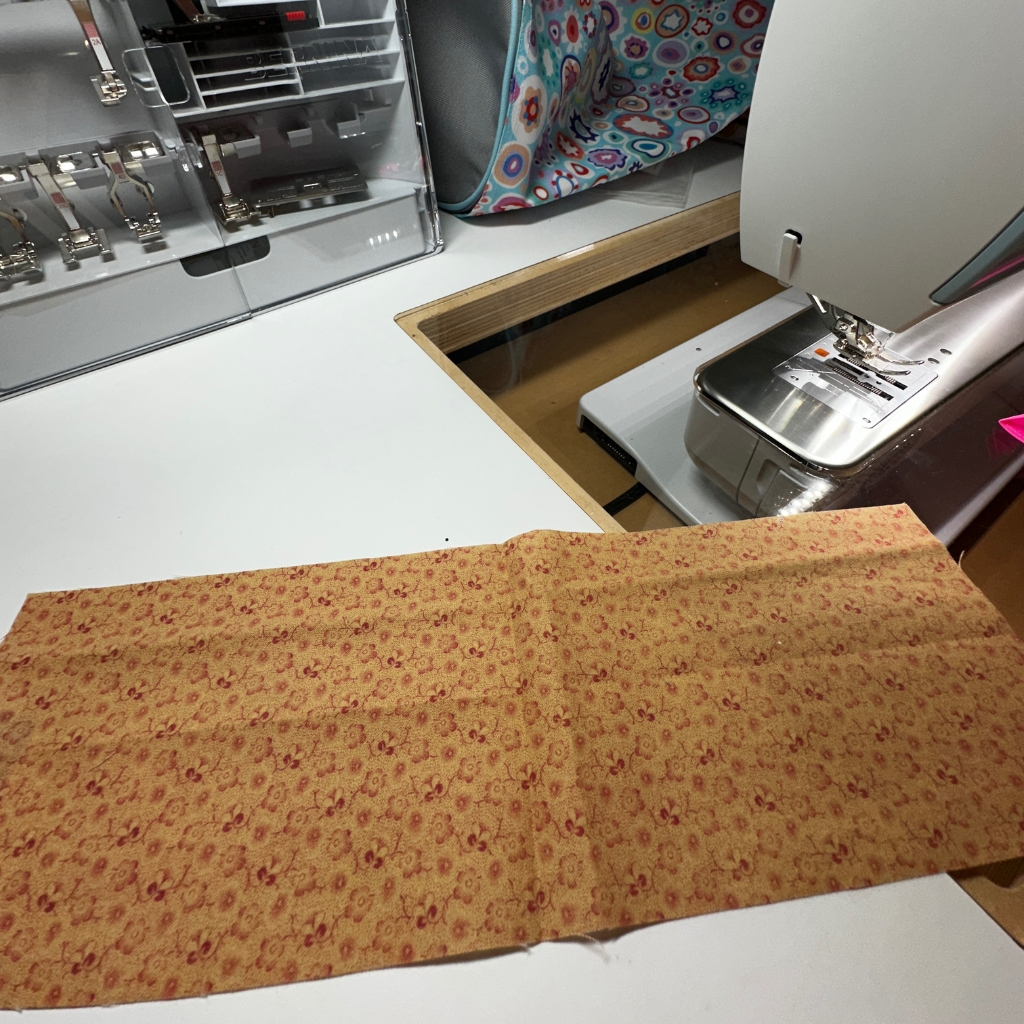
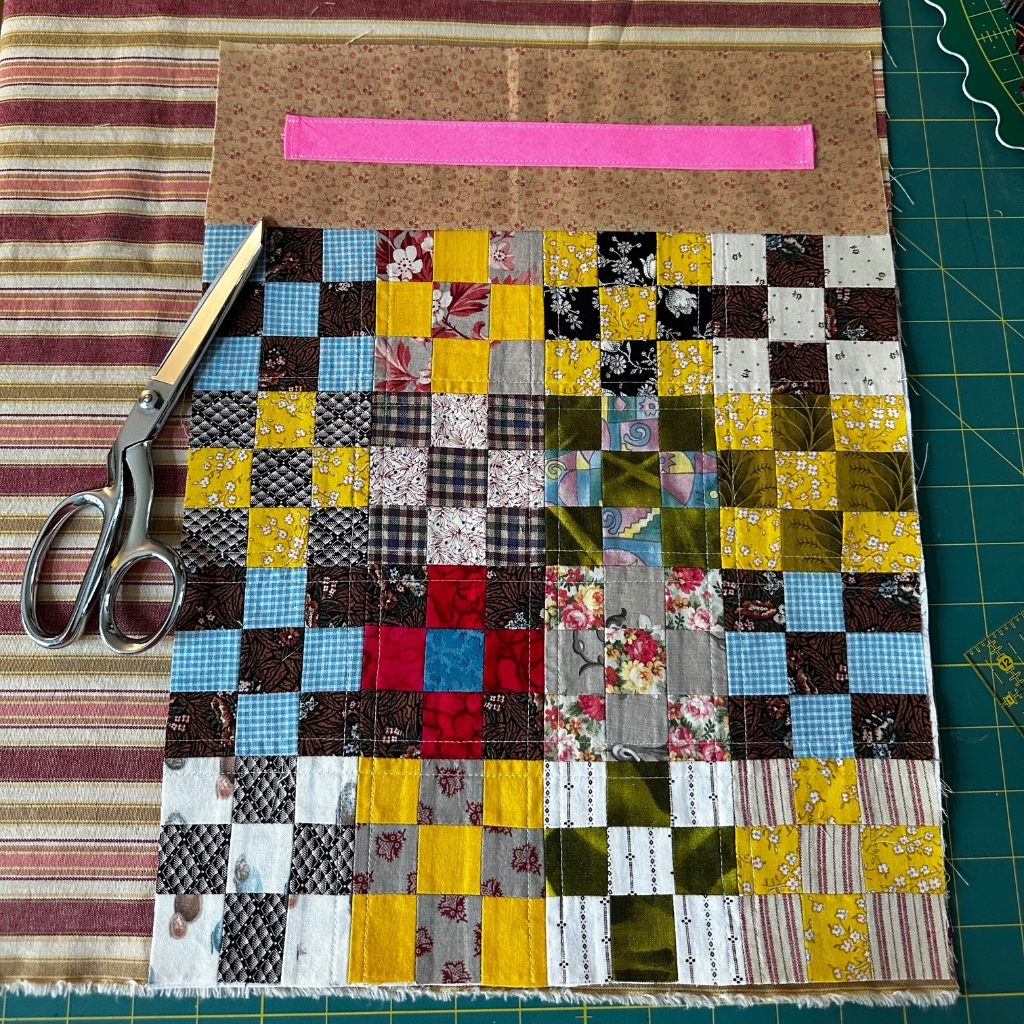
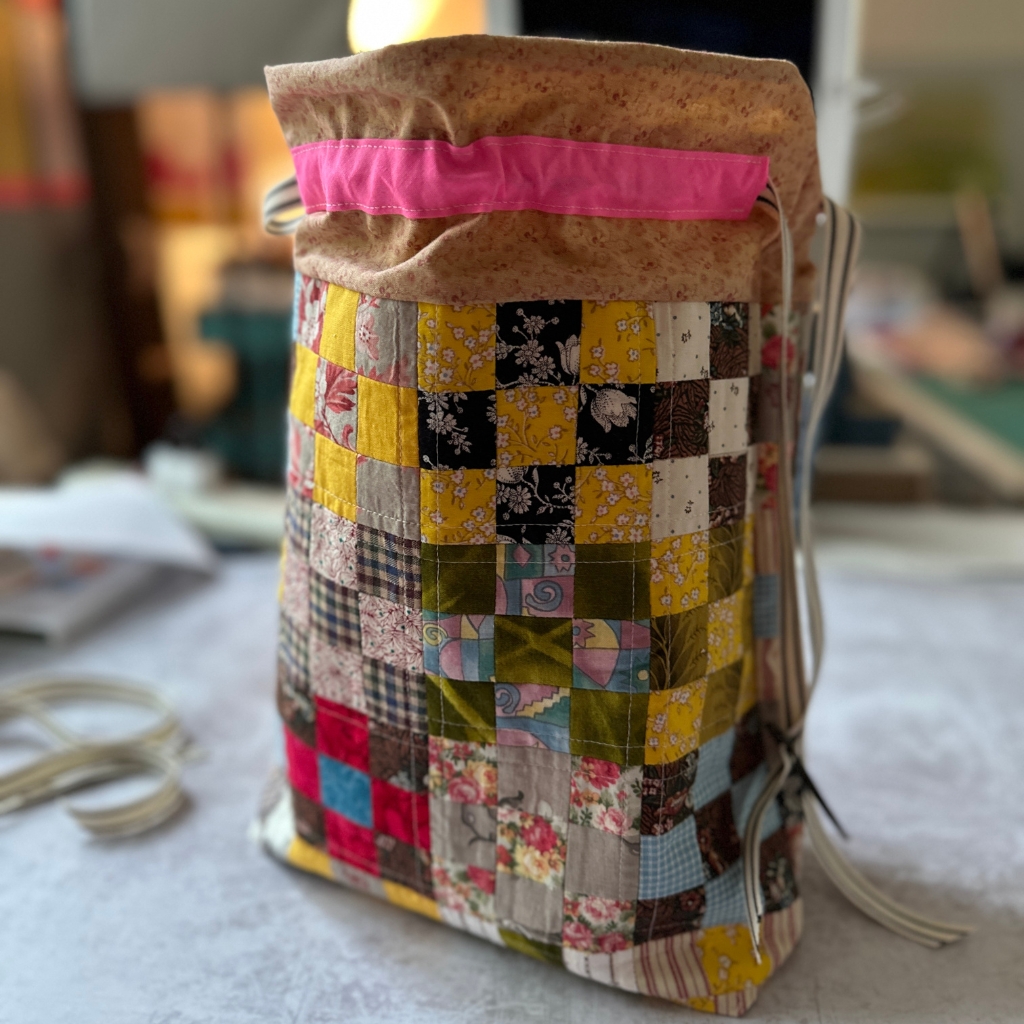
Step 6) For the top part of the bag that holds the drawstring cut two pieces of fabric 12.5″ x 4″, we’ll call them the accent pieces.
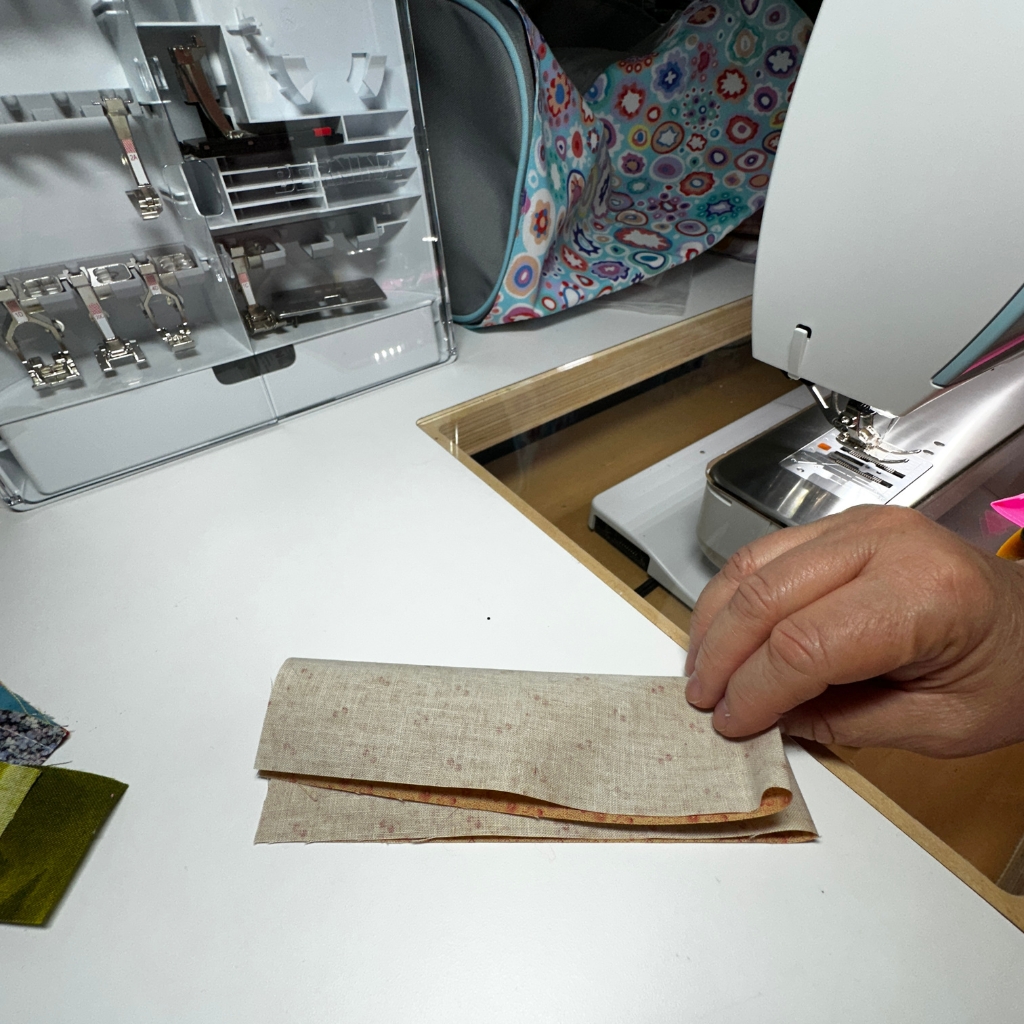
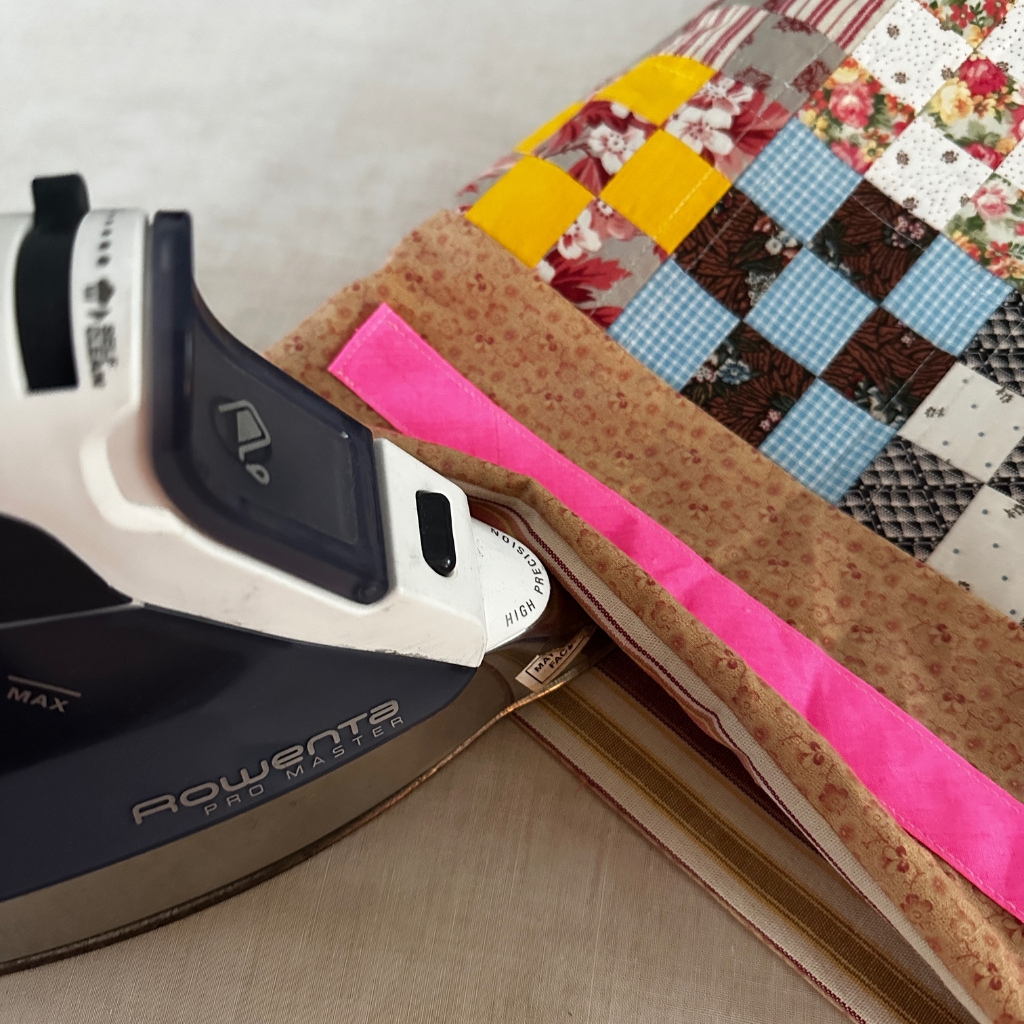
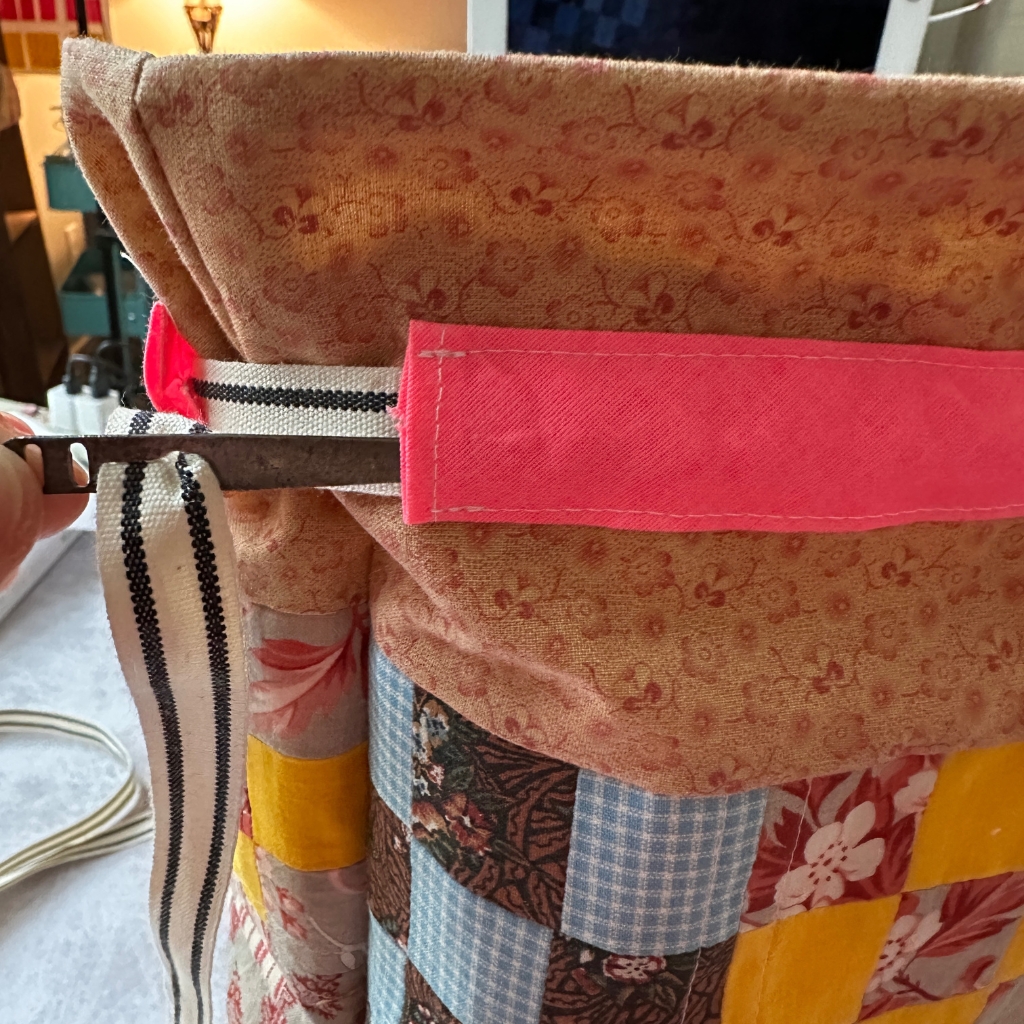
Step 7) Cut two 10.5″ strips of bias binding and hem each end by folding over 1/8″ and sewing. Press.
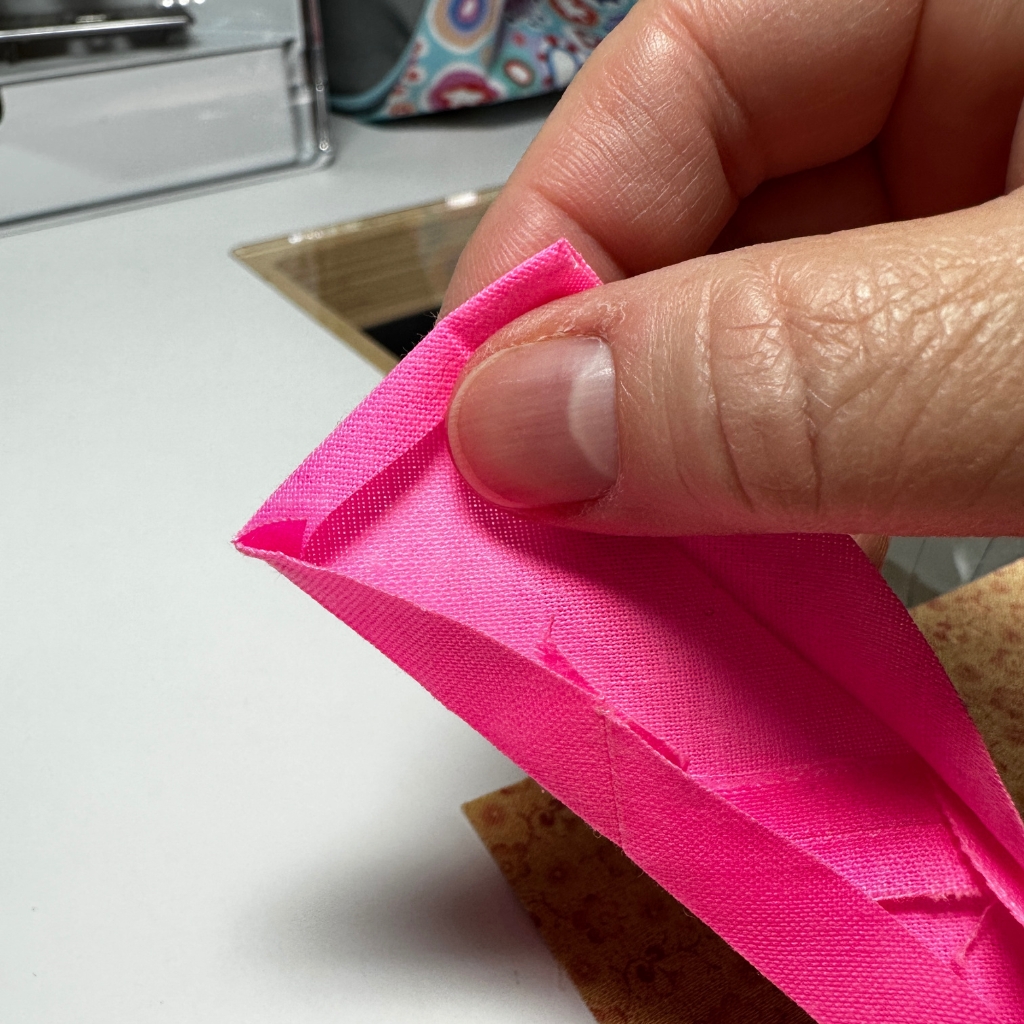
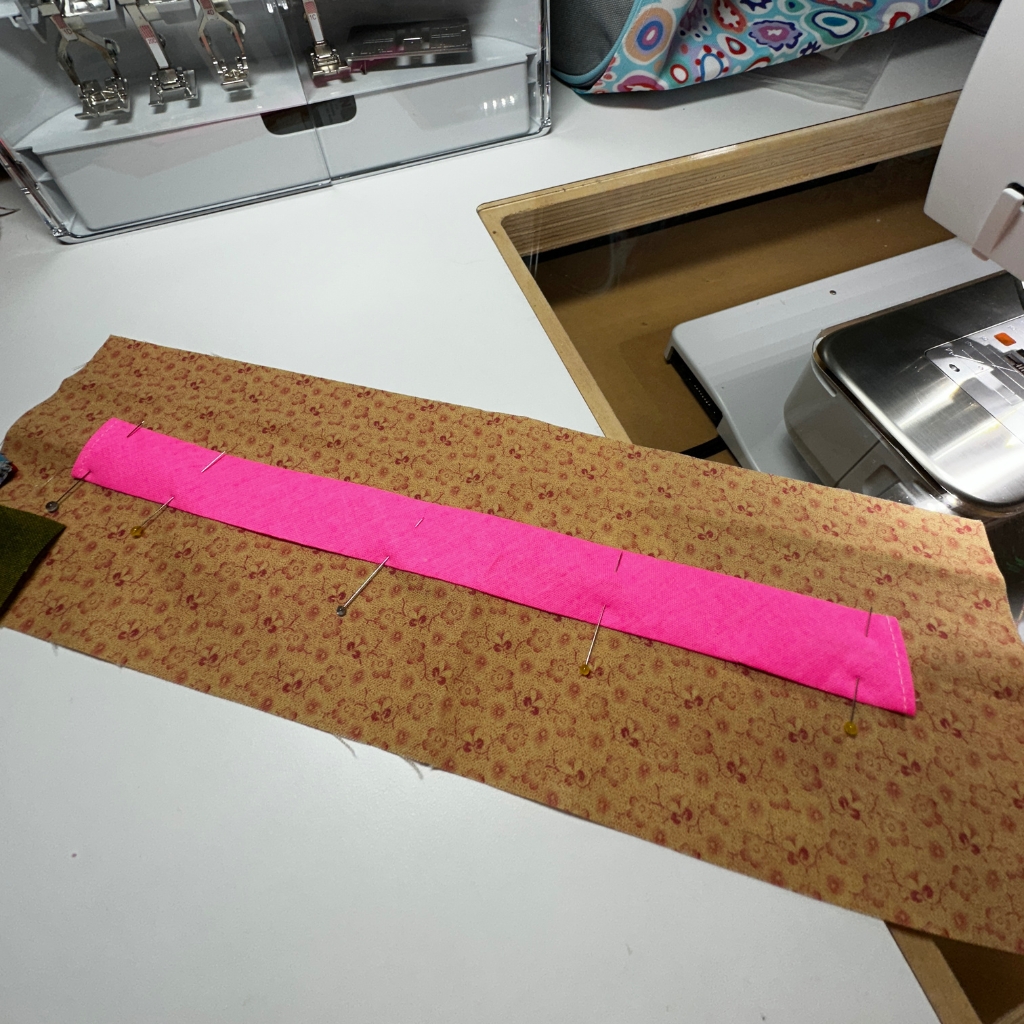
Step 8) Fold the top accent piece of fabric into 4ths to find the center, fold the bias binding in half to find center. Match the bias binding center to top piece of fabric center and pin.
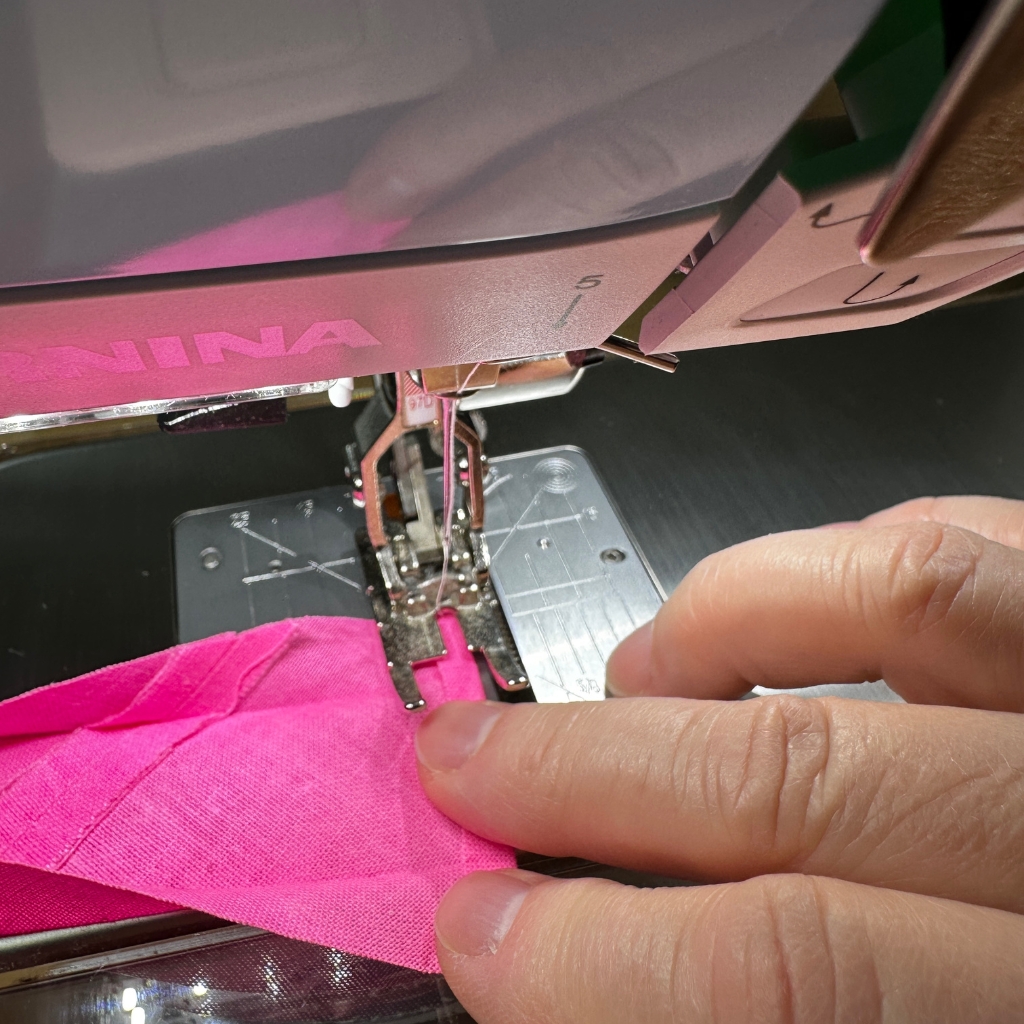
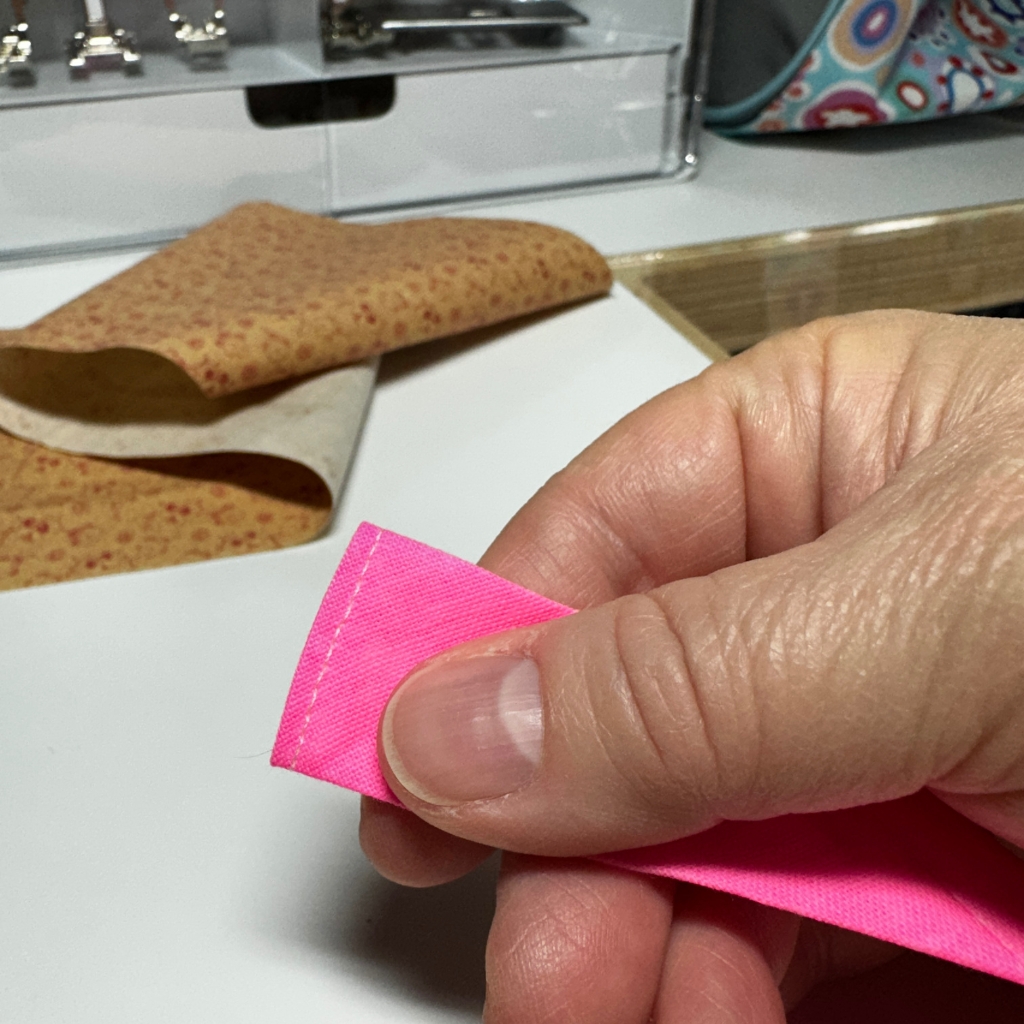
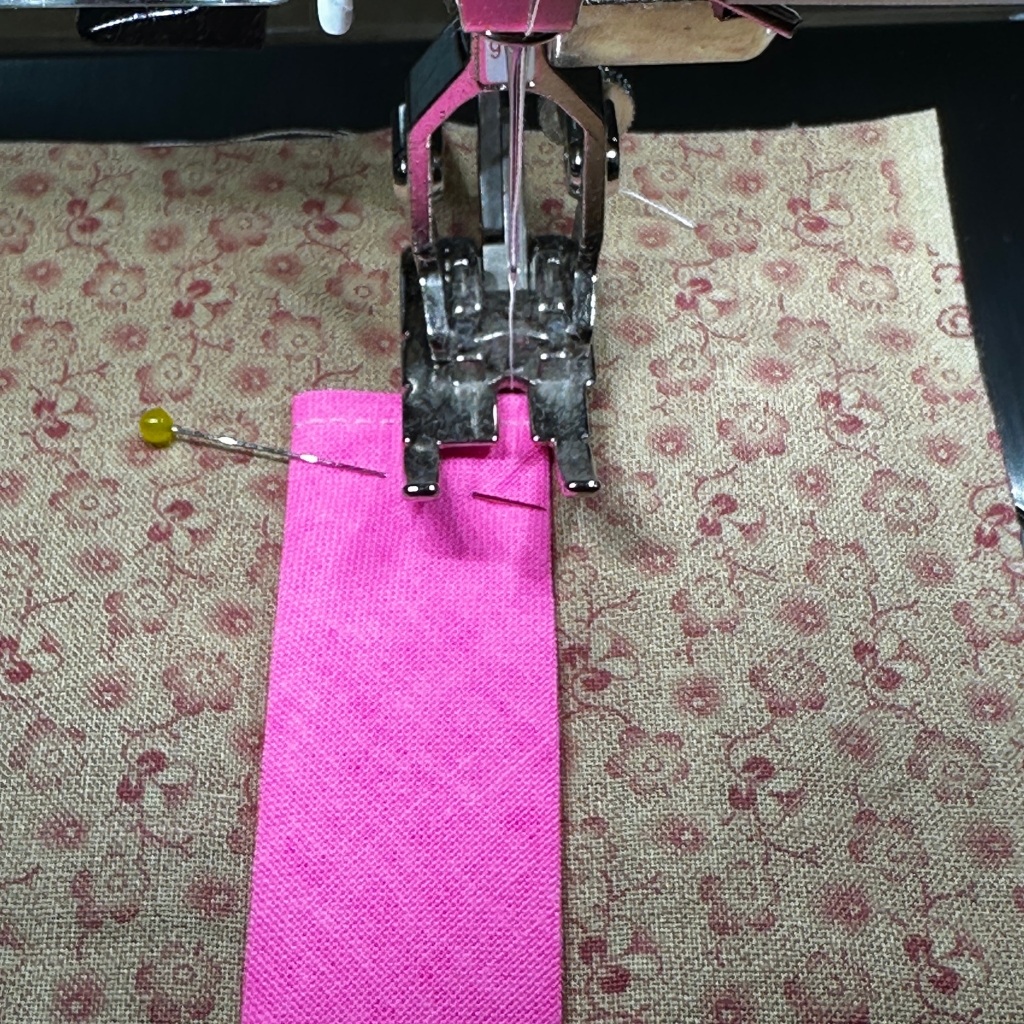
Step 9) Using a 1/8th” seam top stitch bias binding being sure to leave the hemmed ends open. Repeat on both top accent pieces.
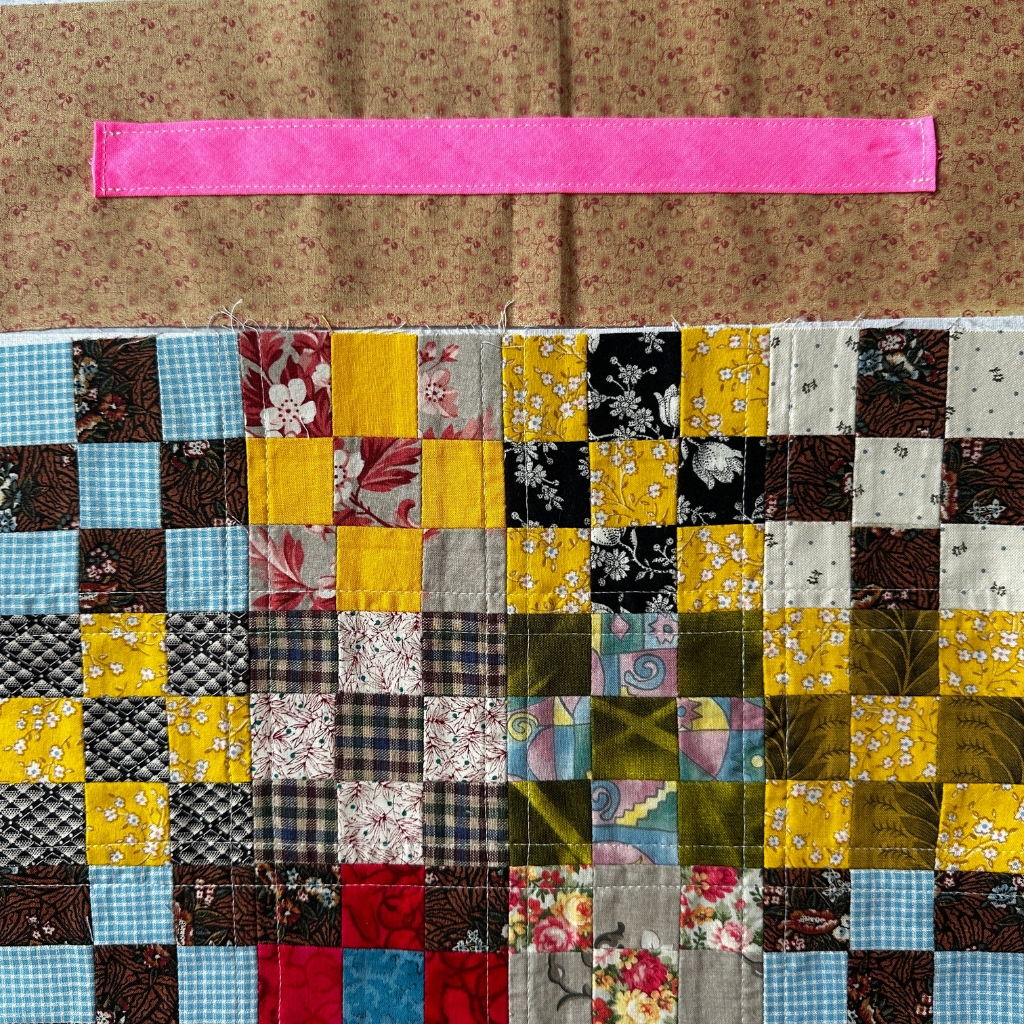
Step 10) With right sides facing sew top accent pieces to nine patch exterior, repeat with second pieces. Press.
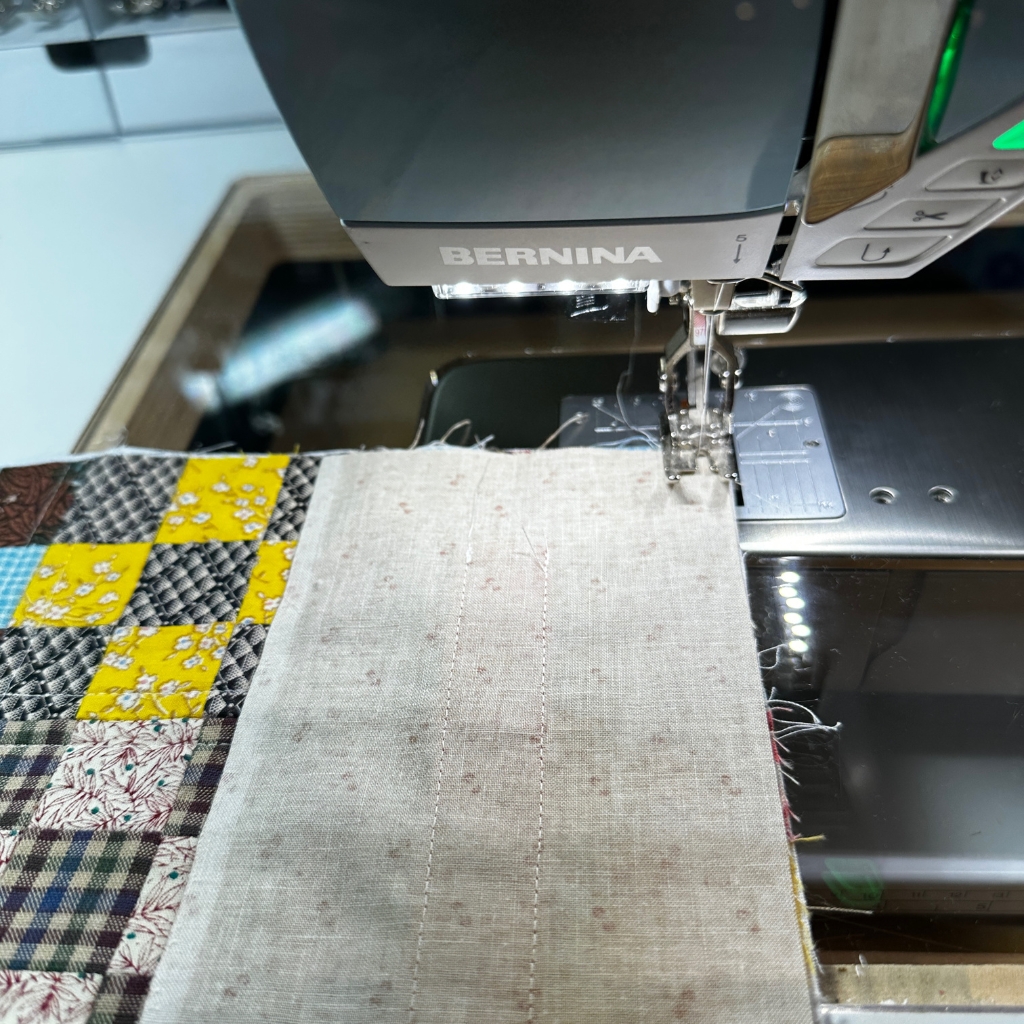
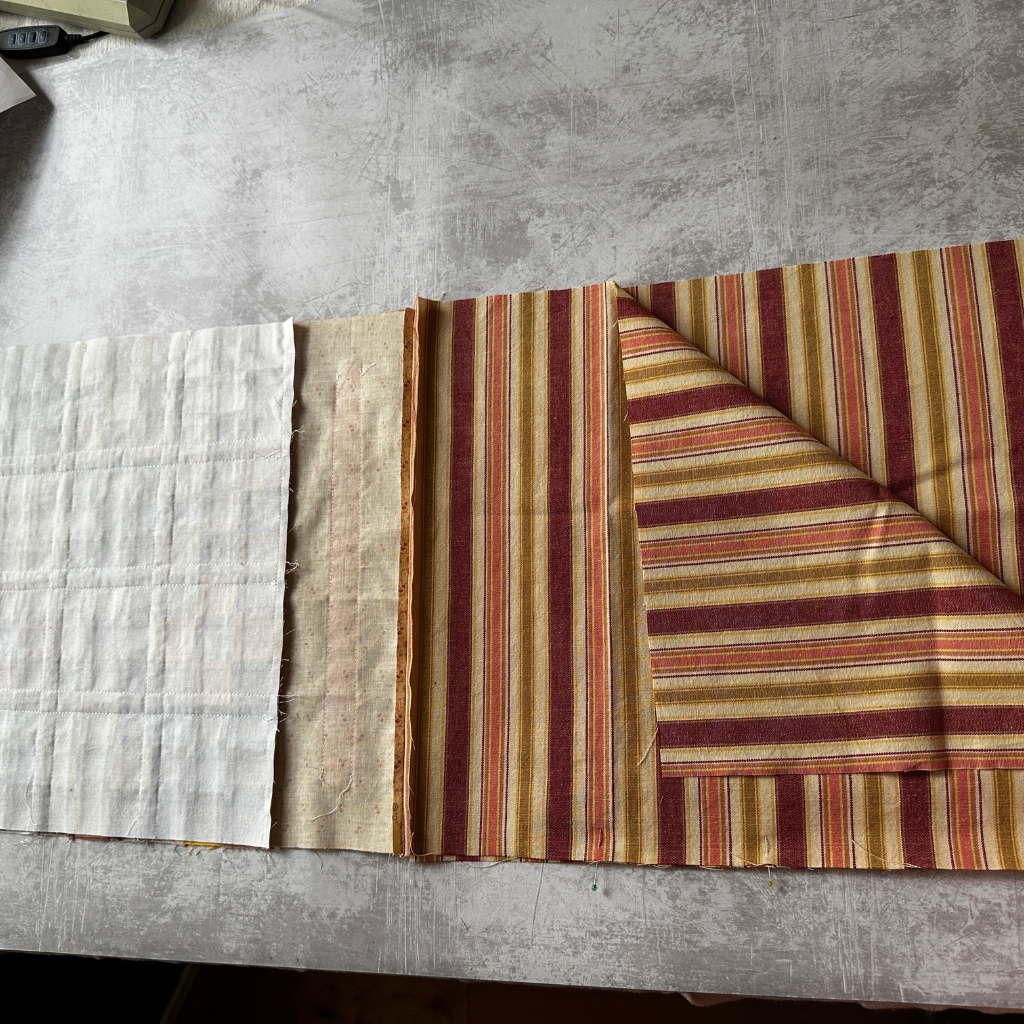
Step 11) Using your exterior front piece as a guide cut 2 pieces of lining fabric – the same size as exterior front piece.
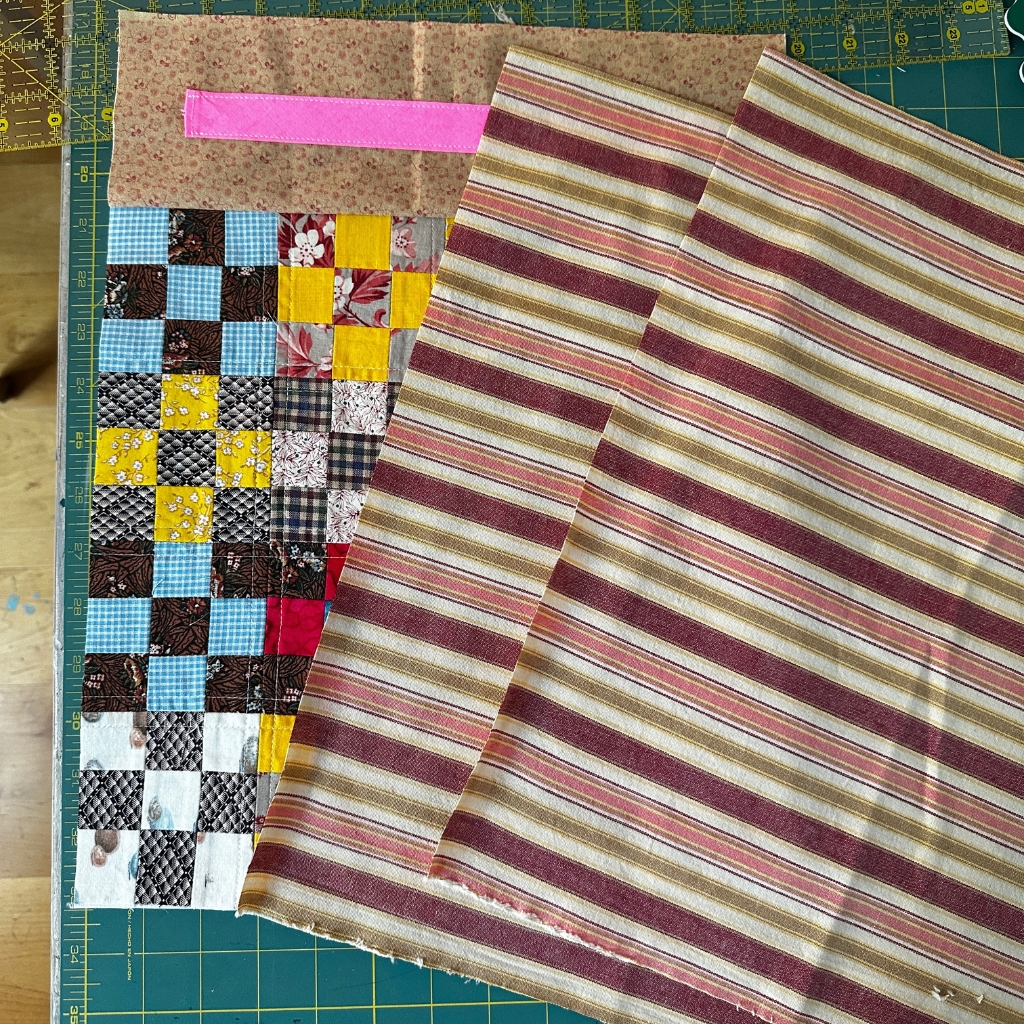
Step 12) Sew (right sides together) the lining fabric to the top accent piece. Repeat on second side. Press.
Step 13) Sew the front and back pieces together at the bottom, you should have one long series of parts sewn together.
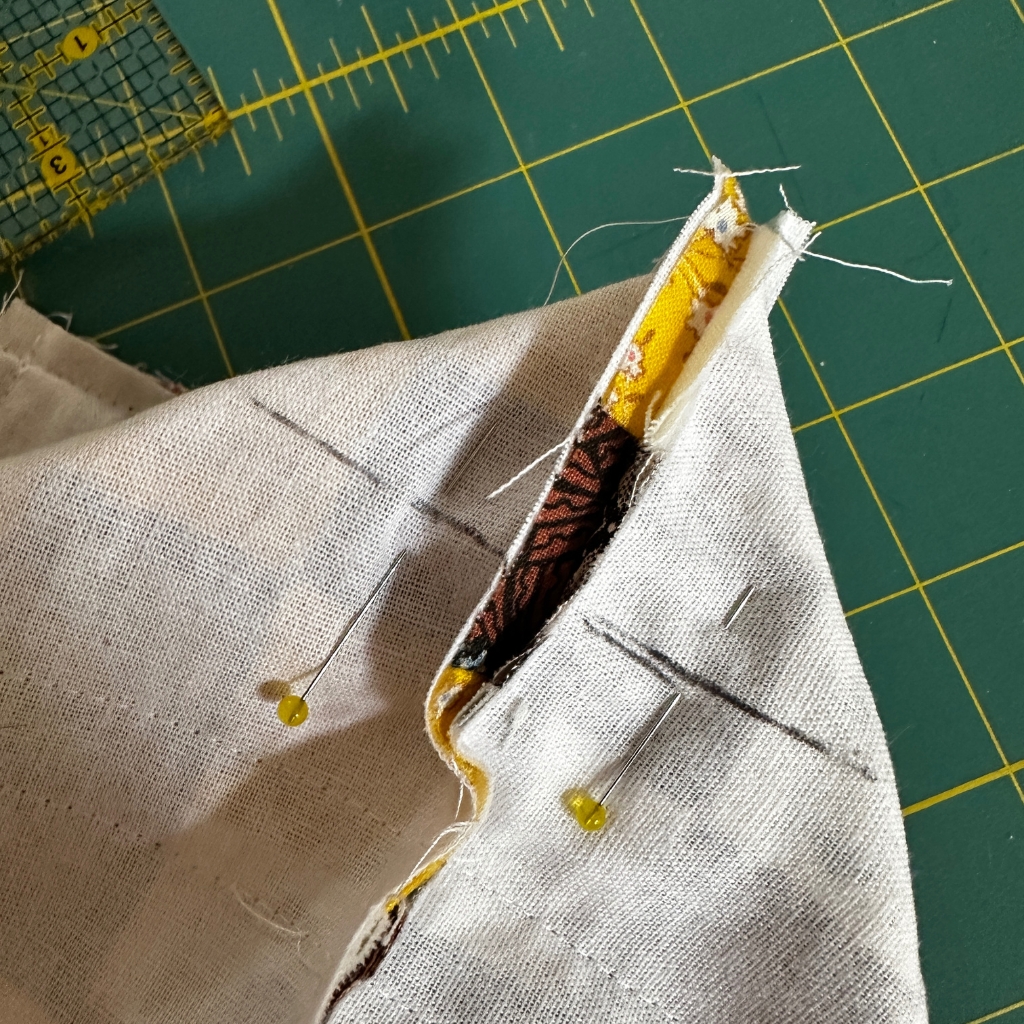
Step 14) Fold in half at bag exterior bottom seam with right sides facing. Pin around and be sure to leave a 4″ opening for turning. Sew around making sure to back stitch at beginning and ending. Press.
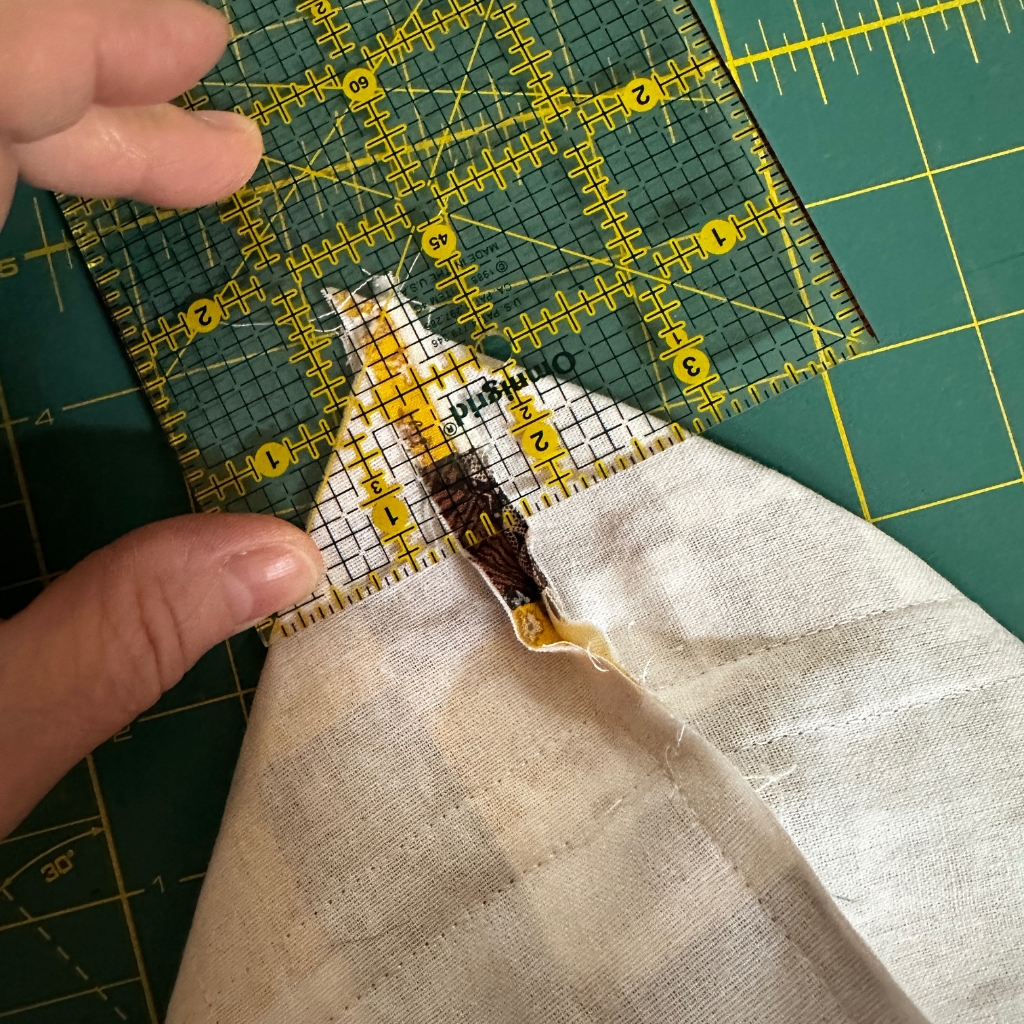
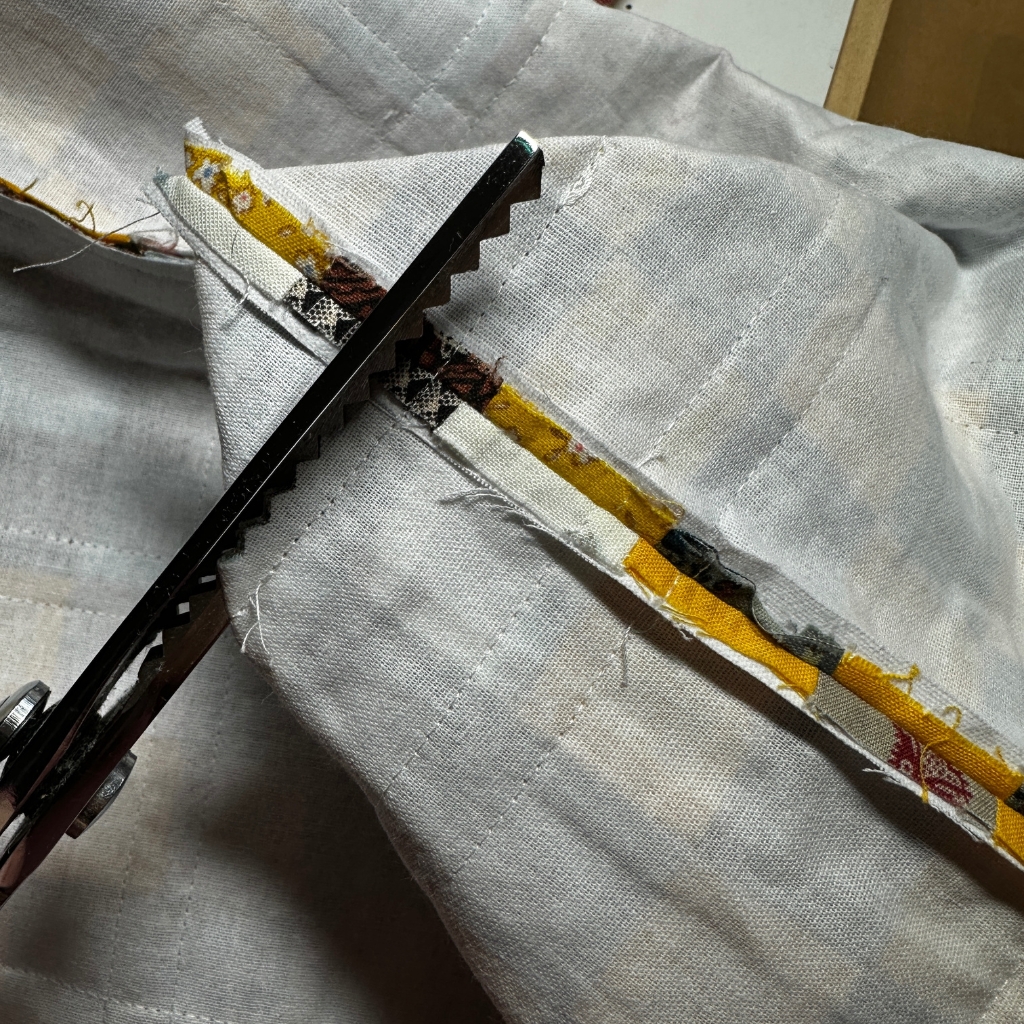
Step 15) Make the box corners by pulling the corner out, wiggle the seams together and using a ruler mark 1.5″ up to form a triangle and pin. Repeat this on all four corners. Sew along marked line and cut away excess fabric.
Step 16) Turn bag inside out.
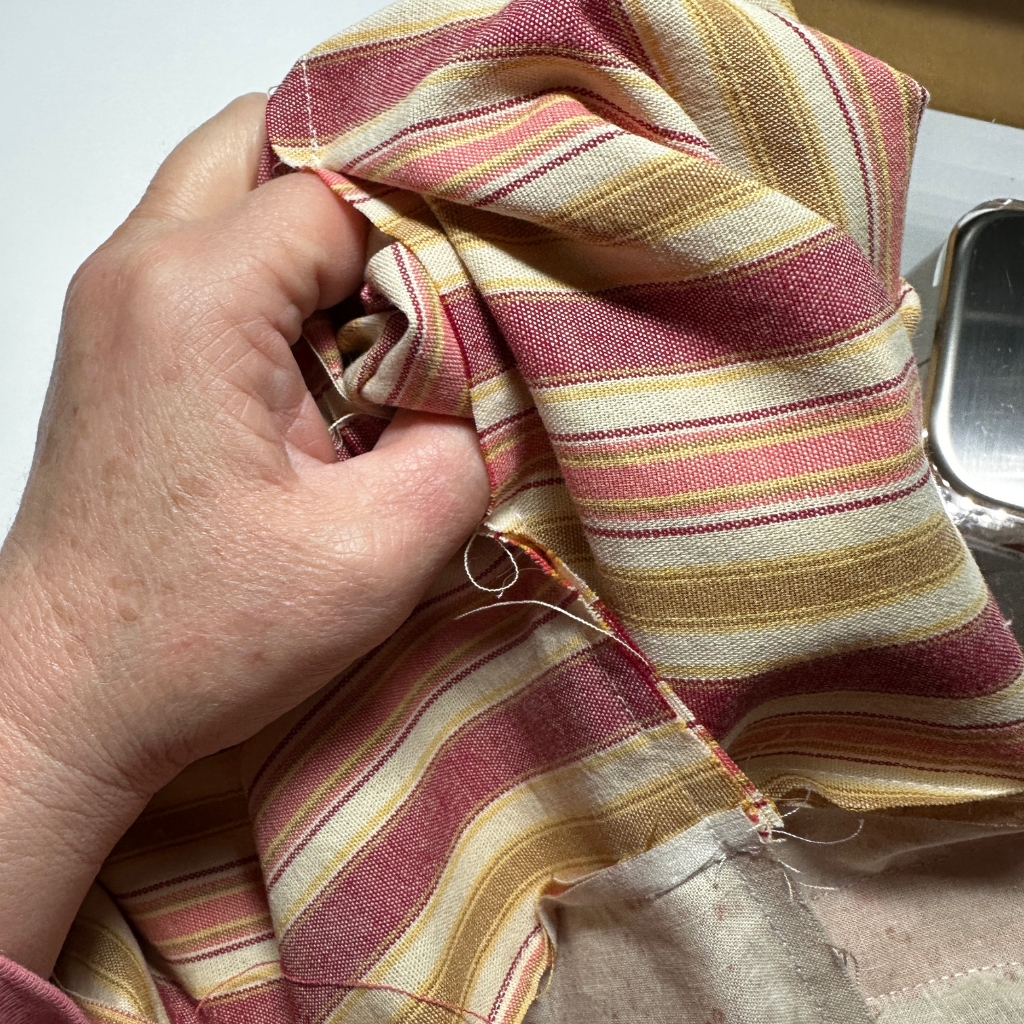
Step 17) Push lining down into bag. Press top seam – if you’d like you could top stitch. Find the opening that was left for turning and hand stitch closed.
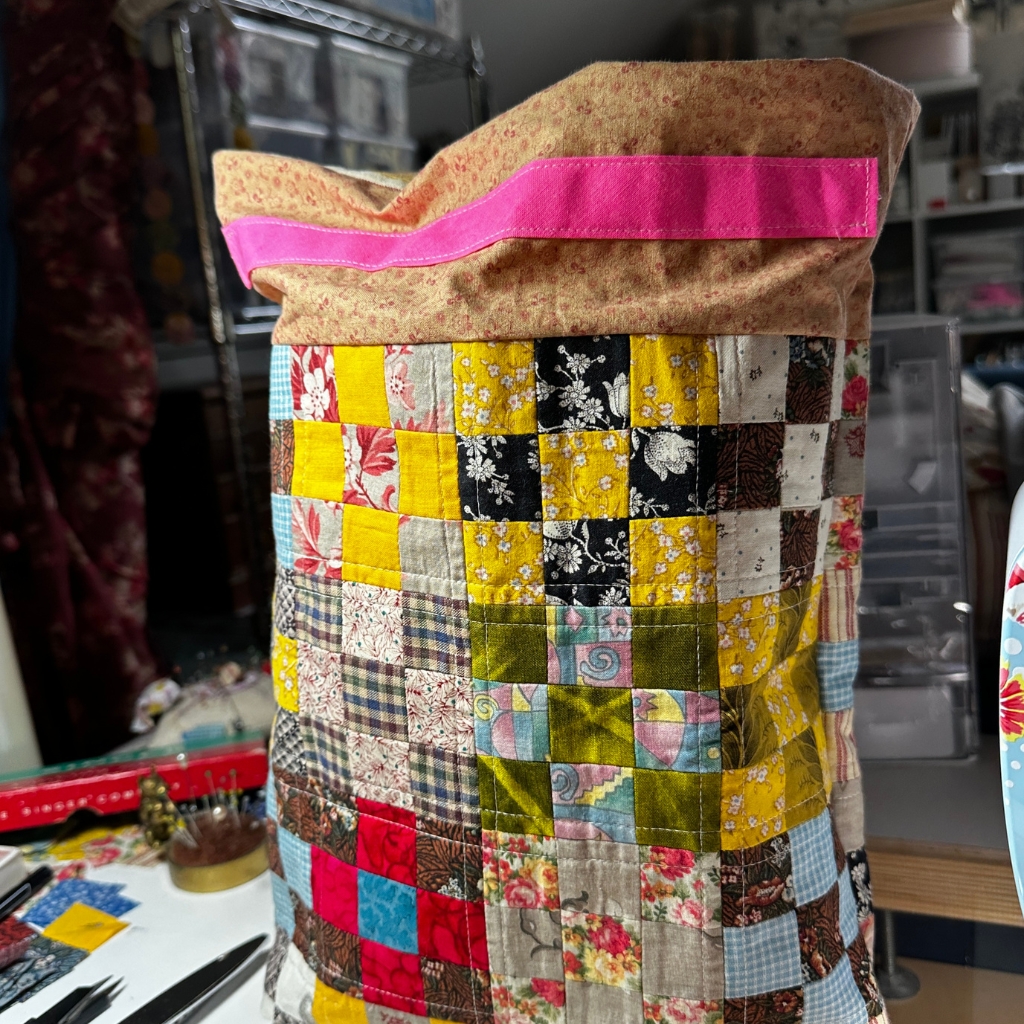
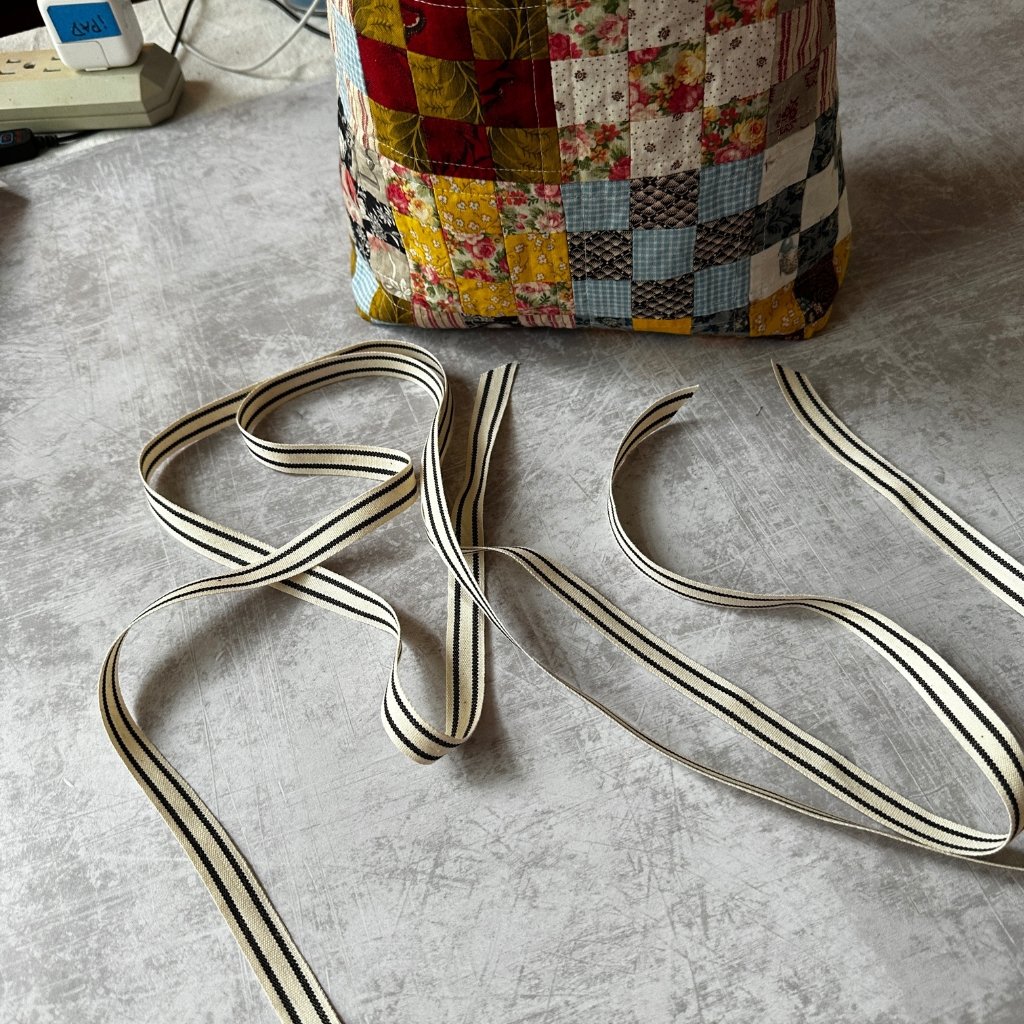
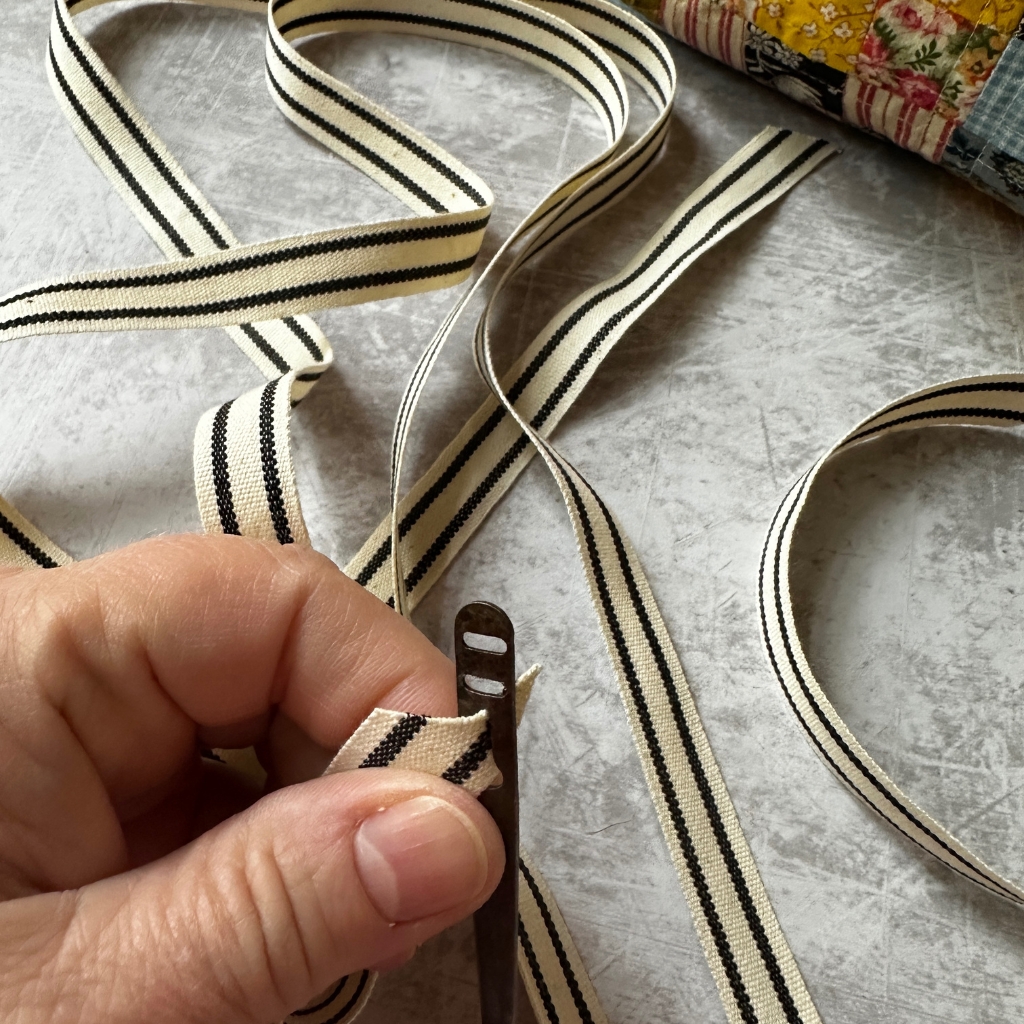
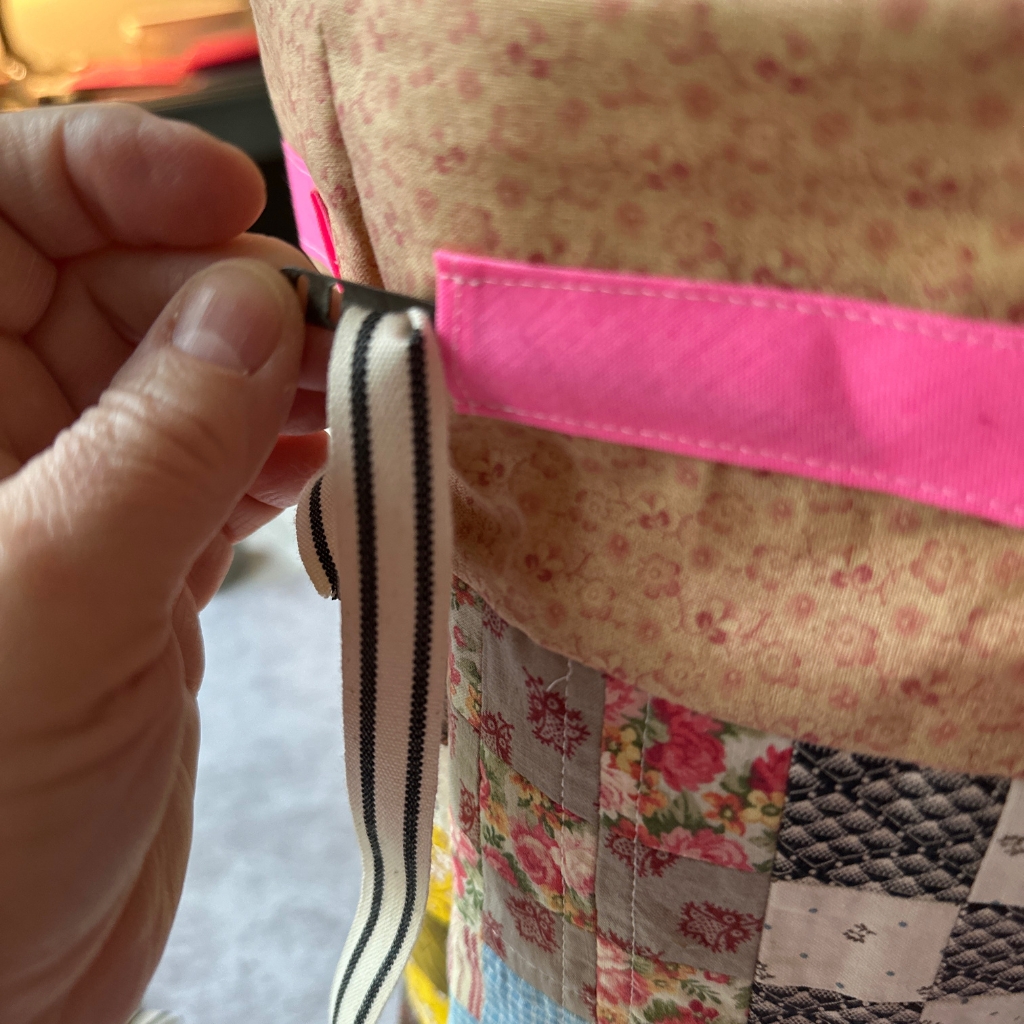
Step 18) Cut two lengths of cotton twill tape or strong ribbon and using a bodkin to thread through starting and ending on one side and then repeat with second length of ribbon on the other side.
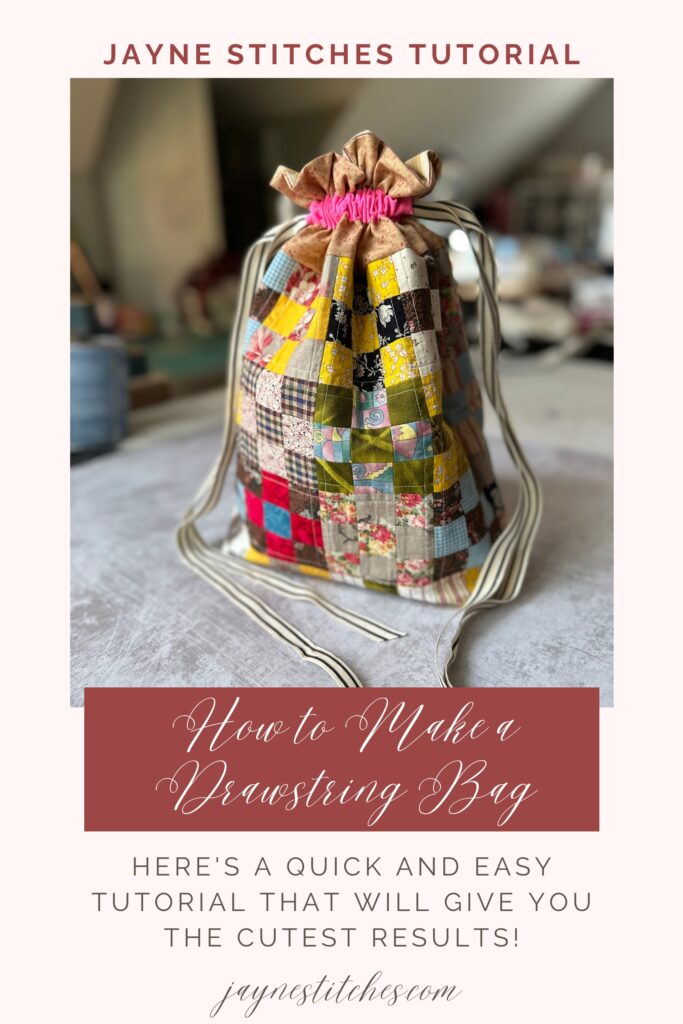
Once both drawstrings are threaded through, tie their ends together securely (or leave long and loose like mine) creating a loop on each side. Congratulations! You now have a lined fabric drawstring bag that’s ready to be used.
Even though this took longer than I thought it would I feel very accomplished that I pushed through and got it done! One of the purposes of the 52 Week Needlework Challenge is to push myself to finish things and to stop making mountains out of mole hills!
If you haven’t joined the 52 Week Needlework Challenge yet, click here! Catch up and see Week 1 here and Week 2 here.
Happy stitching!


One Response