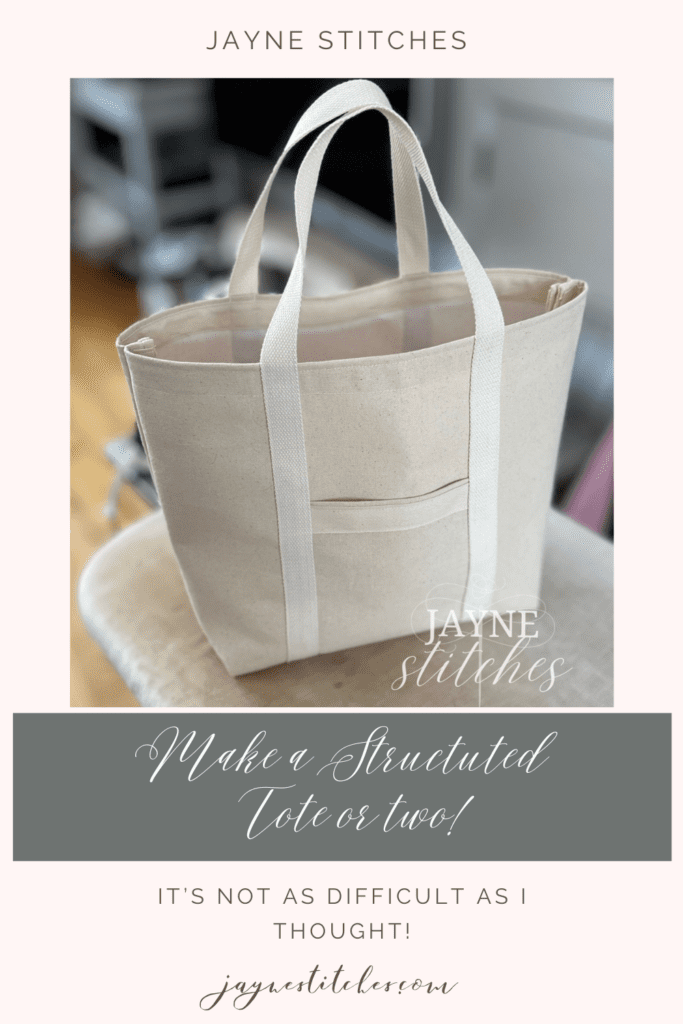
This week, I turned my focus to practical sewing by creating not one, but two cloth totes. Each tote had its own story and purpose, and I’m excited to share how they came together. If you’ve been looking for a fun and functional sewing project, these totes might just inspire your next make!
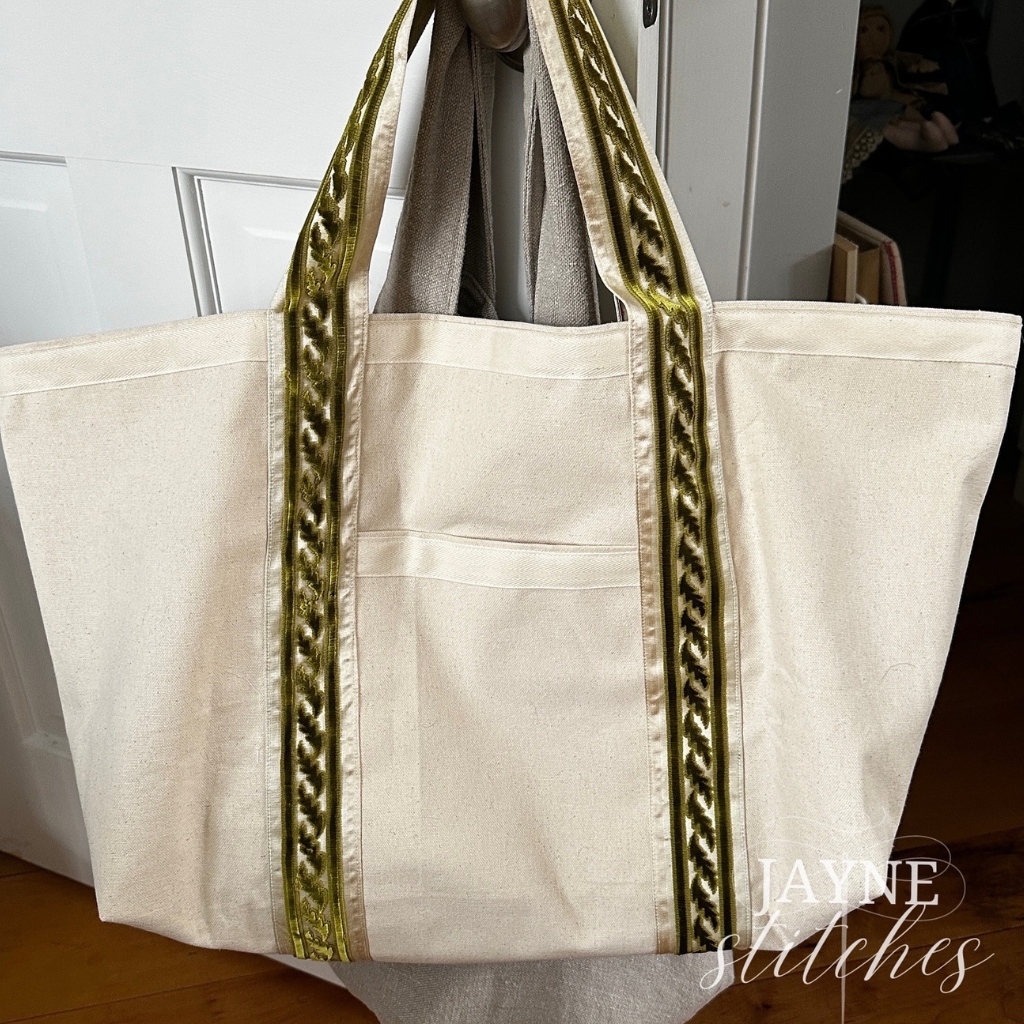
For my first tote, I followed a Purl Soho pattern. Purl Soho is well-known for their beautiful and thoughtfully designed patterns, and this one did not disappoint. The instructions were clear, and the finished tote turned out exactly (well almost) as pictured.
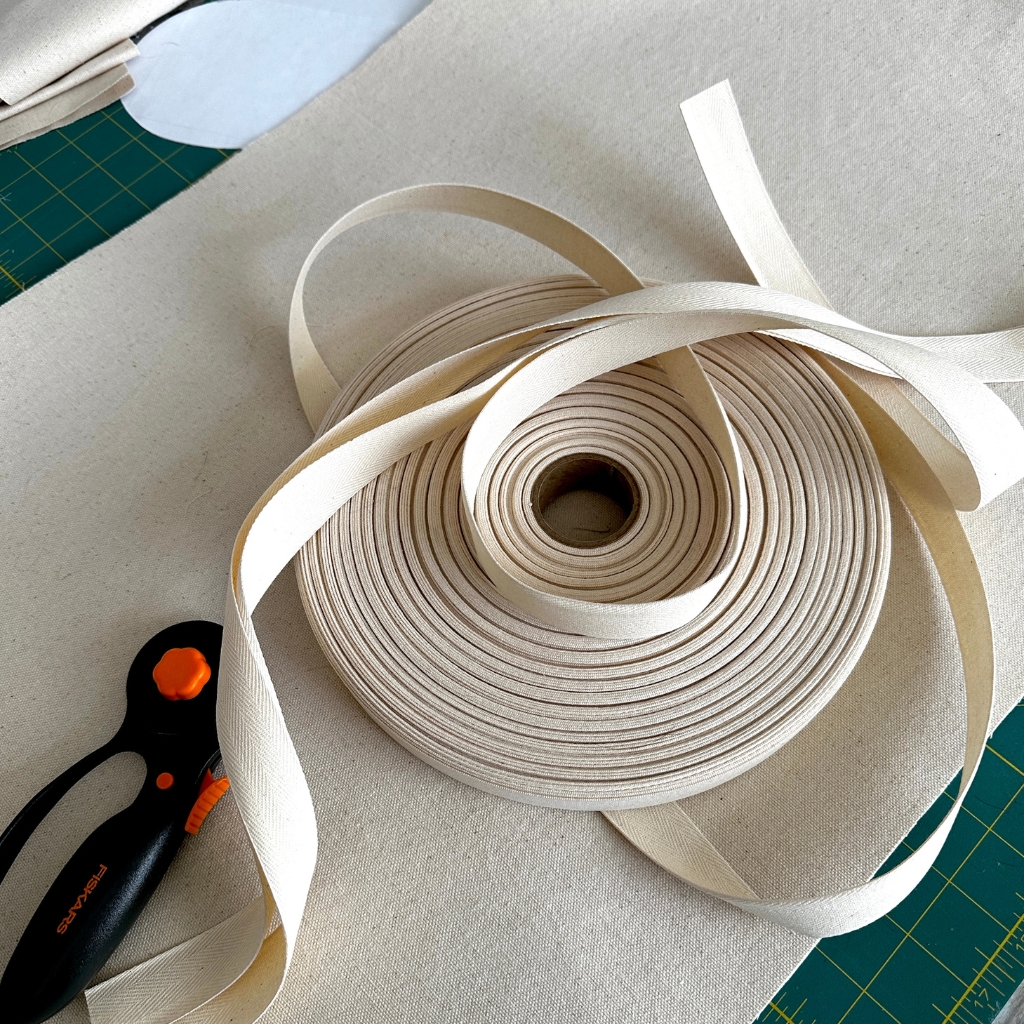
I ran out of cotton webbing so I used some heavy, vintage upholstery trim for the handles and love how it came out!
This tote was a great exercise in precision. I followed every step carefully, learning new techniques along the way. The result was a sturdy and stylish tote that could easily be used as a market bag, book bag, or a general-purpose carry-all.
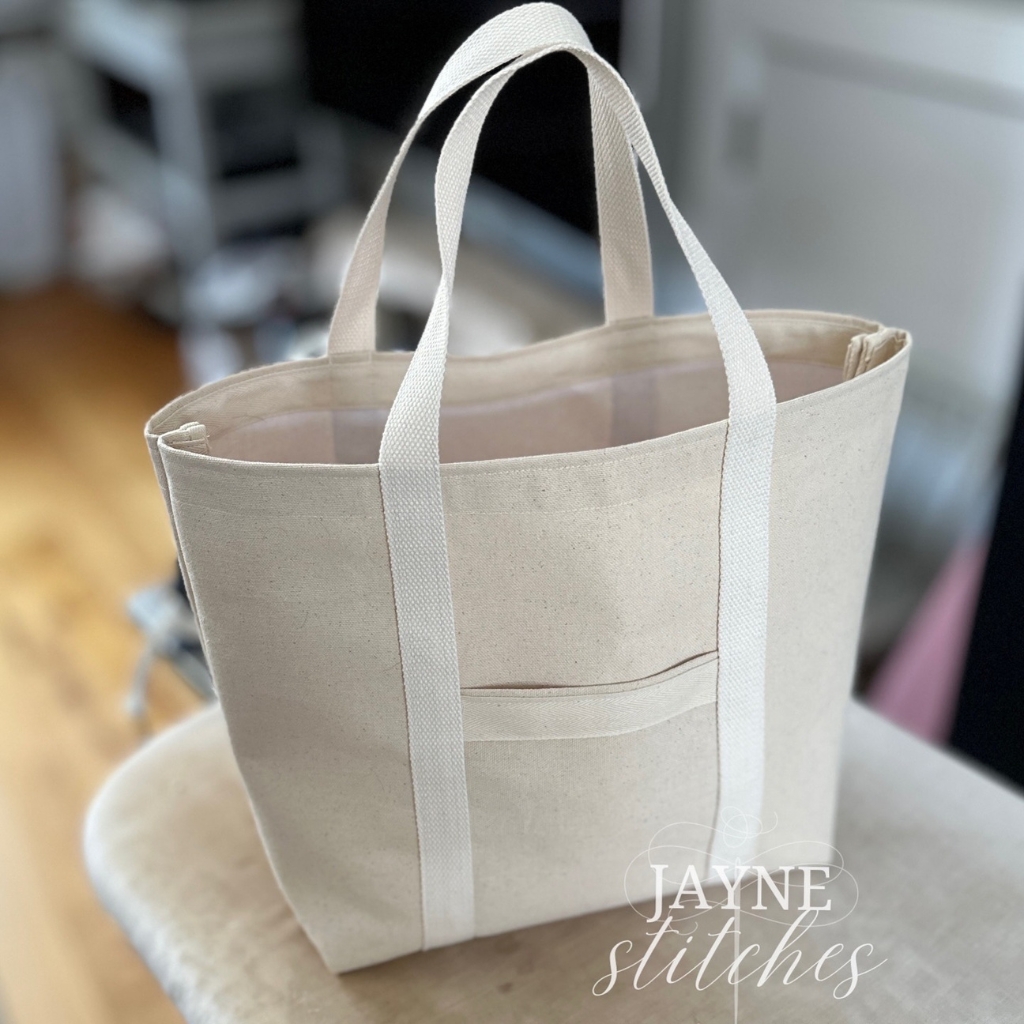
While I loved the final product, the size wasn’t quite what I needed for my next purpose—a dedicated small project needlework tote. So, I decided to make a second tote with some custom tweaks.
The second tote was my chance to personalize the pattern to better suit my needs. I wanted something compact but roomy enough to carry small stitching projects, embroidery hoops, a few spools of thread, and my ever-present needle case.
The result was a bag that perfectly fits my needs. It’s lightweight, easy to carry, and keeps my supplies tidy and accessible whether I’m working in my craft room or heading to a stitching group.
This week reminded me of the joys of functional sewing. Creating something that you can use every day is so satisfying! By starting with a trusted pattern and then adapting it, I gained both confidence and a deeper understanding of how to modify designs to suit my needs.
If you’re thinking about making your own tote bag, I highly recommend starting with a basic pattern and then experimenting. Add pockets, play with fabric choices, or tweak the size—it’s a great way to make something uniquely yours.
I’m planning to dive into an embroidery-focused project. Stay tuned as the challenge continues, and feel free to share what you’ve been working on in the comments below. Have you ever made a custom tote or tweaked a pattern to fit your needs? I’d love to hear about your experiences!
Until next time, happy stitching!