organize fabric

How To Sew Cloth Napkins With Mitered Corners – Week 12 of the Needlework Challenge

Welcome to Week 12 of the 52 Week Needlework Challnege!

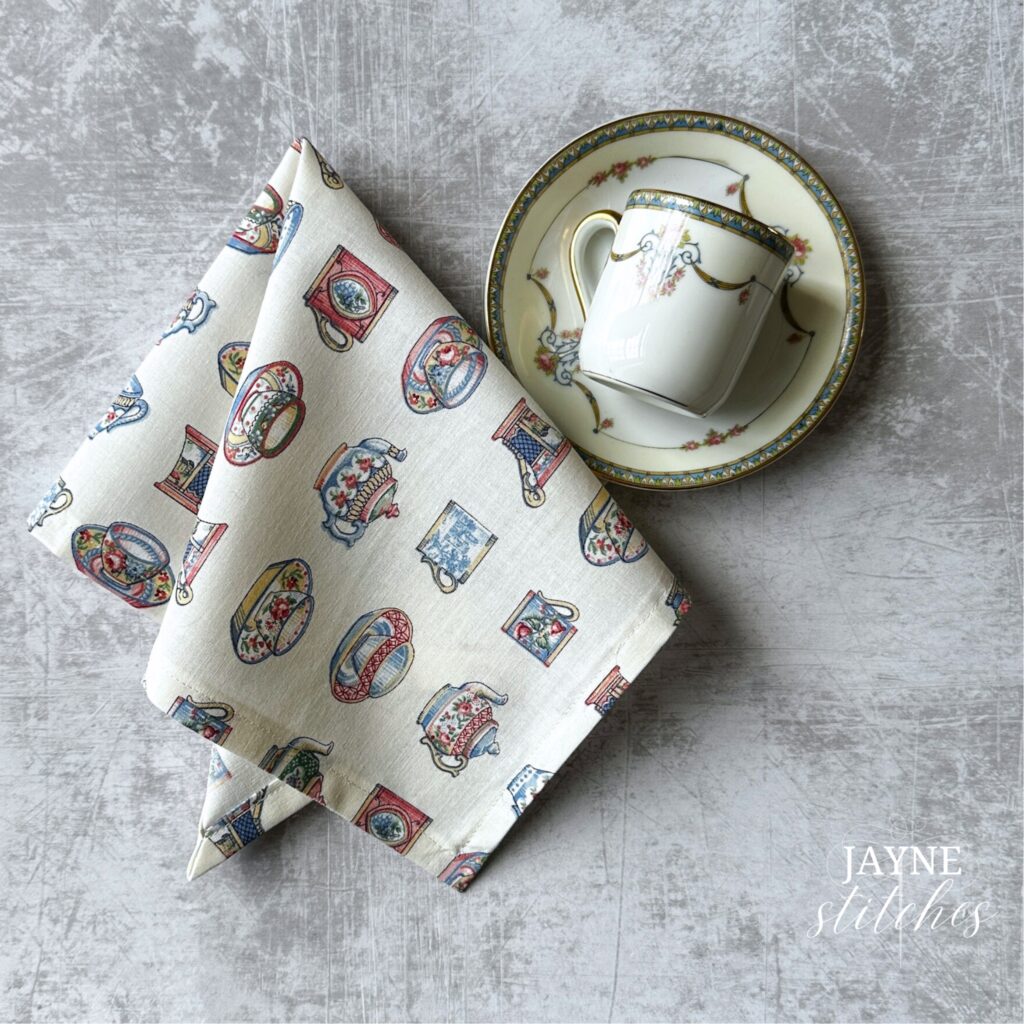
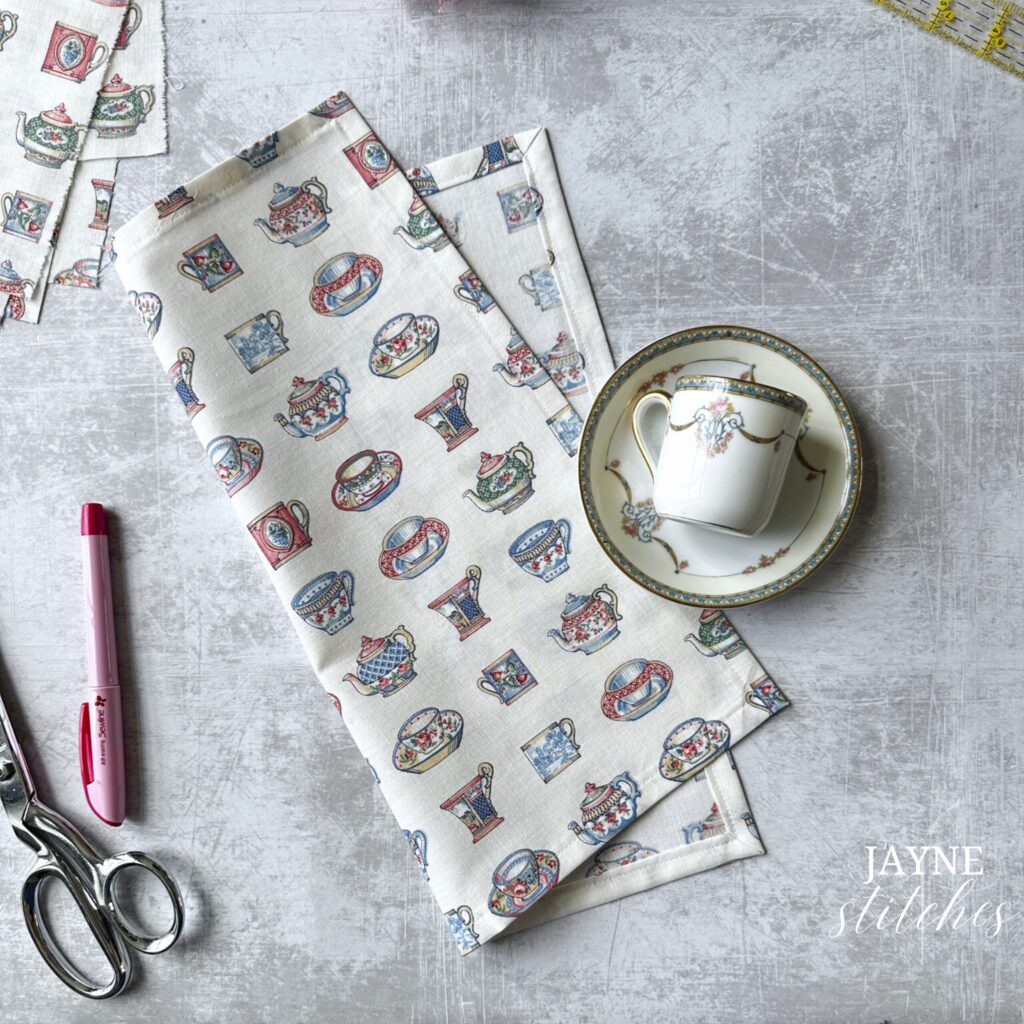
Today, I’m sharing a simple yet elegant sewing project: cloth napkins with mitered corners. These napkins are a beautiful addition to any table and make wonderful gifts. Plus, they’re an eco-friendly alternative to disposable napkins. Let’s dive into the steps!

Materials You’ll Need:

  • Fabric of your choice (cotton, linen, or any medium-weight fabric works well)
  • Ruler of Sewing Gauge
  • Rotary cutter or fabric scissors
  • Sewing pins or clips
  • Iron and ironing board
  • Sewing machine
  • Matching thread

Step 1: Choose and Prepare Your Fabric

Start by selecting a fabric that complements your style and decor. I think 100% cotton is the best to use as it’s easy to work with and it’s absorbent, there’s nothing worse than a polyester napkin that pushes the food all over your face and does nothing to wipe it away!

Wash, dry, and press the fabric to pre-shrink it and ensure smooth sewing. Cut the fabric into squares. A standard size for cloth napkins is 18” x 18”, but you can adjust to your preference. My squares are 14″ x 14″.

Step 2: Mark and Fold the Edges

  1. Lay your fabric square wrong side up on a flat surface.
  2. Using a ruler, mark a line 1/2 inch from each edge and fold the fabric along this line. Press with an iron.
  3. Fold the edge over again by another 1/2 inch, enclosing the raw edge, and press. This creates a clean hem.

Step 3: Create the Mitered Corners

  1. At each corner, unfold completely and note where the folds intersect (I’ve drawn a line to make this easy to see).
  2. Draw a line diagonally through the square that’s formed from the folds (see photo).
  3. Fold about 1/4 inch from the edge and finger press.
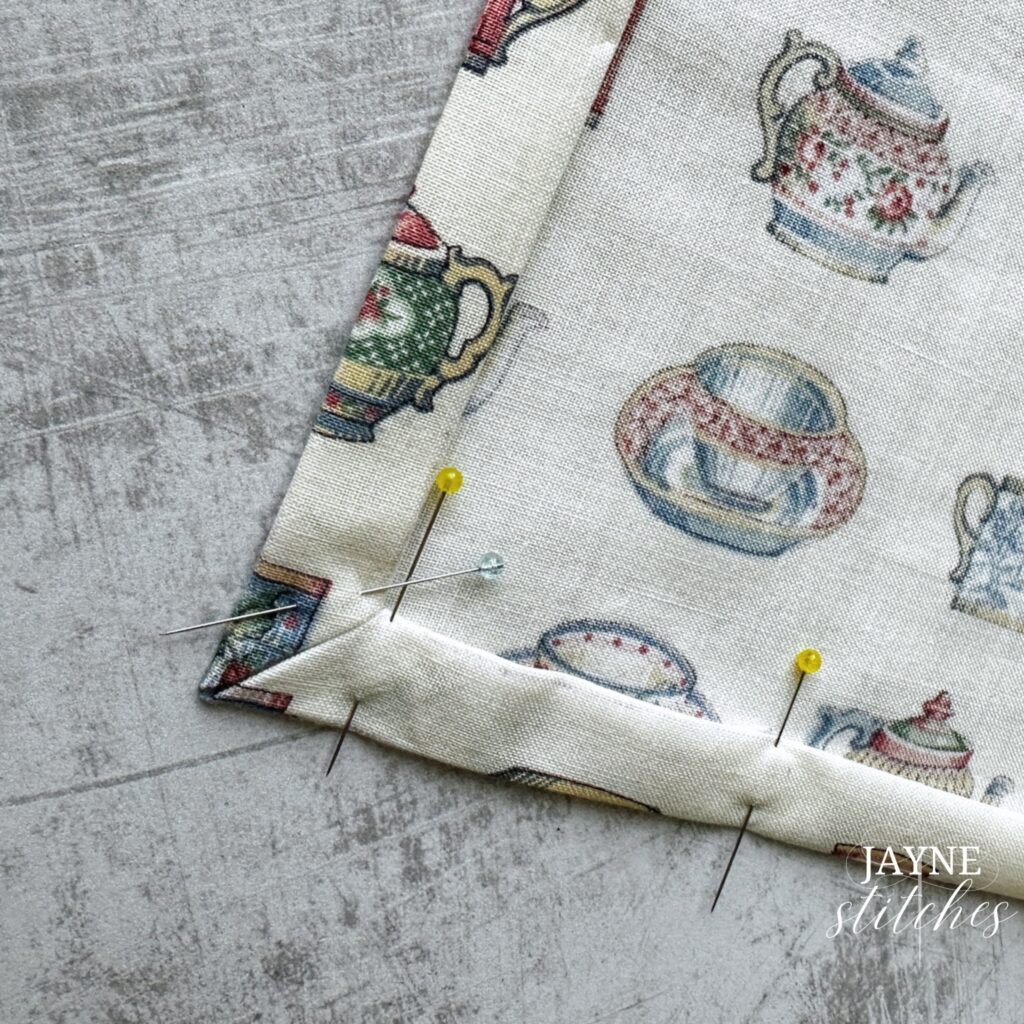
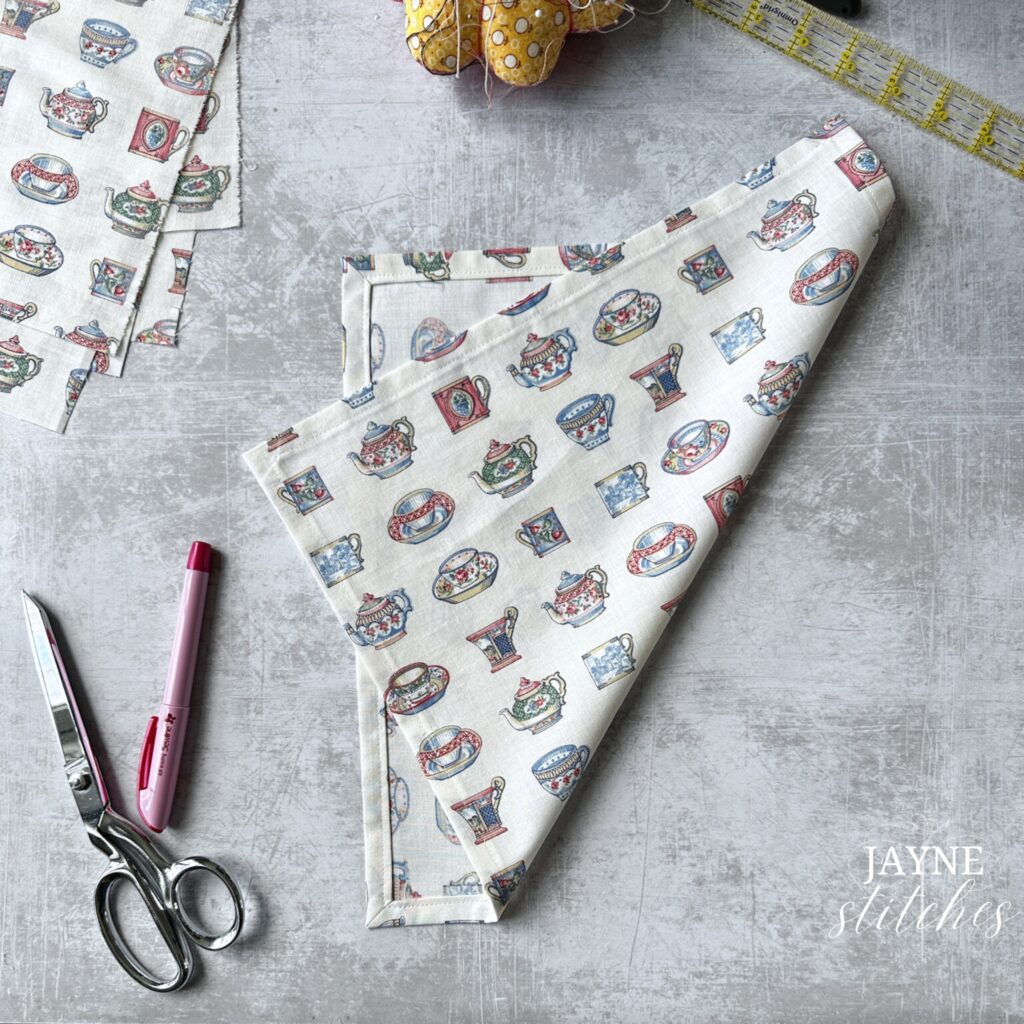
  4. Refold the hems on the adjacent sides, aligning the mitered corner neatly. Press and pin in place.
At each corner, unfold completely and note where the folds intersect (I’ve drawn a line to make this easy to see).
Draw a line diagonally through the square that’s formed from the folds.
Cut off corners.
Fold about 1/4 inch from the edge and finger press.
Refold the hems on the adjacent sides, aligning the mitered corner neatly. Press and pin in place.

Step 4: Sew the Napkin

  1. Set your sewing machine to a straight stitch.
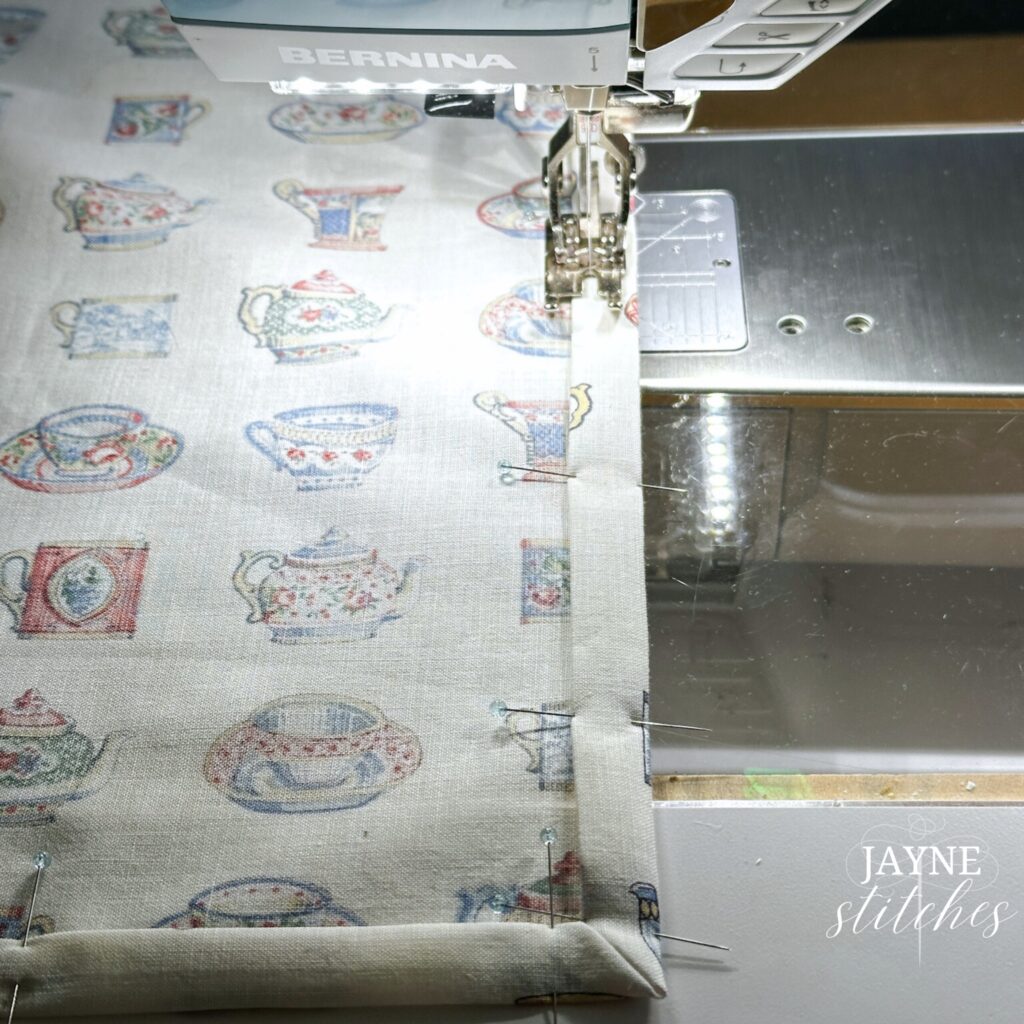
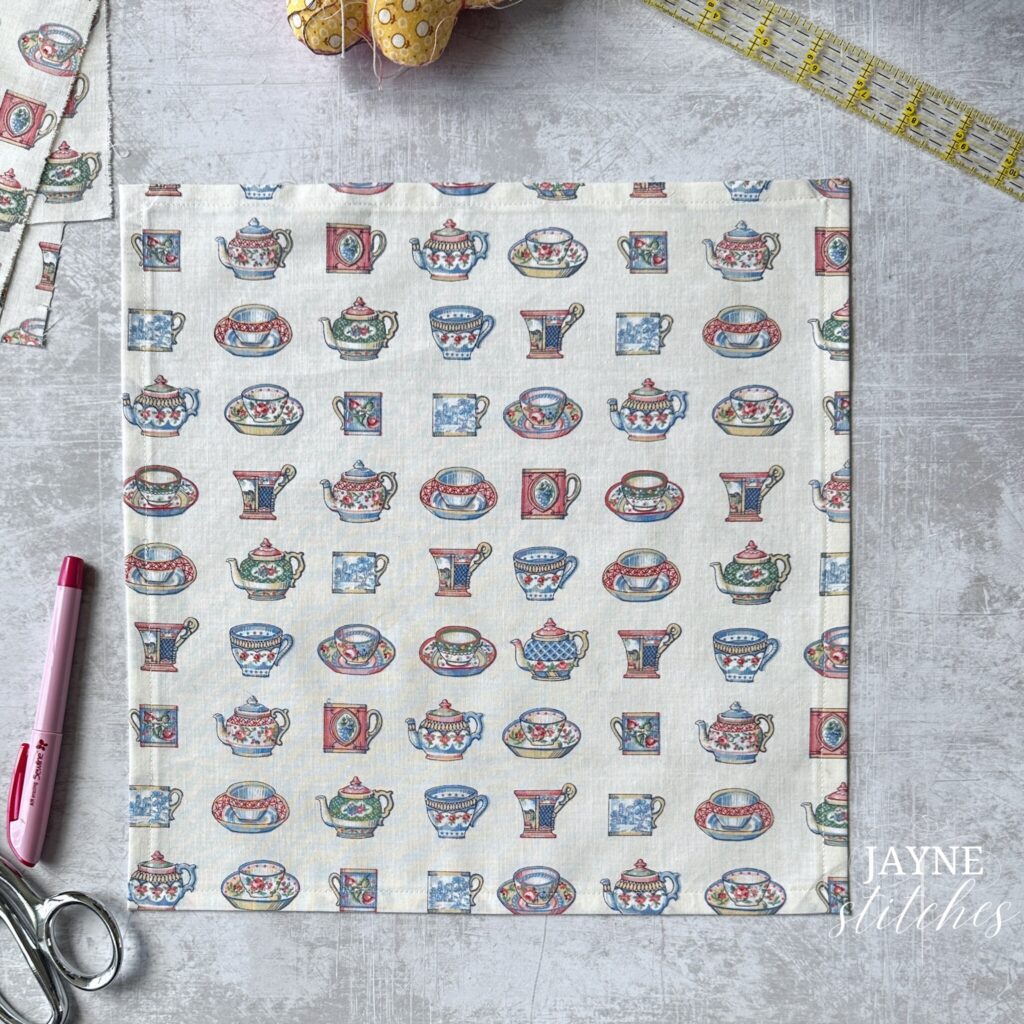
  2. Start in the middle at one edge of the napkin, sewing close to the inner folded edge. I used a 1/8th” seam allowance. Sew around all four sides, pivoting at each corner.
  3. Backstitch at the beginning and end to secure your stitches.

Step 5: Final Press

Give your napkin a final press to ensure crisp edges and corners. Repeat the steps for additional napkins to create a set.
Tips for Success:

  • Use a fabric with a pattern or weave that hides wrinkles (and stains) for easier maintenance.
  • Consider using contrasting thread for a decorative touch.
  • Practice mitered corners on scrap fabric if you’re new to the technique.

And there you have it—beautiful, reusable cloth napkins with professional-looking mitered corners! If you enjoyed this tutorial, be sure to check out more sewing projects on Jayne Stitches and the 52 Week Needlework Challenge.

Happy stitching!

Jayne

Leave a Reply

Hi, I'm Jayne!

I help creatives achieve beautiful, heirloom needlework projects when they haven’t gotten great results in the past so they can stop worrying that they’re going to ruin a piece and start stitching and being proud of what they create.

Let's Connect!

Get the Free Needlework Planner!