
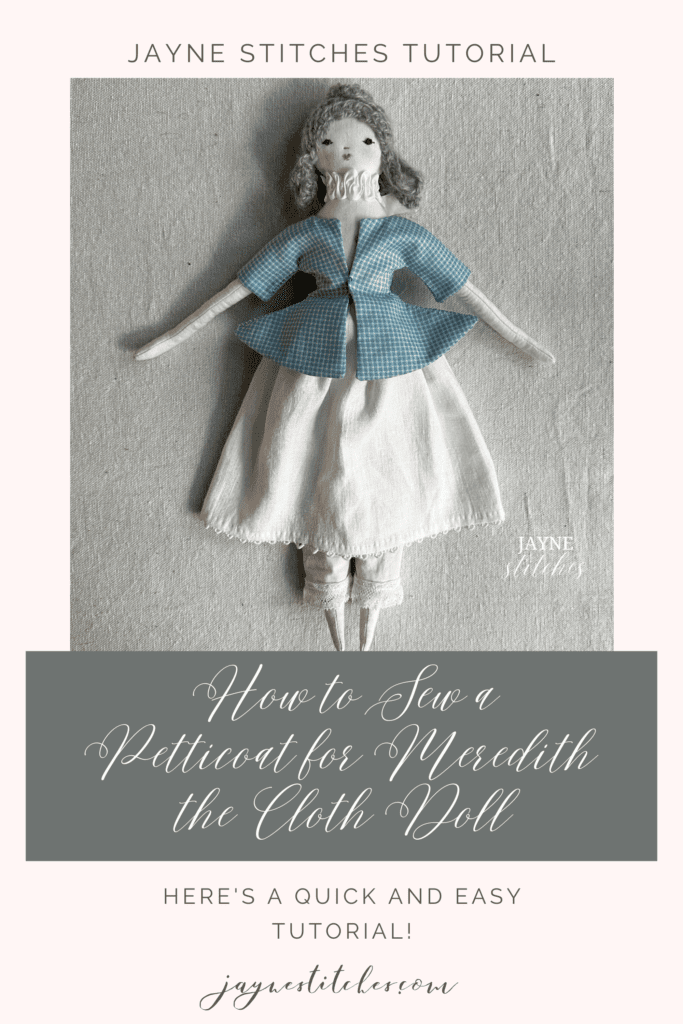
Meredith our Cloth Doll needs a petticoat and here’s how to make one. Whether you’re a beginner or an experienced stitcher, this project is perfect for honing your sewing skills and expanding your doll’s wardrobe. So grab your needle and thread and let’s get started!
Before we jump into the sewing process, let’s talk about what a petticoat actually is. A petticoat is an undergarment worn under dresses or skirts to add volume and shape.
It’s like a secret weapon that gives our dolls that extra oomph and makes their outfits look even more fabulous! Plus, sewing a petticoat from scratch allows you to customize it to perfectly fit your doll’s unique style and size.
The petticoat in this tutorial is very basic and if you follow me on Instagram you’ll know I LOVE fancying these up!
Step 1) Gather Your Supplies
To start this project, you’ll need:
Step 2) Measure and cut out a rectangle of fabric 16″ x 8″.

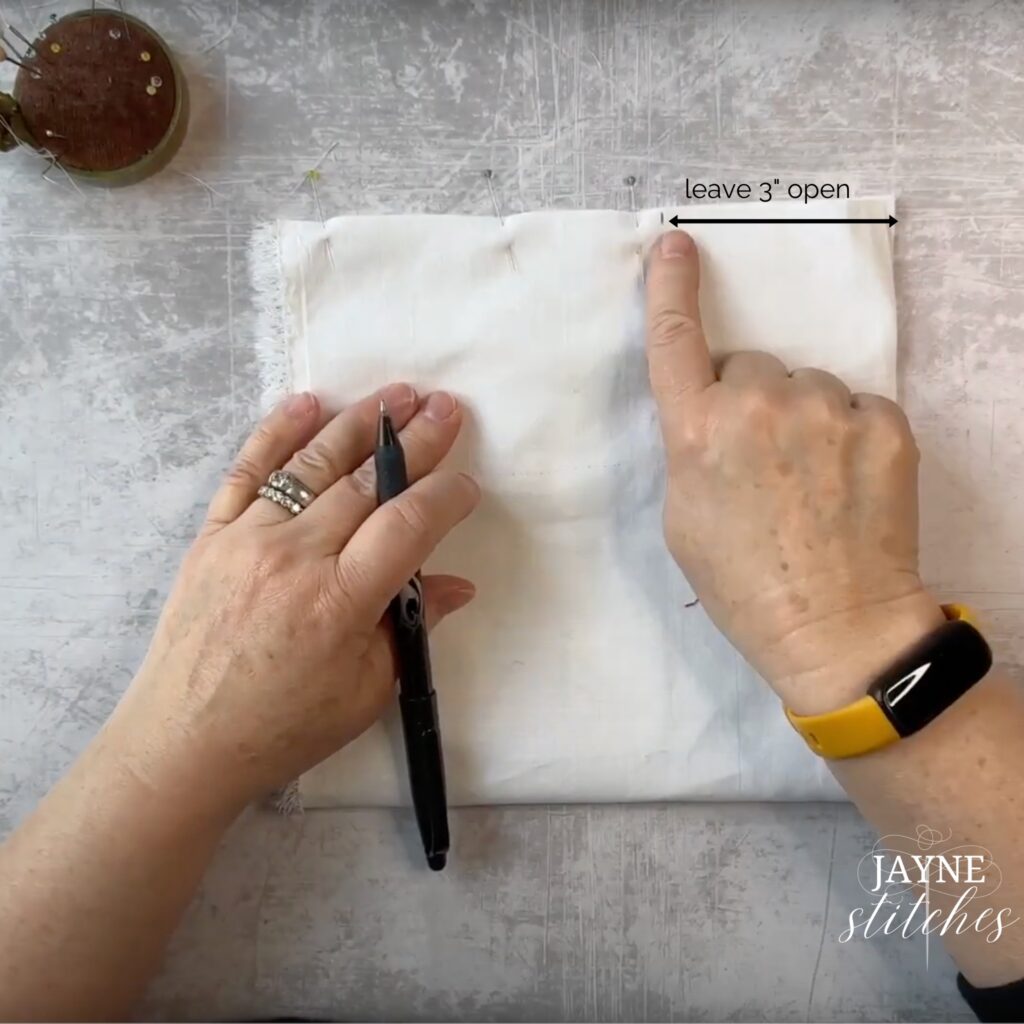
Step 3) Stitch up the back seam. Fold rectangle of fabric in half so the two 8″ side are right sides together and pin to form back seam. Measure 3″ down from waist and mark as this will not be sewn. Using a running stitch sew 1/2″ away from the edge to the bottom of the 3″ mark.

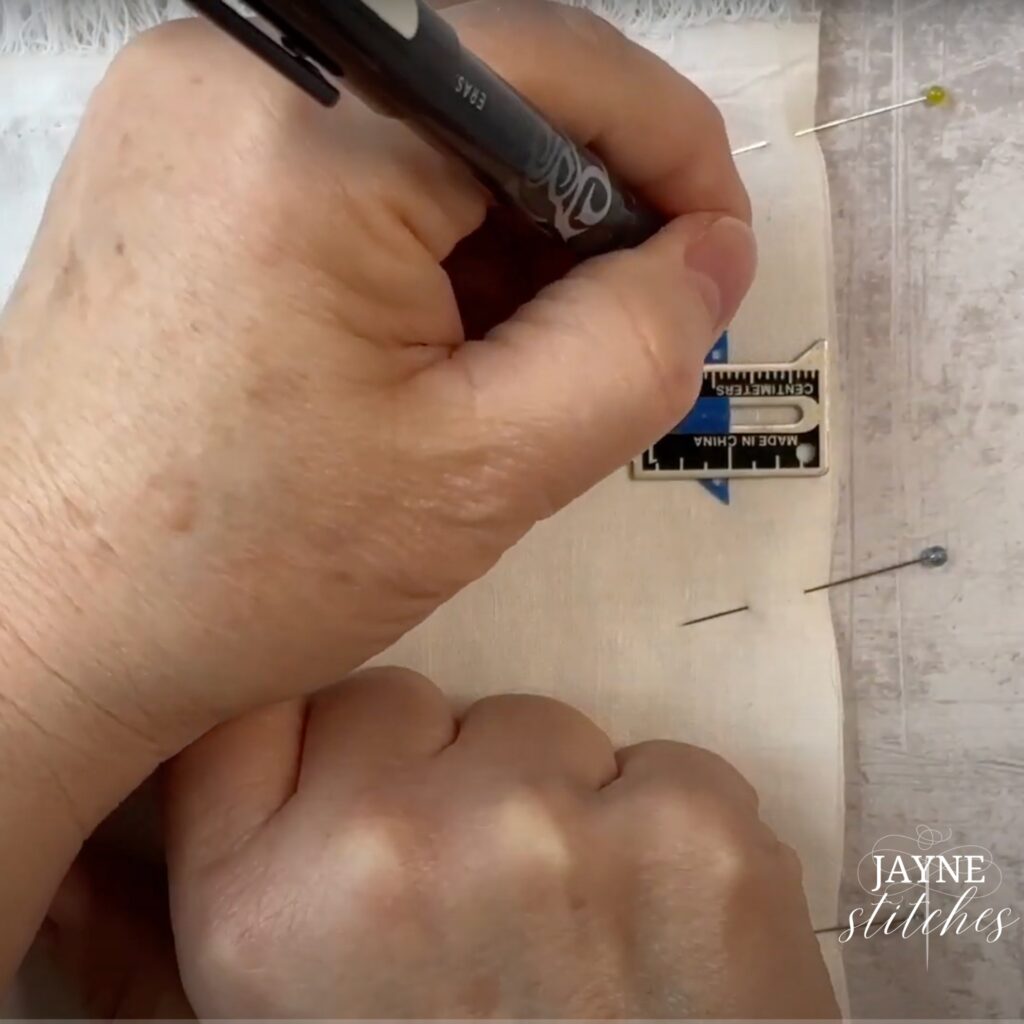
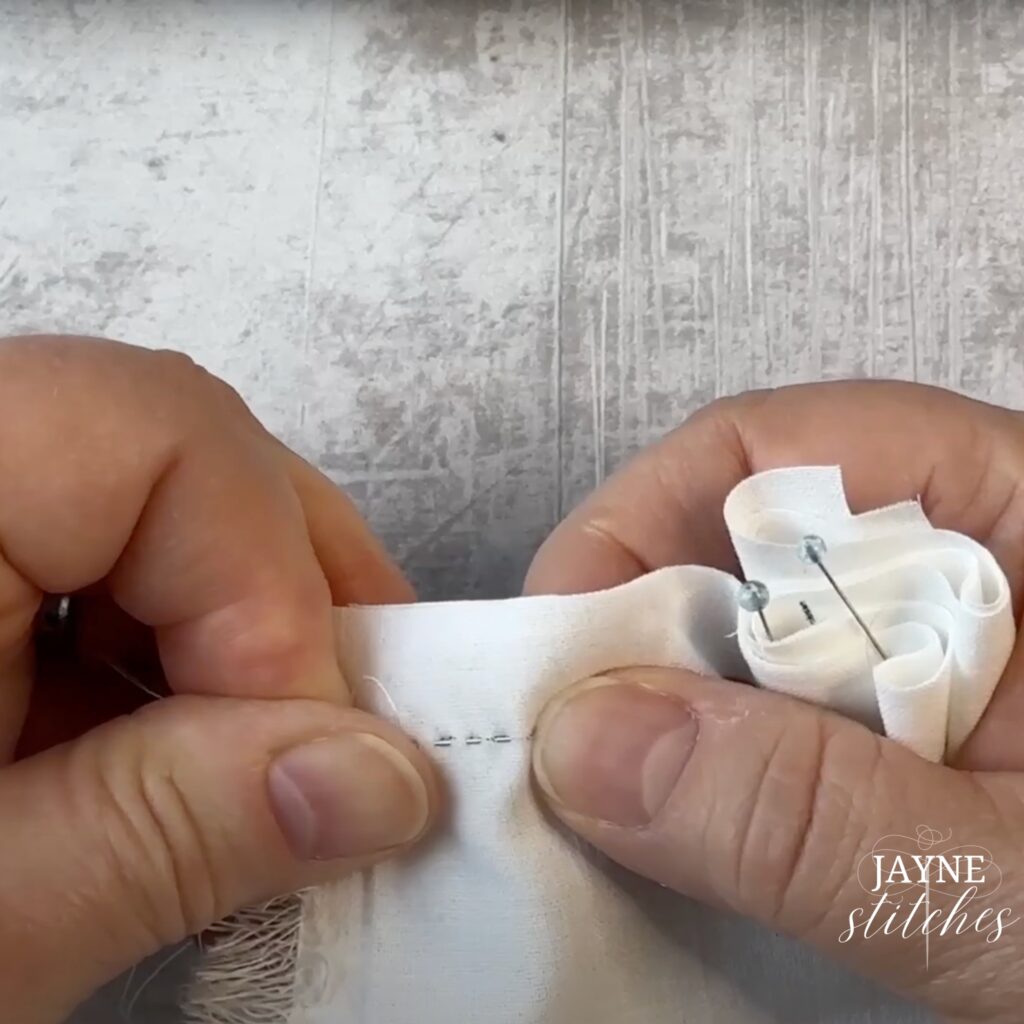
Step 4) Finish the back seam. Fold over either side of the back seam fabric 1/4″ once and 1/4″ again from bottom to the waist and sew with a running stitch keep your stitches small and regular for a pretty seam finish.
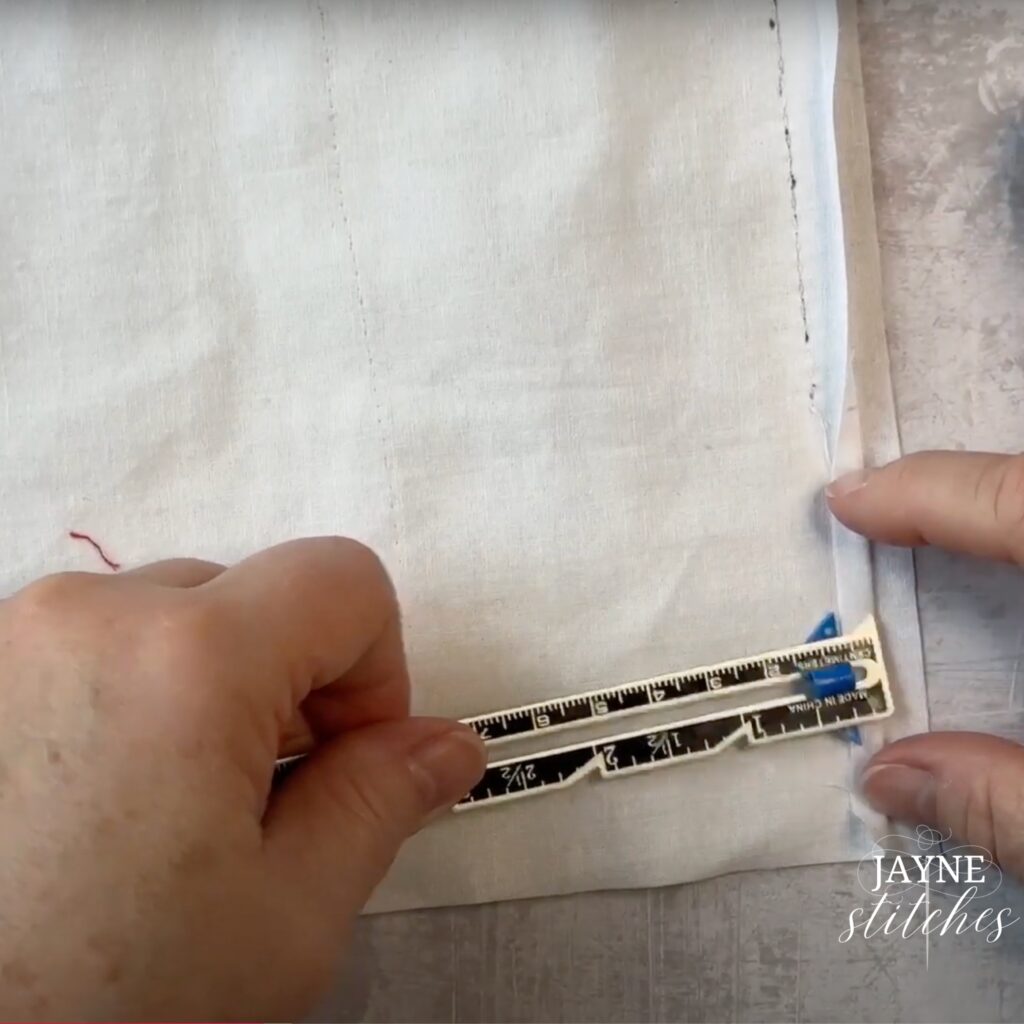
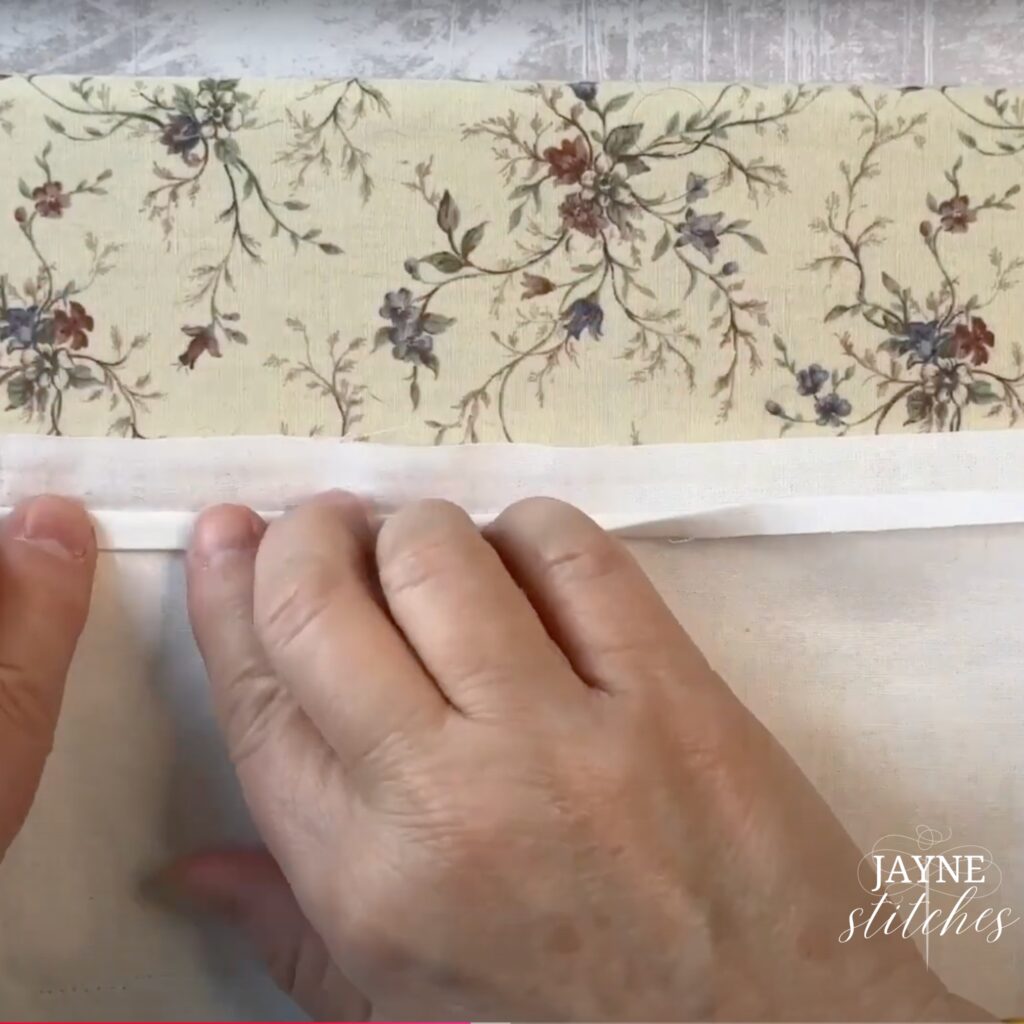
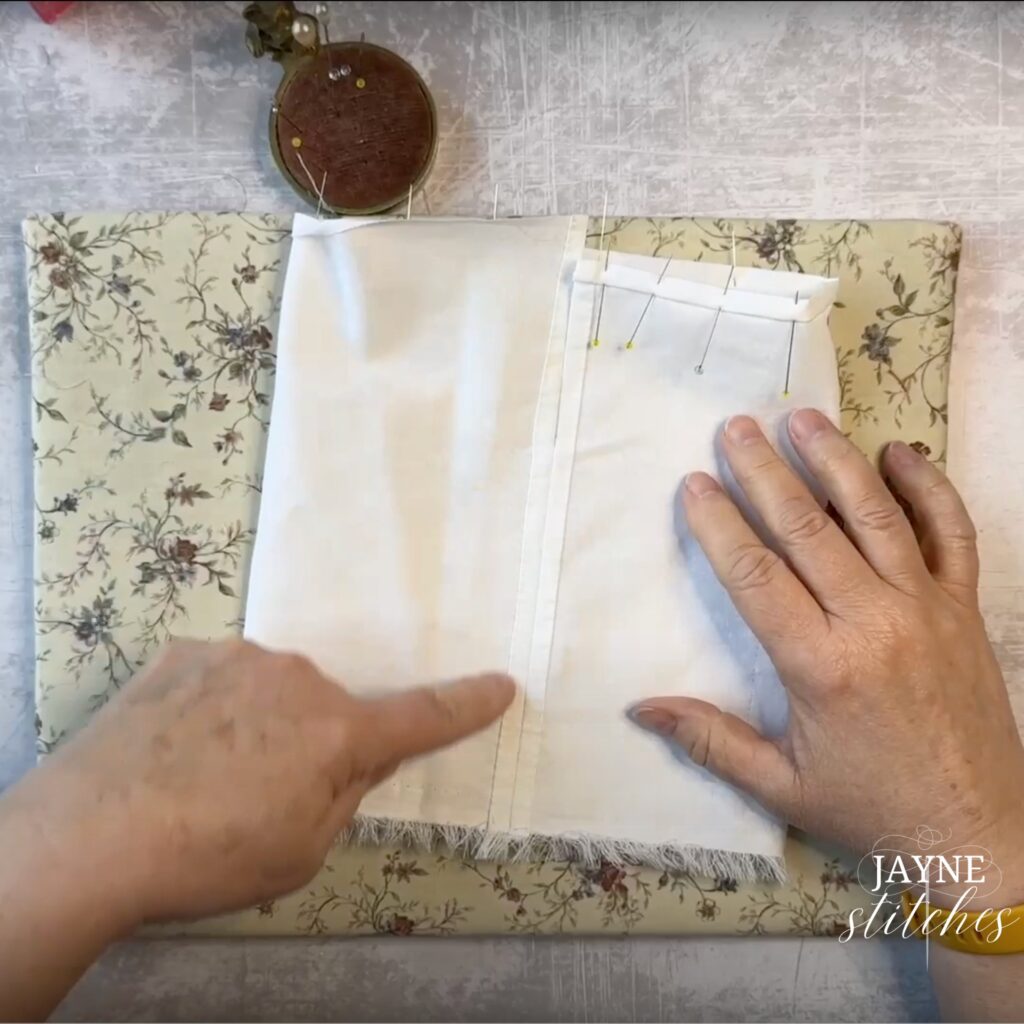
Step 5) Finish the hem by folding up 1/4″ once and then again and sew using a running or hem stitch. For my petticoat I used the ‘fringy’ selvedge edge as is for my hem.
Step 6) Make the casing at the waist. Fold over 1/8″ once and then fold again just slightly more that 1/4″ and pin. Sew right at the bottom along the edge using a running stitch to finish the casing.
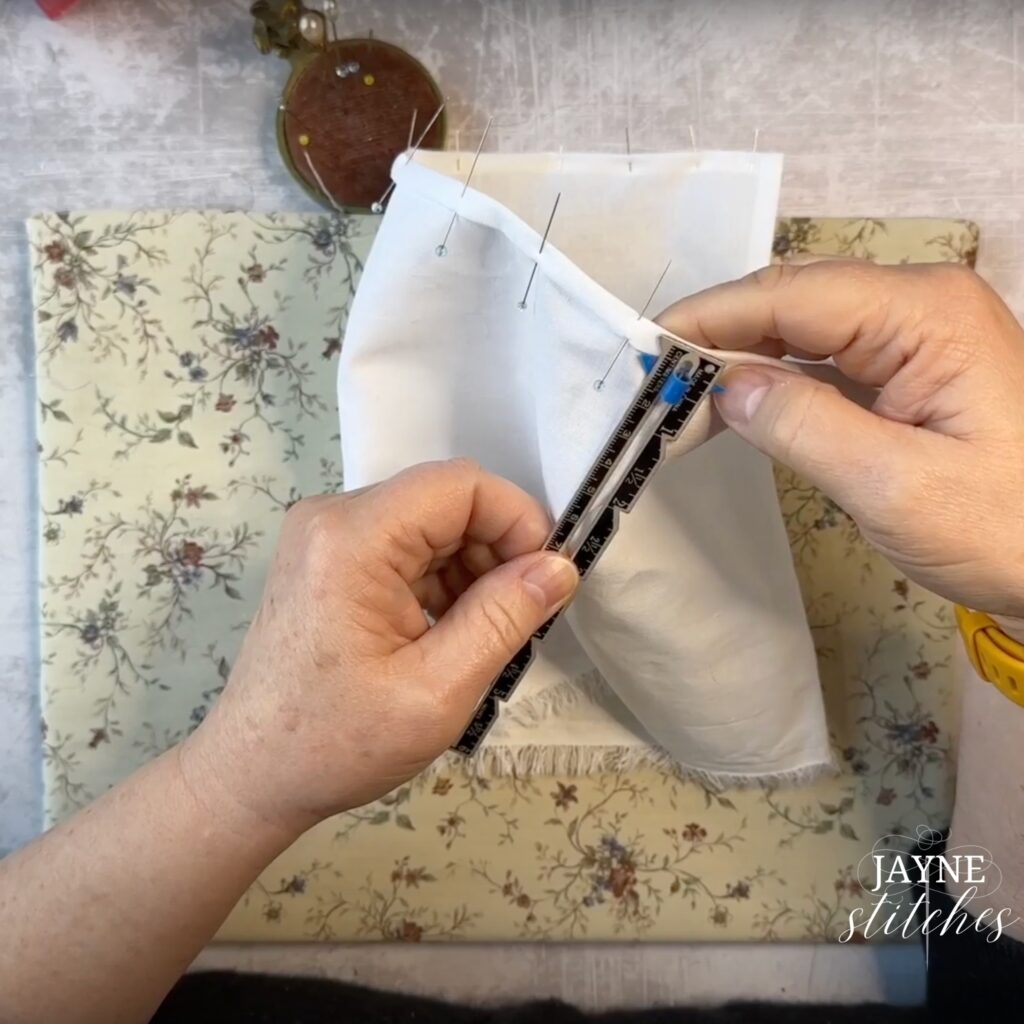
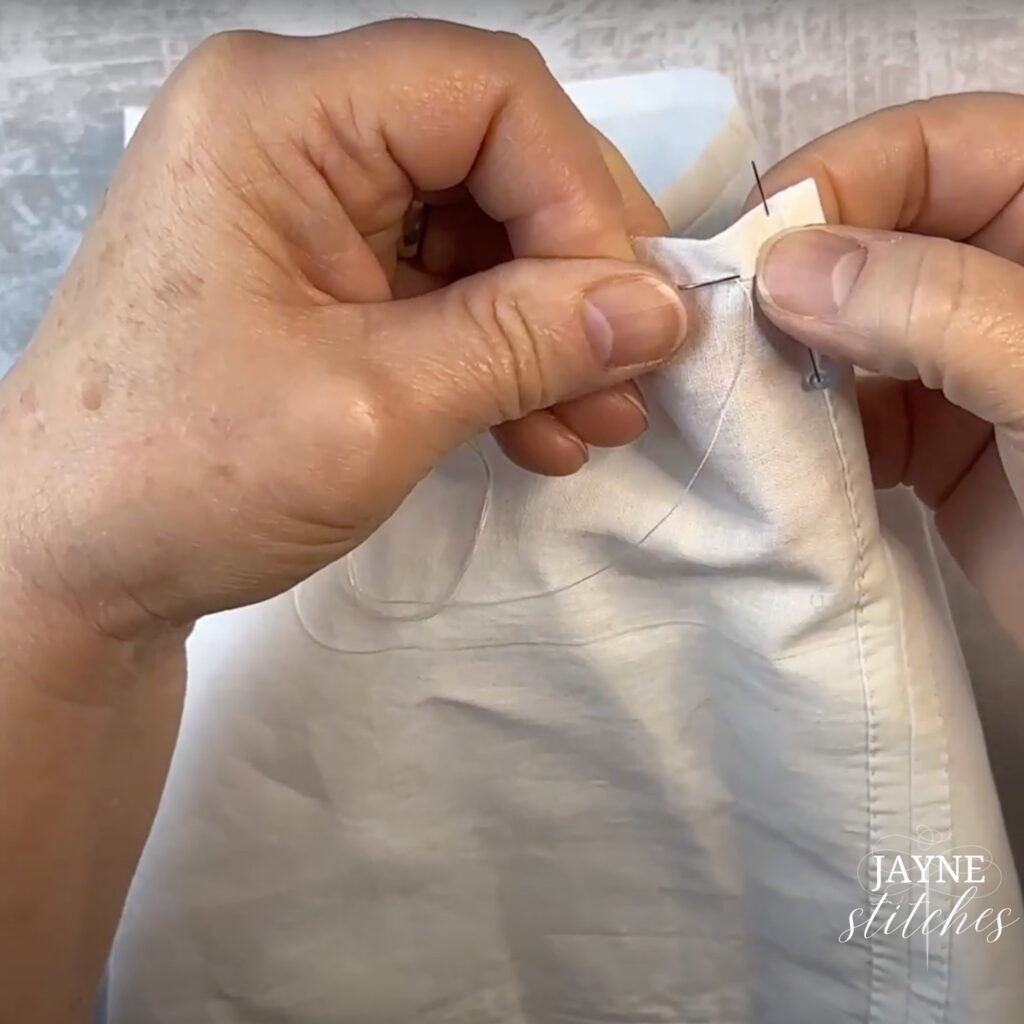
Step 7) Using a Bodkin thread a 20″ (approx) piece of ribbon into the casing. Give your petticoat a final press with an iron to make it look crisp and professional and you’re finished!

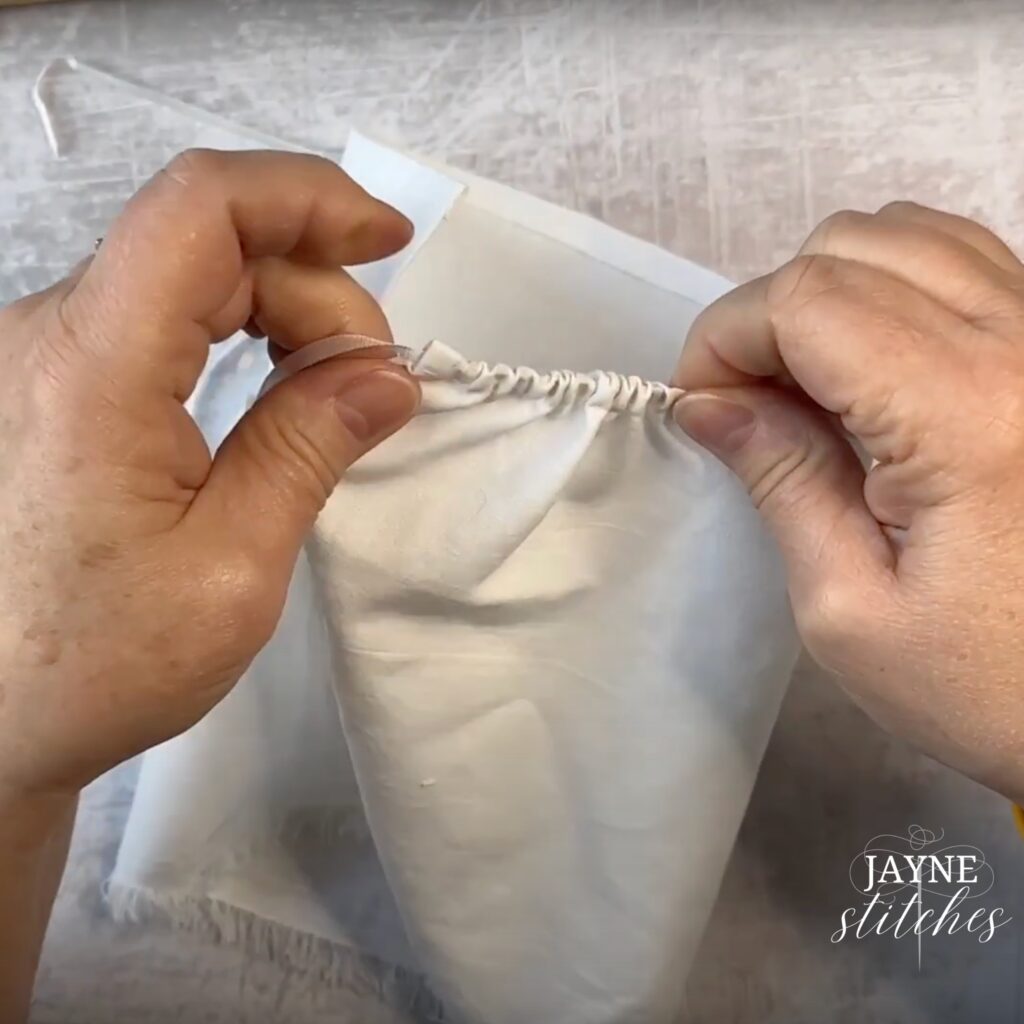
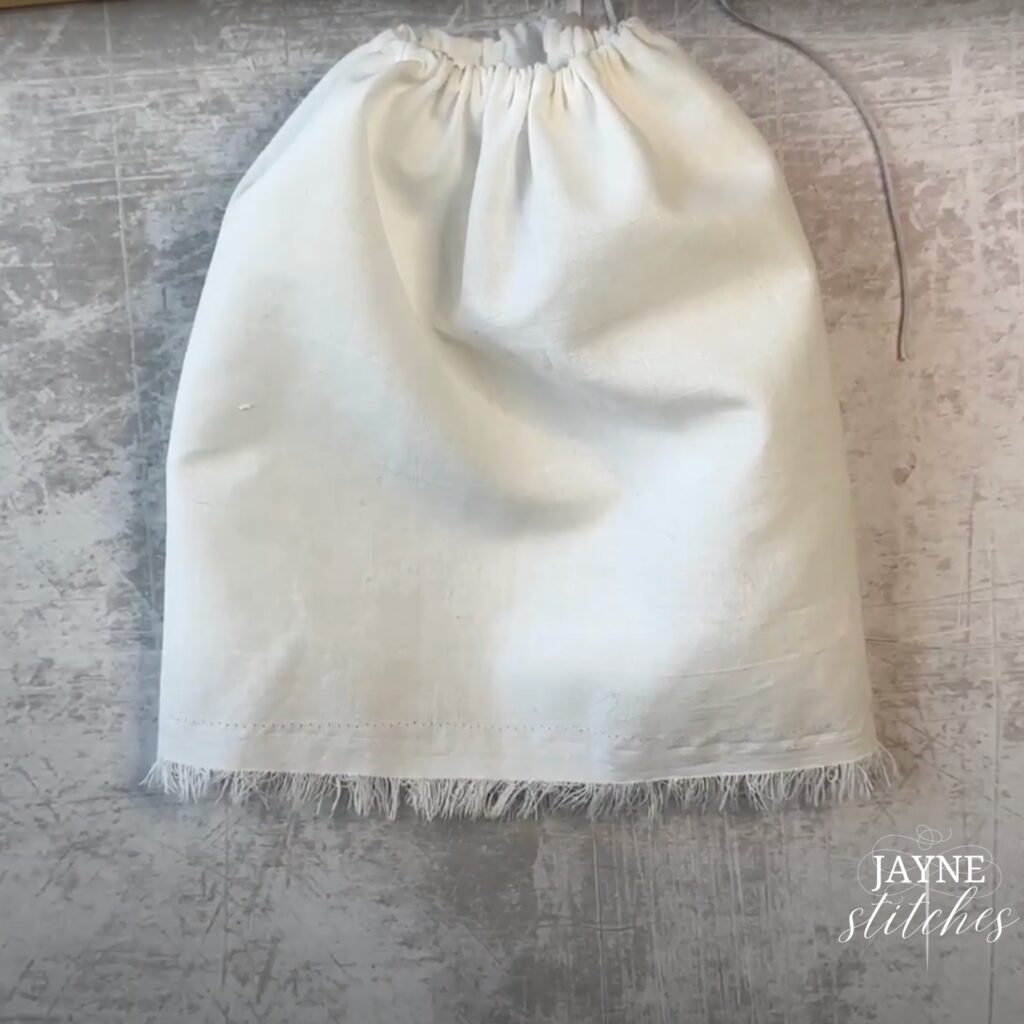
Congratulations, you’ve successfully sewn a beautiful petticoat for Meredith the Doll. Now, all that’s left is to slip it on your doll and see how sweet it looks!
Remember, this project is not only about creating a beautiful garment but also about embracing the joy of sewing and expressing your creativity. So take your time, enjoy the process, and don’t be afraid to experiment with different fabrics and embellishments.
Want to dive deeper into the world of needlework and doll making? Join my mailing list to receive exclusive content, projects, and tips straight to your inbox. Don’t miss out on the opportunity to take your needlework creations to the next level, click here to join!
I hope this tutorial has inspired you to try your hand at sewing a petticoat for your cloth doll. Share your creations on social media using the hashtag #PetticoatForMeredith I can’t wait to see what you come up with!
Happy stitching!


I help creatives achieve beautiful, heirloom needlework projects when they haven’t gotten great results in the past so they can stop worrying that they’re going to ruin a piece and start stitching and being proud of what they create.