
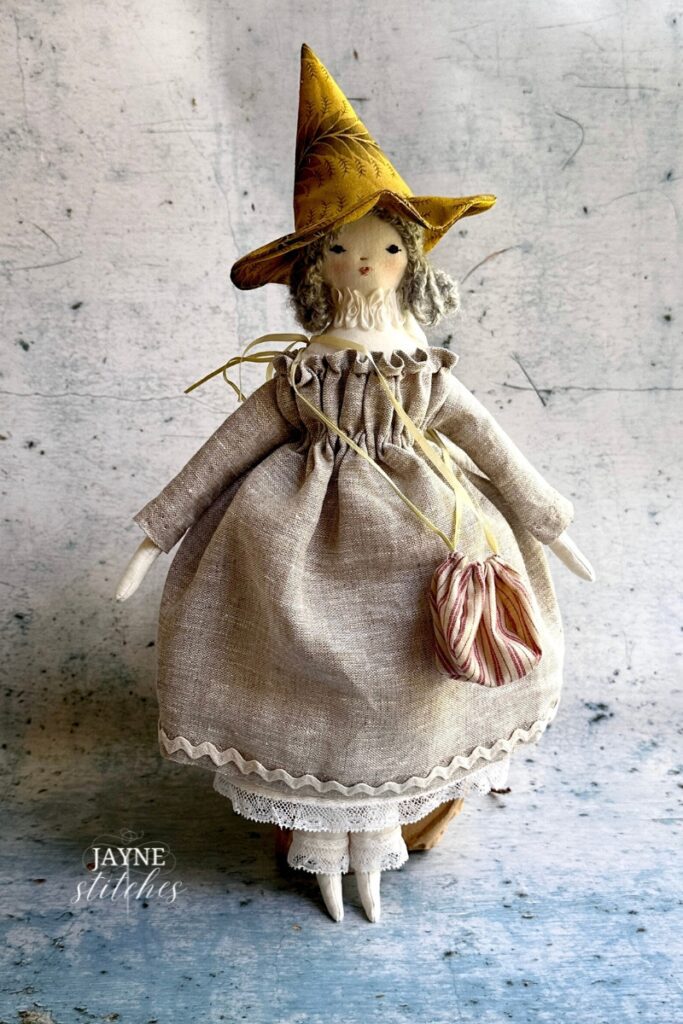
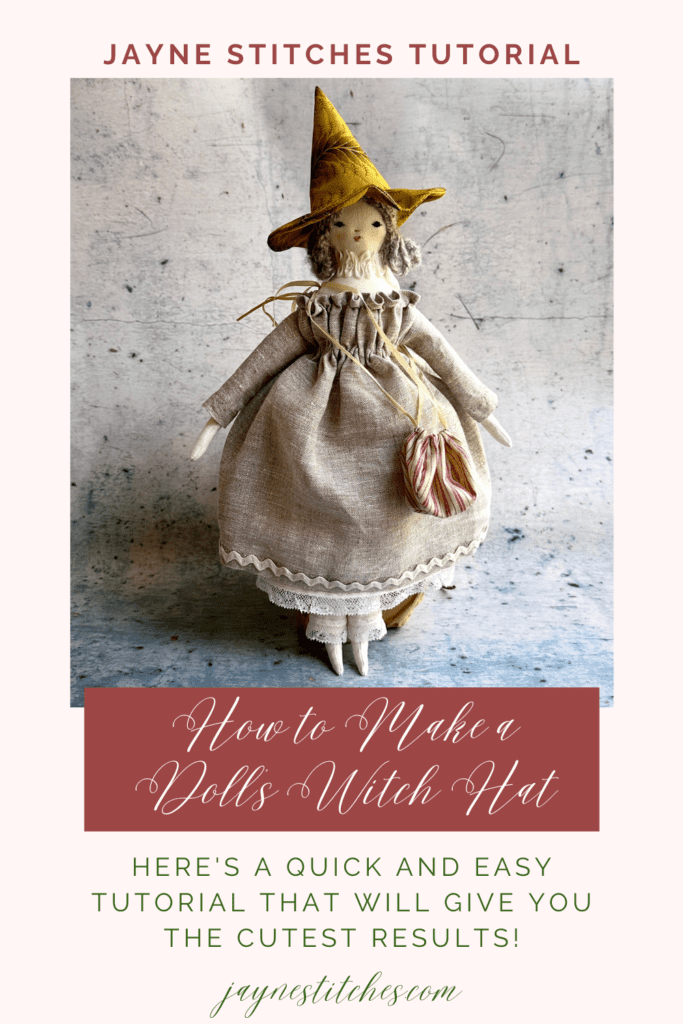
Hey there, fellow stitchers! Are you ready to dive into another exciting needlework project? Today, we’re going to learn how to make a witch hat from scratch for Meredith the Cloth Doll. Get your needle and thread ready because we’re about to embark on a magical journey of creativity and skill-building!
Before we get started, let me tell you why I love making doll accessories. Not only are they adorable, but they also provide an opportunity to experiment with different techniques and materials on a smaller scale. Plus, dolls make fantastic companions during the creative process!
Now that we have everything ready, let’s begin:
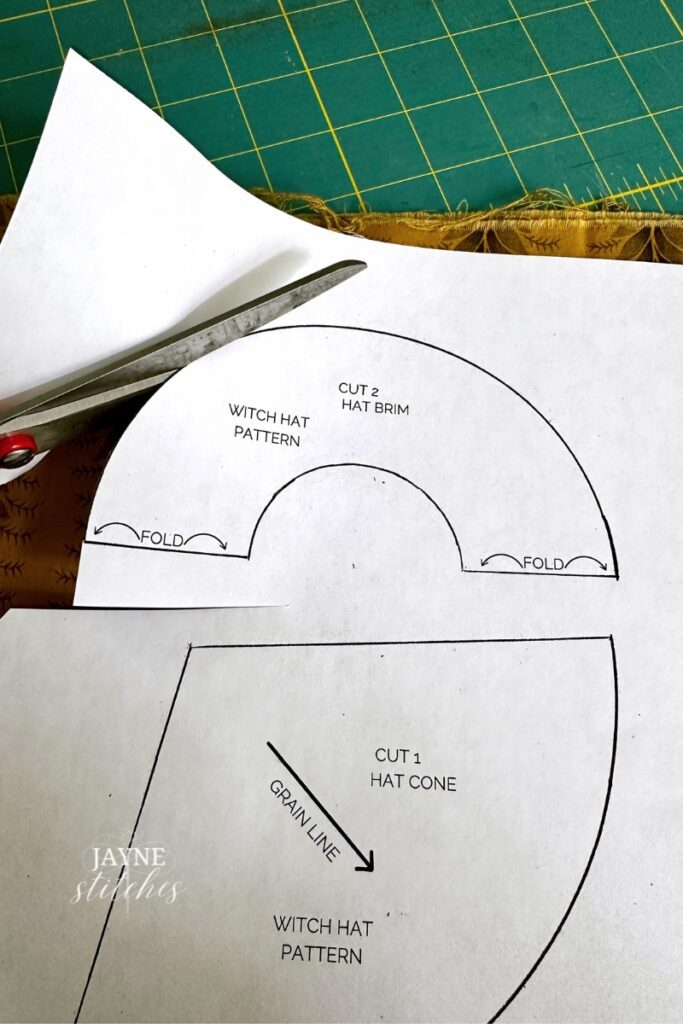
Print out the pattern pieces for the witch hat and cut out.
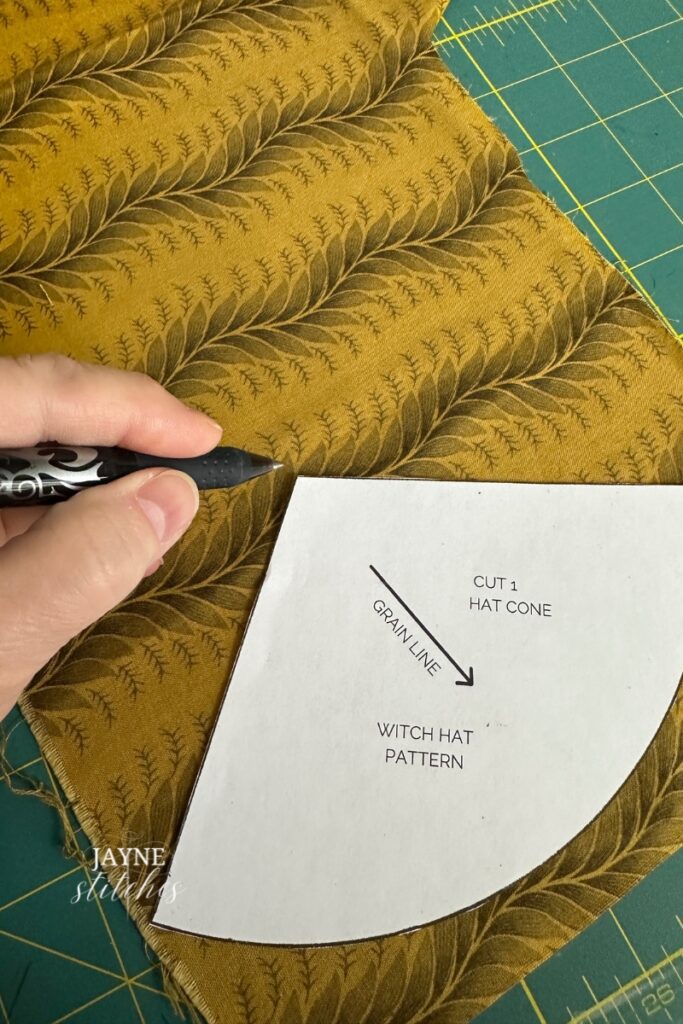
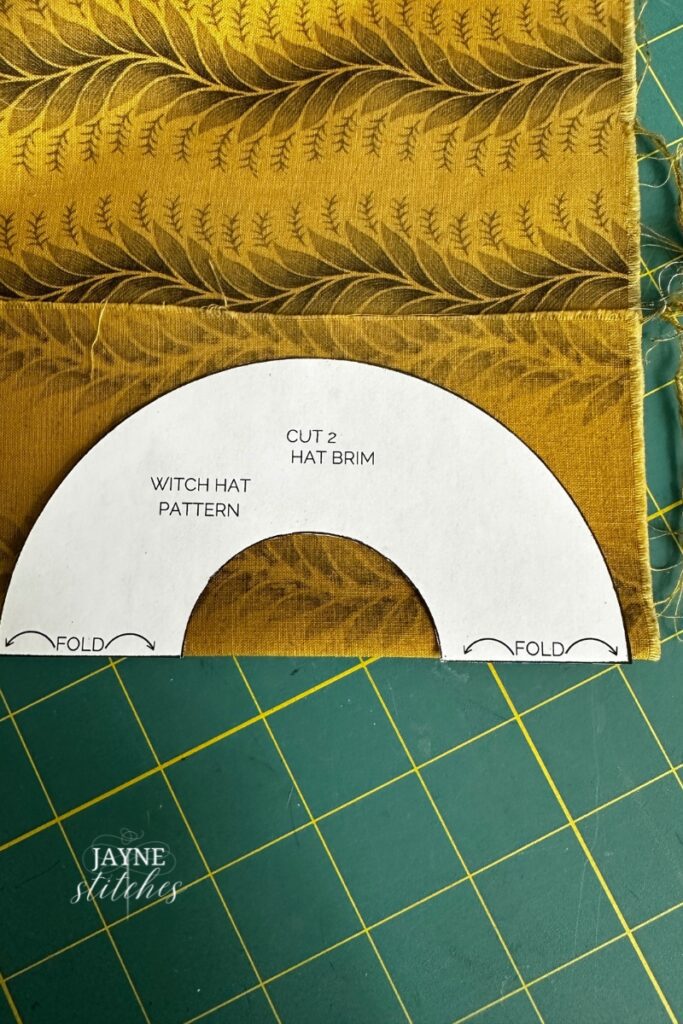
I use a Frixion Heat Erasable Ink pen to trace around the pattern pieces onto cotton fabric. You’ll need 1 of the hat cone and 2 of the hat brim.
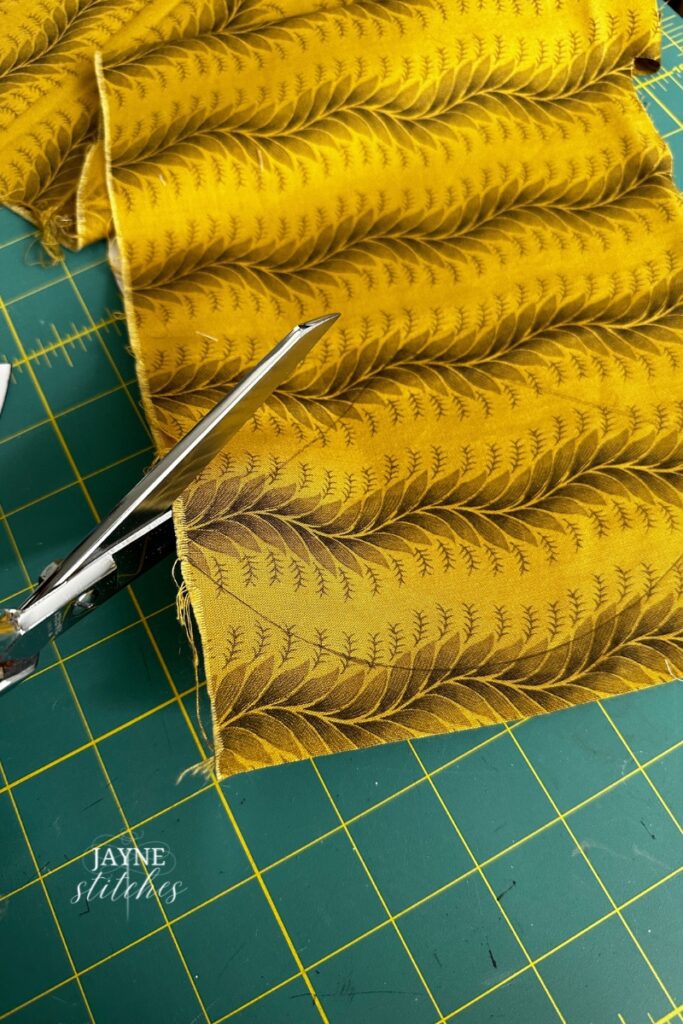
When cutting through multiple layers of fabric pin layers together to keep fabric from shifting.
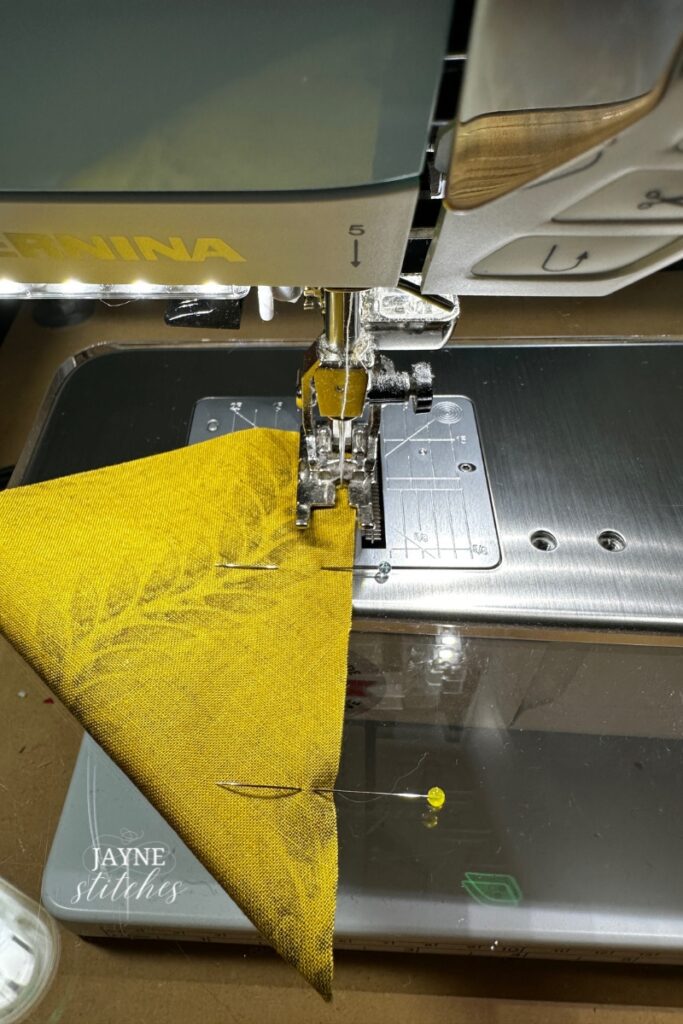
I use a scant 1/4″ seam allowance. With right sides together match up straight edges to form the cone, sew a seam being sure to back stitch at the beginning and end.

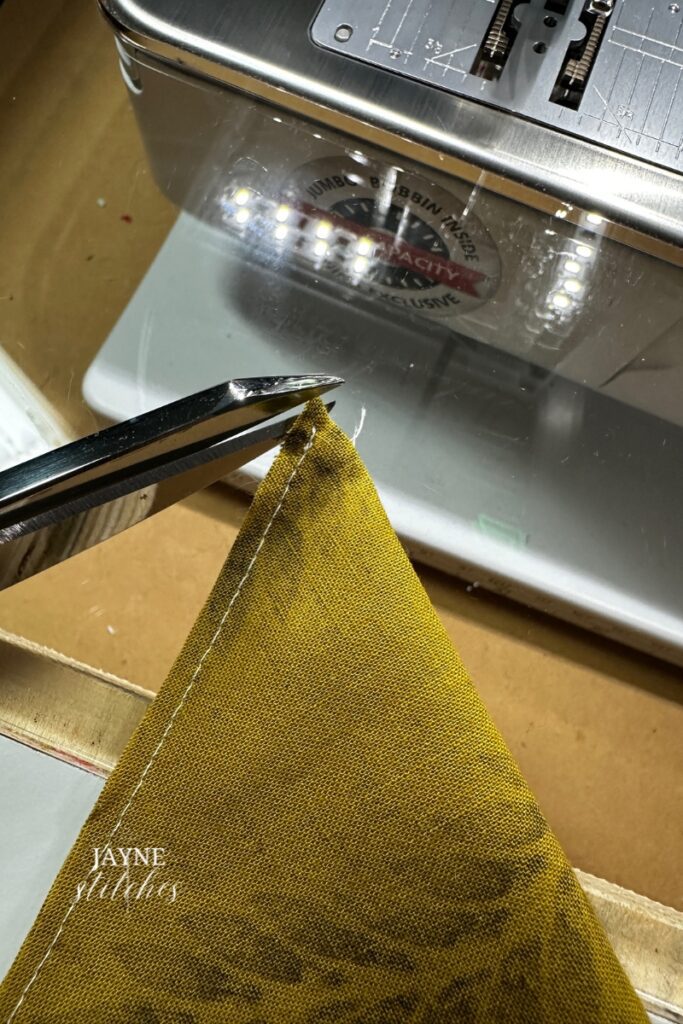
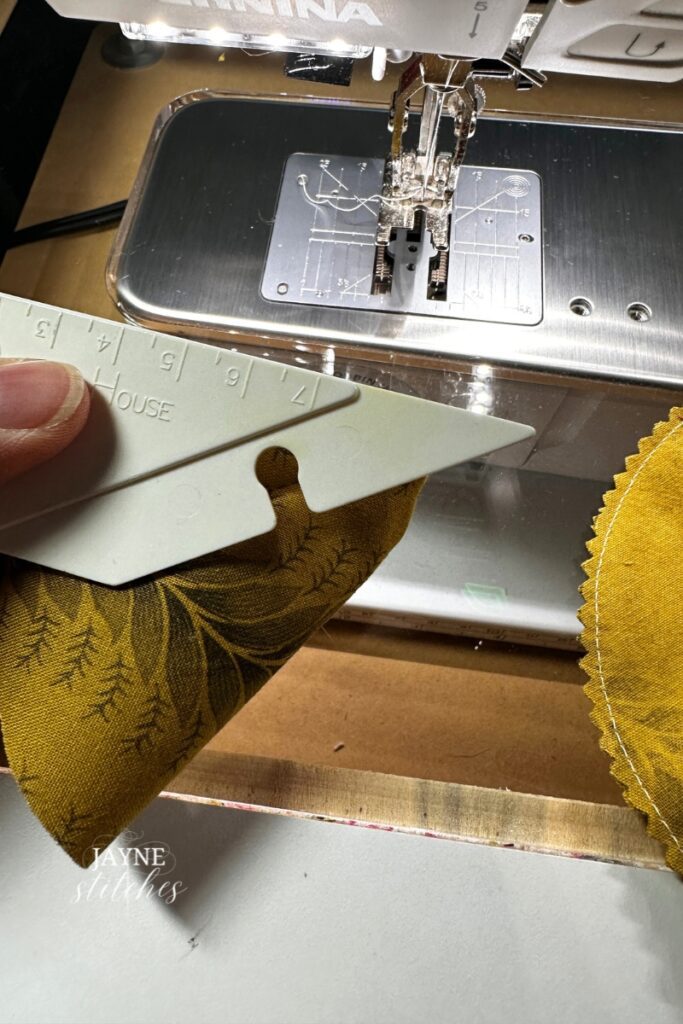
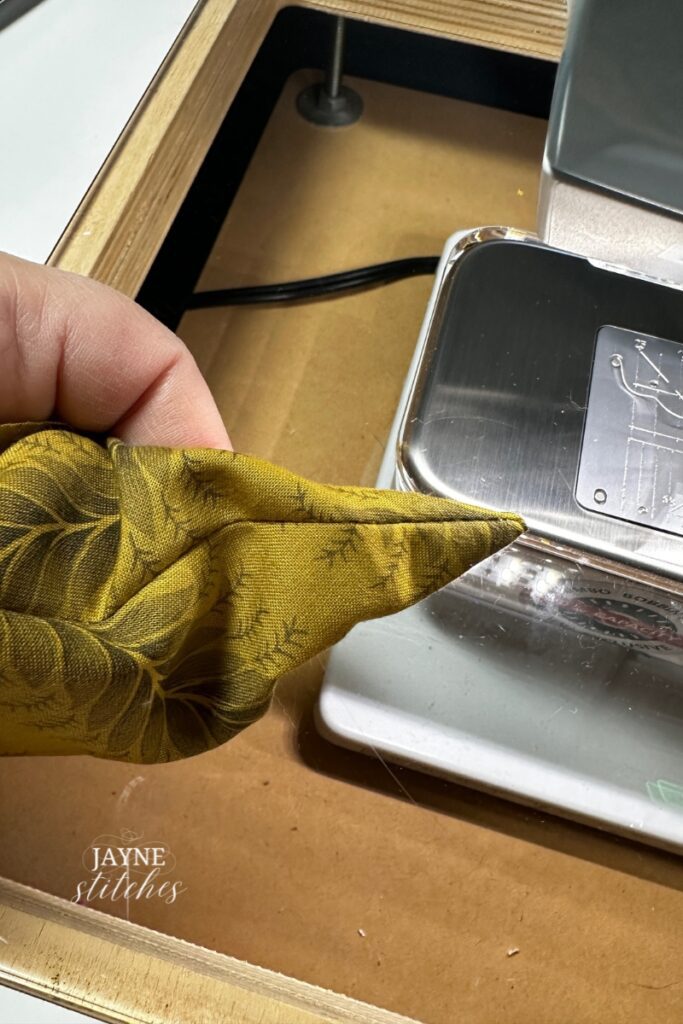
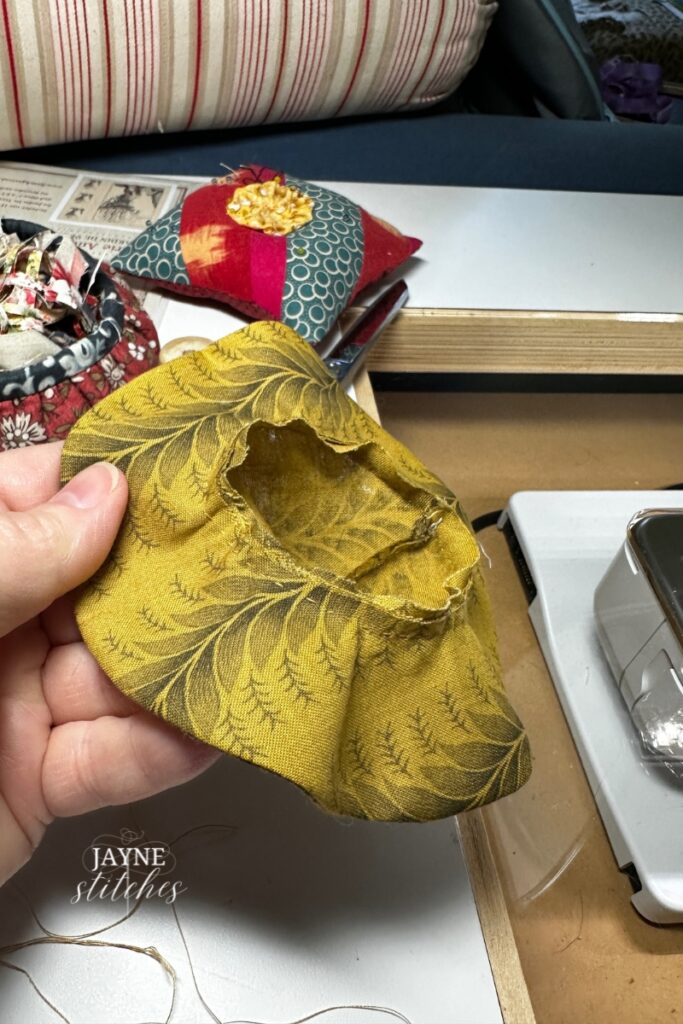
Trim the point of the hat to remove bulk. Turn inside out and gently push point out, I use a tool I found years ago and can’t do with out!
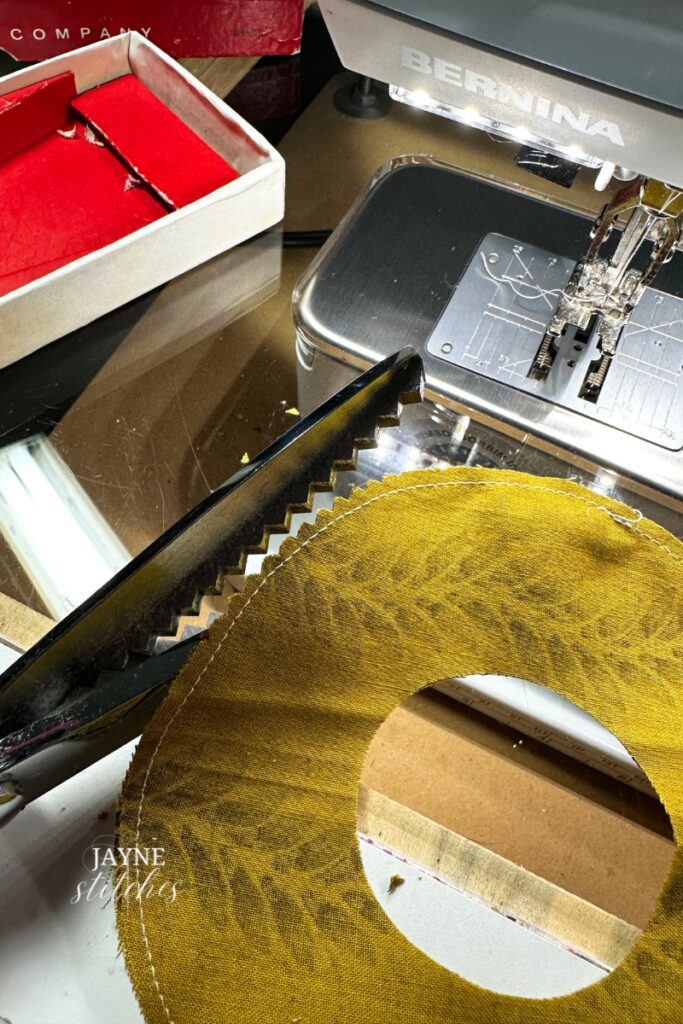
With right sides together sew around the outside of the brim. Use pins to keep fabric from shifting.
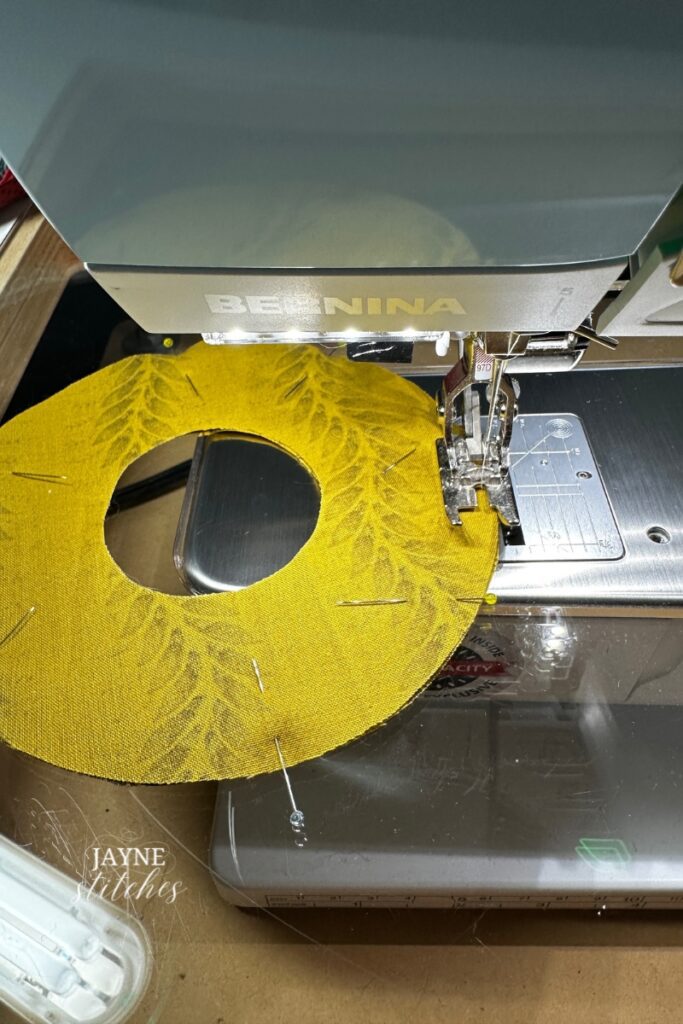
I use my pinking shears to trim and remove any bulk.
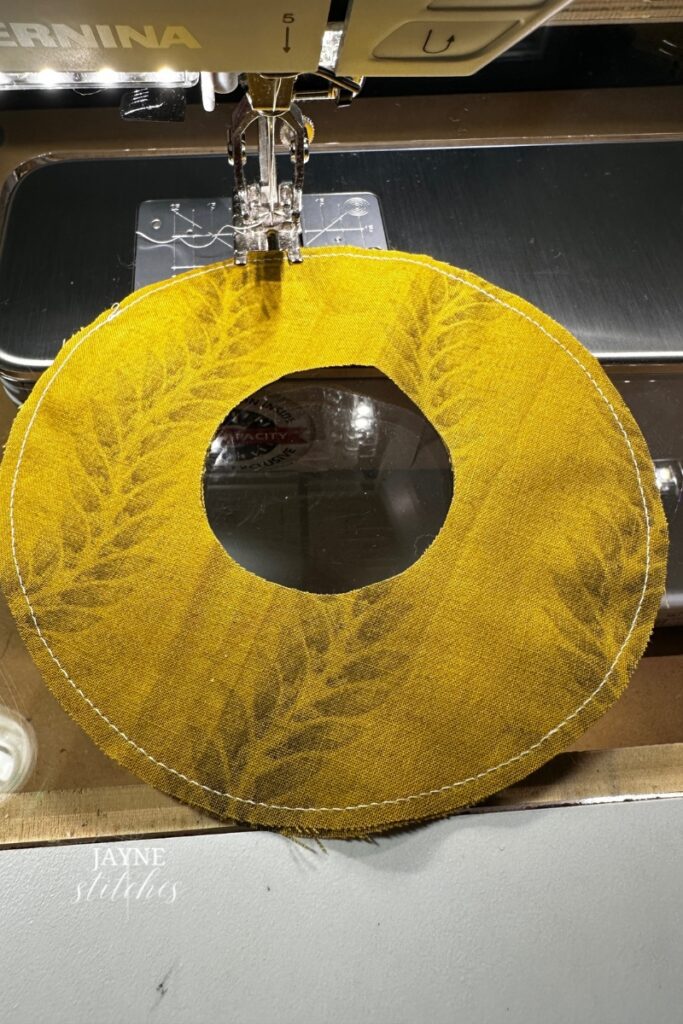
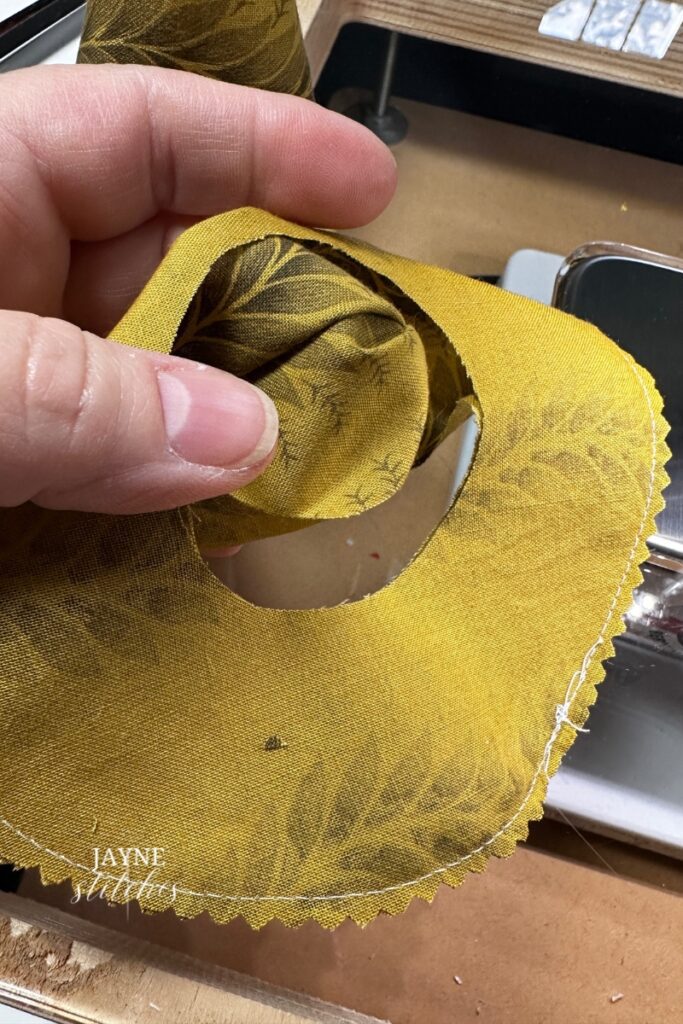
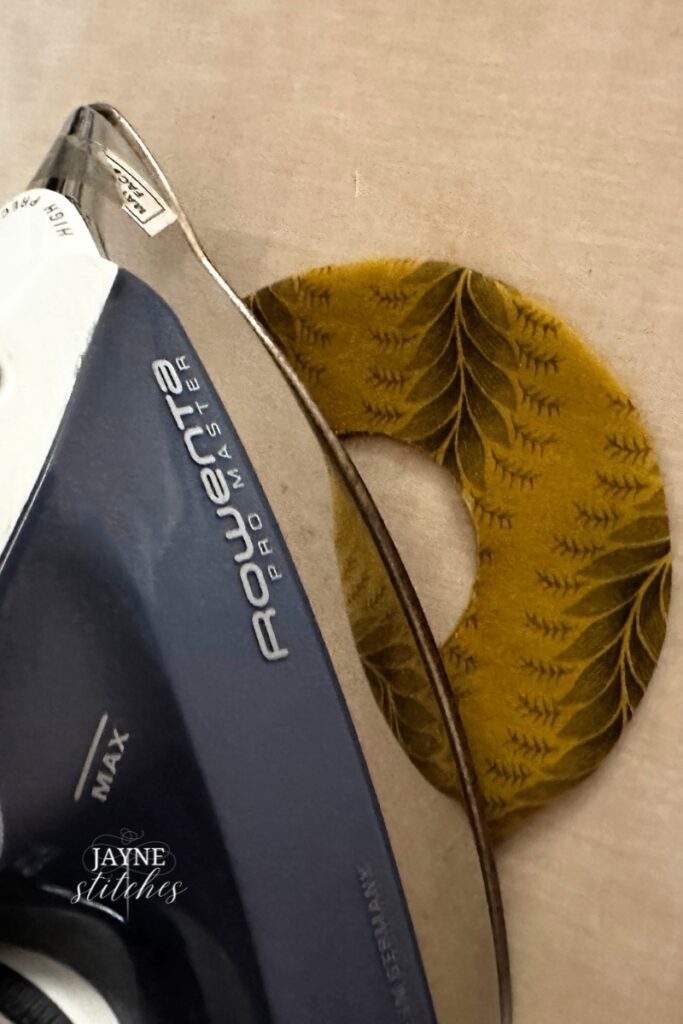
Turn the brim right side out, being sure to push the seam out from the inside to get a nice round shape. Press with your iron.

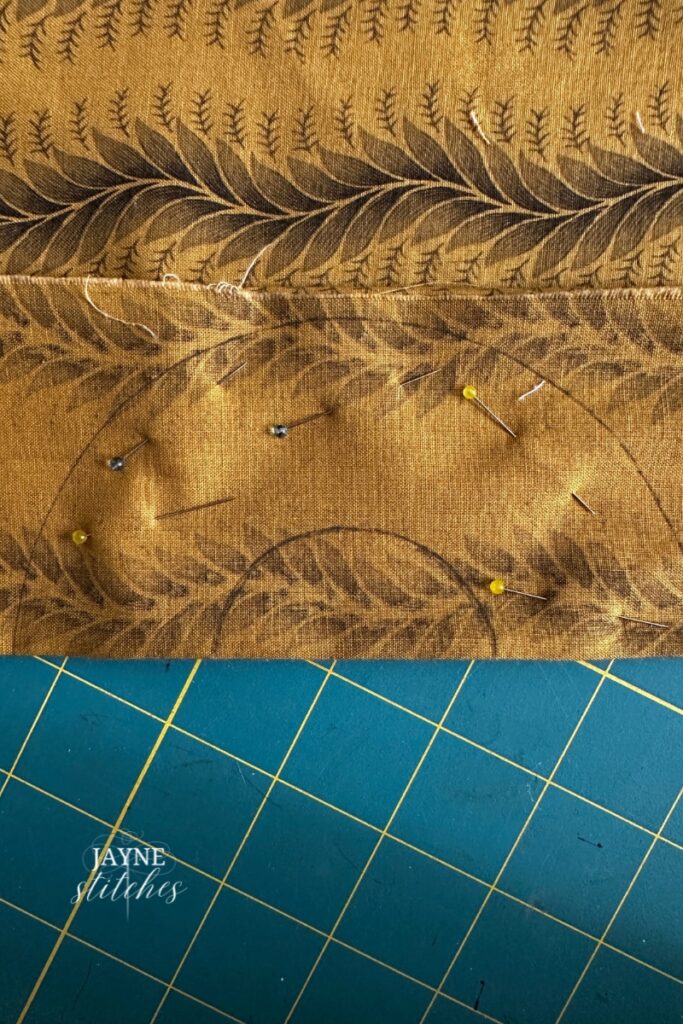
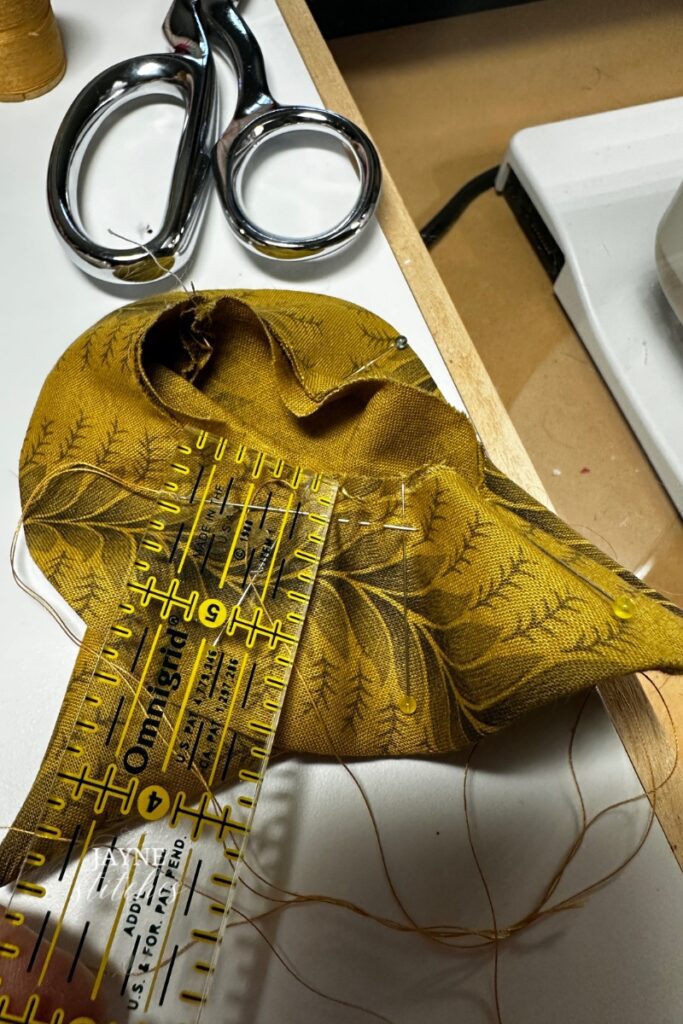
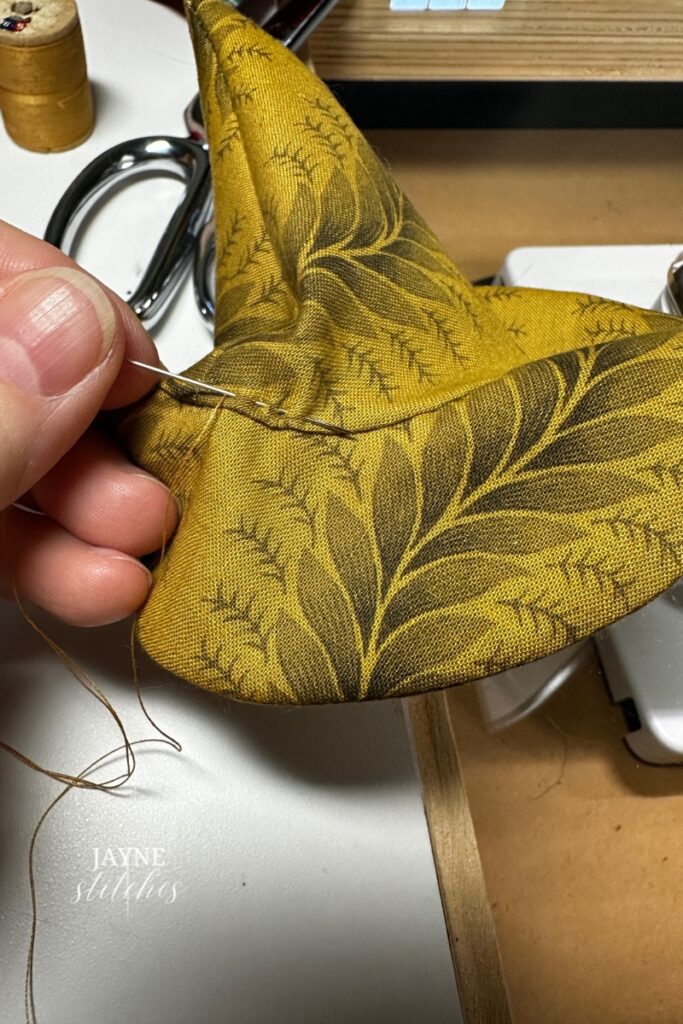
Pin the brim to the cone, as seen in the photo above. I use a 1/4″ seam. This is the most fiddly part and you have to be very precise with your pinning, so take your time.
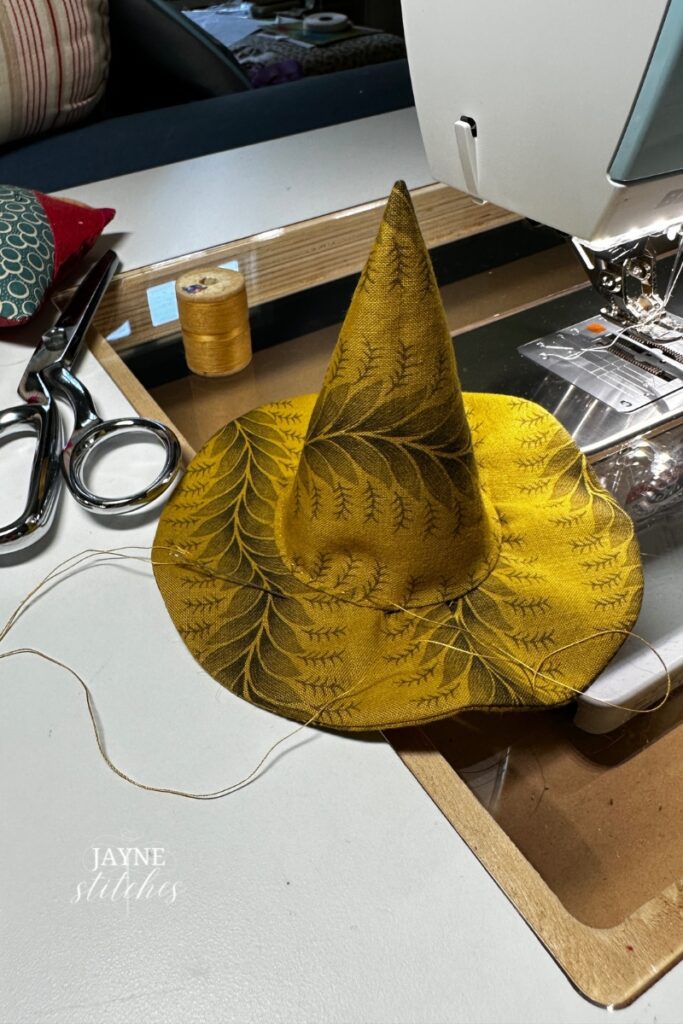
Get out your needle and thread and hand sew the cone and brim together, I used a matching thread.
Once that’s finished you’ll want to finish with a nice neat top stitch. Finger press that seam to the inside of the hat and top stitch through all layers for a beautiful finish!
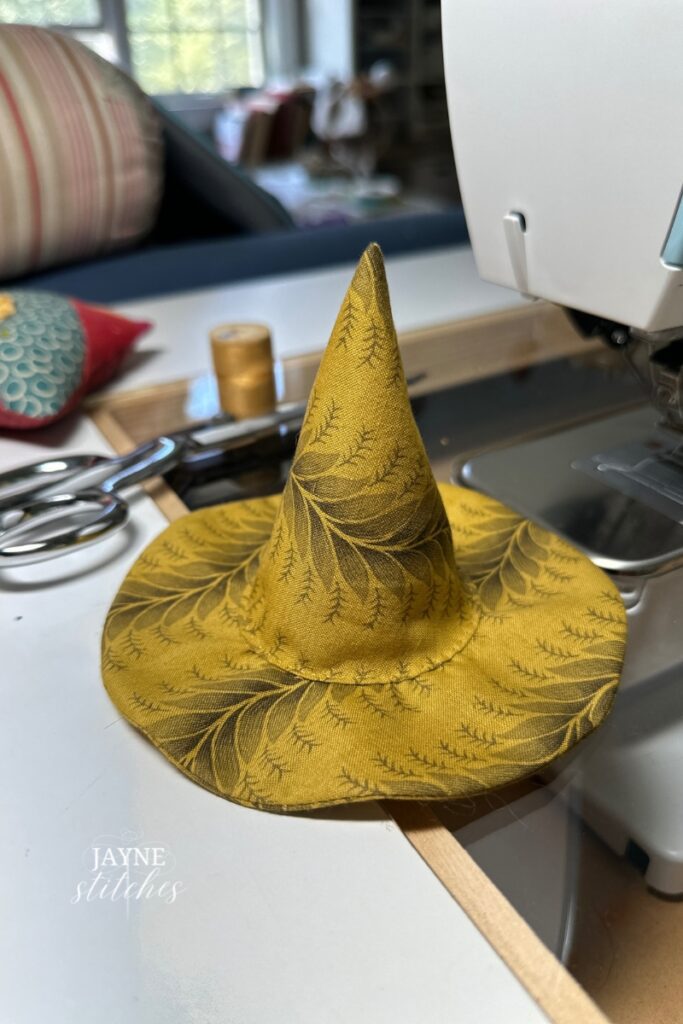
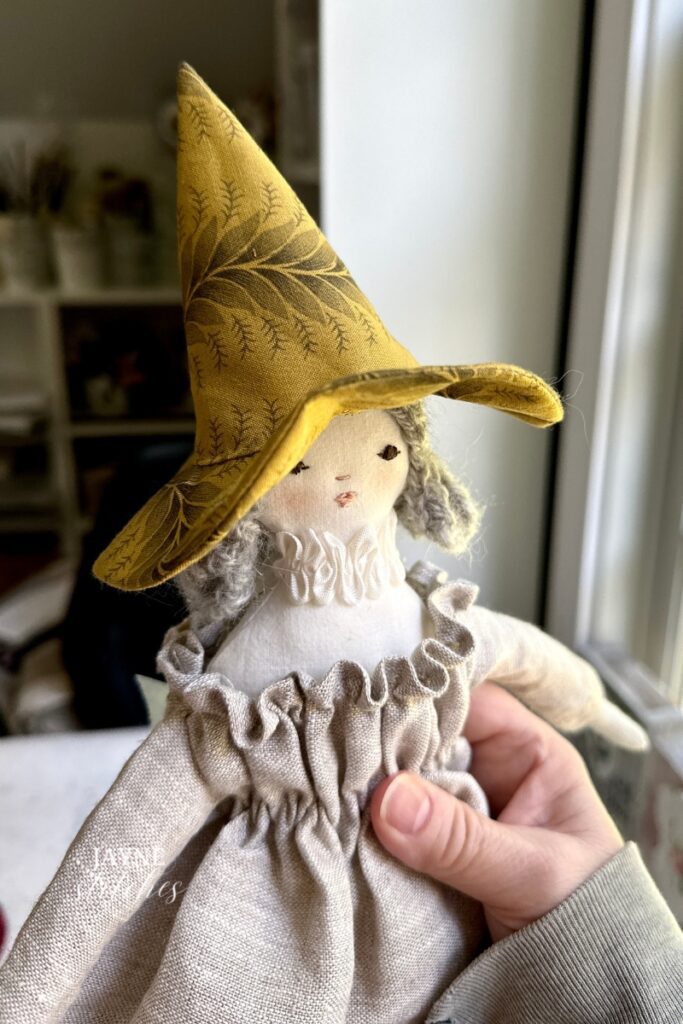
And voila! Your Meredith Doll now has a bewitching hat that will make her stand out from the crowd. Don’t forget to take pictures and share them on social media using #DIYDollWitchHat – I’d love to see your creations.
Remember, this project is all about having fun and honing your needlework skills. So don’t be afraid to experiment with different fabrics or embellishments. The possibilities are endless! For another fun sewing project check this one out.
I hope you enjoyed this step-by-step guide on how to make a doll’s witch hat. It’s incredible how something so small can bring so much joy and satisfaction. If you haven’t gotten the free Witch Hat Pattern yet, click here to get it now!
Happy stitching!
Some of these links may be affiliate links. I will earn a commission at no additional cost to you.


One Response